Starbucks Cake Pops
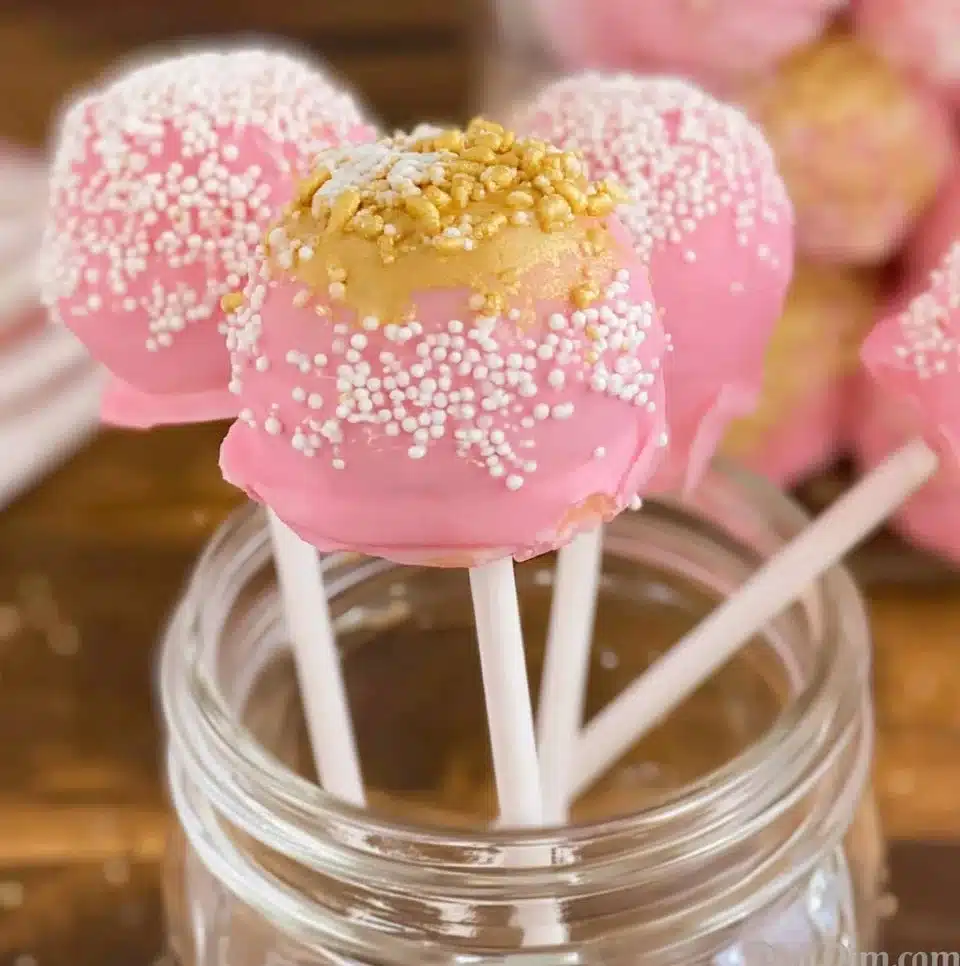
I always find myself reminiscing about those cozy afternoons at Starbucks, savoring a warm cup of coffee while indulging in their delectably sweet cake pops. The moment you take a bite, the soft cake combined with the rich chocolate coating creates a delightful explosion of flavors. Stepping into my kitchen to recreate these enchanting treats feels like a journey back to those moments, and I can’t wait to share my version of Starbucks Cake Pops with you!
Every time I whip up a batch of these delightful cake pops, I’m transported back to the excitement of baking with my family during the holidays. The aroma of chocolate wafting through the air, the laughter as we try to create the perfect round balls, and the joy of seeing everyone’s eyes light up when they get their first taste bring warmth to my heart.
The Story Behind Starbucks Cake Pops
Starbucks Cake Pops are more than just a treat; they’re a celebration of creativity and joy. Originating from the trend of bite-sized desserts, these little beauties have intertwined themselves into modern café culture. They encapsulate the joy of sweet indulgence while being incredibly convenient for on-the-go enjoyment. With their beautiful decorations, Starbucks Cake Pops symbolize life’s delightful little moments, whether it’s a catch-up with friends or a cozy evening with loved ones.
These cake pops offer a wonderful fusion of textures and flavors. The moist, tender cake combined with a luxurious chocolate coating creates a mouthwatering treat that embraces both comfort and sophistication. Plus, the versatility of flavors makes them appealing to a wide variety of tastes, from classic chocolate lovers to those with adventurous palates.
Why You’ll Love This Starbucks Cake Pops
- Satisfy Your Sweet Tooth: Each cake pop is a tiny drop of heaven, ensuring you get the fix you crave without overindulging.
- Quick and Simple: With convenient store-bought ingredients, you can whip these up quickly for those spontaneous dessert cravings.
- Family-Friendly Fun: Rolling the balls is a fun activity for kids and adults, making it a perfect bonding experience.
- Customizable to Your Taste: You can easily customize the flavors and decorations to suit any occasion, making these pops a delightful centerpiece.
Who Will Enjoy This Starbucks Cake Pops Most
- Busy Families looking for a fun weekend activity.
- Health-Conscious Cooks who want a sweet treat without the hassle of intricate baking.
- Beginners eager to dive into the world of baking with simple, guided steps.
- Foodies who appreciate a heightened dessert experience with endless customization options.
Perfect Moments to Enjoy Starbucks Cake Pops
- Weeknight Treats to brighten up a long day.
- Celebrations and Parties—these pops make for eye-catching desserts!
- Cozy Nights In while watching movies with the family.
- Cafés at Home—serve them alongside coffee to mimic that café feel.
How to Make the Perfect Starbucks Cake Pops
Making these delightful Starbucks Cake Pops is not only rewarding but also incredibly simple. You’ll find joy in every step and love sharing them with others.
Ingredients
- 1 box of chocolate cake mix
- 1 can frosting (any flavor)
- Chocolate melts or candy coating
- Lollipop sticks
- Sprinkles (optional)
Step-by-Step Instructions
- Bake the chocolate cake according to package instructions. Allow it to cool completely.
- Crumble the cooled cake into a large bowl.
- Mix in the frosting until well combined.
- Roll the mixture into small balls and place them on a baking sheet.
- Freeze the cake balls for about 30 minutes.
- Melt the chocolate melts or candy coating in a microwave.
- Dip the tip of each lollipop stick into the melted chocolate and insert it into a cake ball.
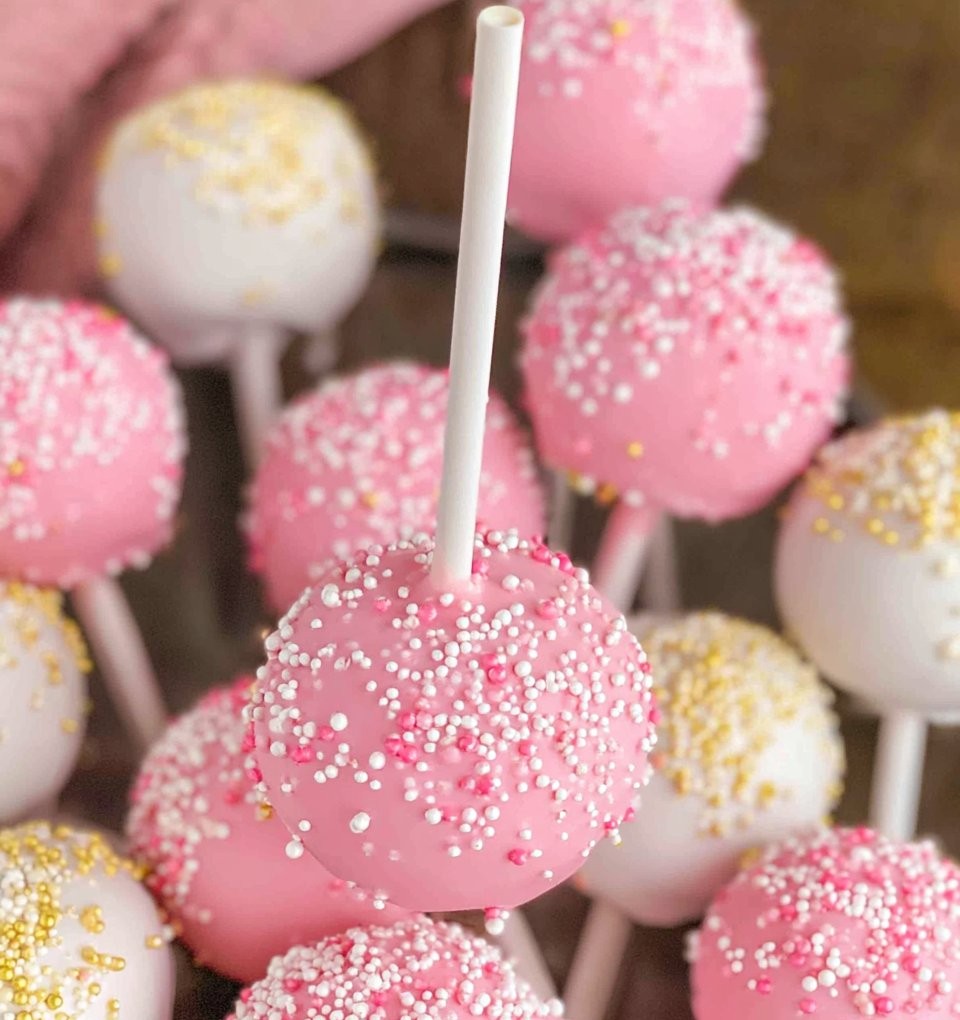
- Dip each cake pop into the chocolate coating, then sprinkle with optional sprinkles.
- Place the cake pops upright in a styrofoam block to dry completely.
For People with Diabetes: Sugar Substitutes
If you’re looking for suitable sugar-free alternatives, consider using stevia, monk fruit, or allulose in your frosting. Avoid honey or maple syrup, as these can still spike blood sugar levels.

Essential Tools for Starbucks Cake Pops
- Baking sheet
- Mixing bowls
- Microwave-safe bowl
- Styrofoam block for drying
- Lollipop sticks
Expert Cooking Tips
- Quality Ingredients: Use high-quality chocolate melts or candy coating for a smoother finish.
- Chill the Cake Balls: Freezing the cake balls before dipping helps them maintain their shape and makes the dipping process easier.
- Decorate Creatively: Have fun with different toppings like colored sprinkles, crushed nuts, or even edible glitter for festive occasions.
Keeping Your Starbucks Cake Pops Fresh
- Fridge: Store in an airtight container for up to a week.
- Freezer: Keep them in the freezer for up to three months; thaw in the fridge before serving.
- Reheating: Not necessary, but if you need to, gently warm (do not overheat) in the microwave for a few seconds.
Common Mistakes to Avoid
- Skipping the Freezing Step: Failing to freeze your cake balls can lead to misshapen pops during dipping.
- Overheating Chocolate: Melting chocolate needs to be done carefully; overheating can cause it to seize.
- Not Using Enough Coating: Ensure you fully coat the cake pops to keep them moist and flavorful.
Frequently Asked Questions: Starbucks Cake Pops
- Can I use gluten-free cake mix? Yes, using gluten-free cake mix works perfectly for this recipe!
- Do I have to freeze the cake balls? Yes, freezing helps them hold their shape better during dipping.
- Can I use any flavor of frosting? It depends; while chocolate is classic, any flavor can complement the cake!
- How long do the cake pops last? Yes, they can last up to a week in the fridge if stored correctly.
- Can I dip them in white chocolate instead? Yes, absolutely! Be creative with your toppings.
Wrapping Up: The Joy of Starbucks Cake Pops
These Starbucks Cake Pops are an embodiment of love, creativity, and simple joys. They’re perfect for any occasion and an absolute delight to share. I hope you dive into this wonderful journey of baking and enjoy every bite. Please feel free to share your experience in the comments or pass this along to a fellow baking enthusiast!
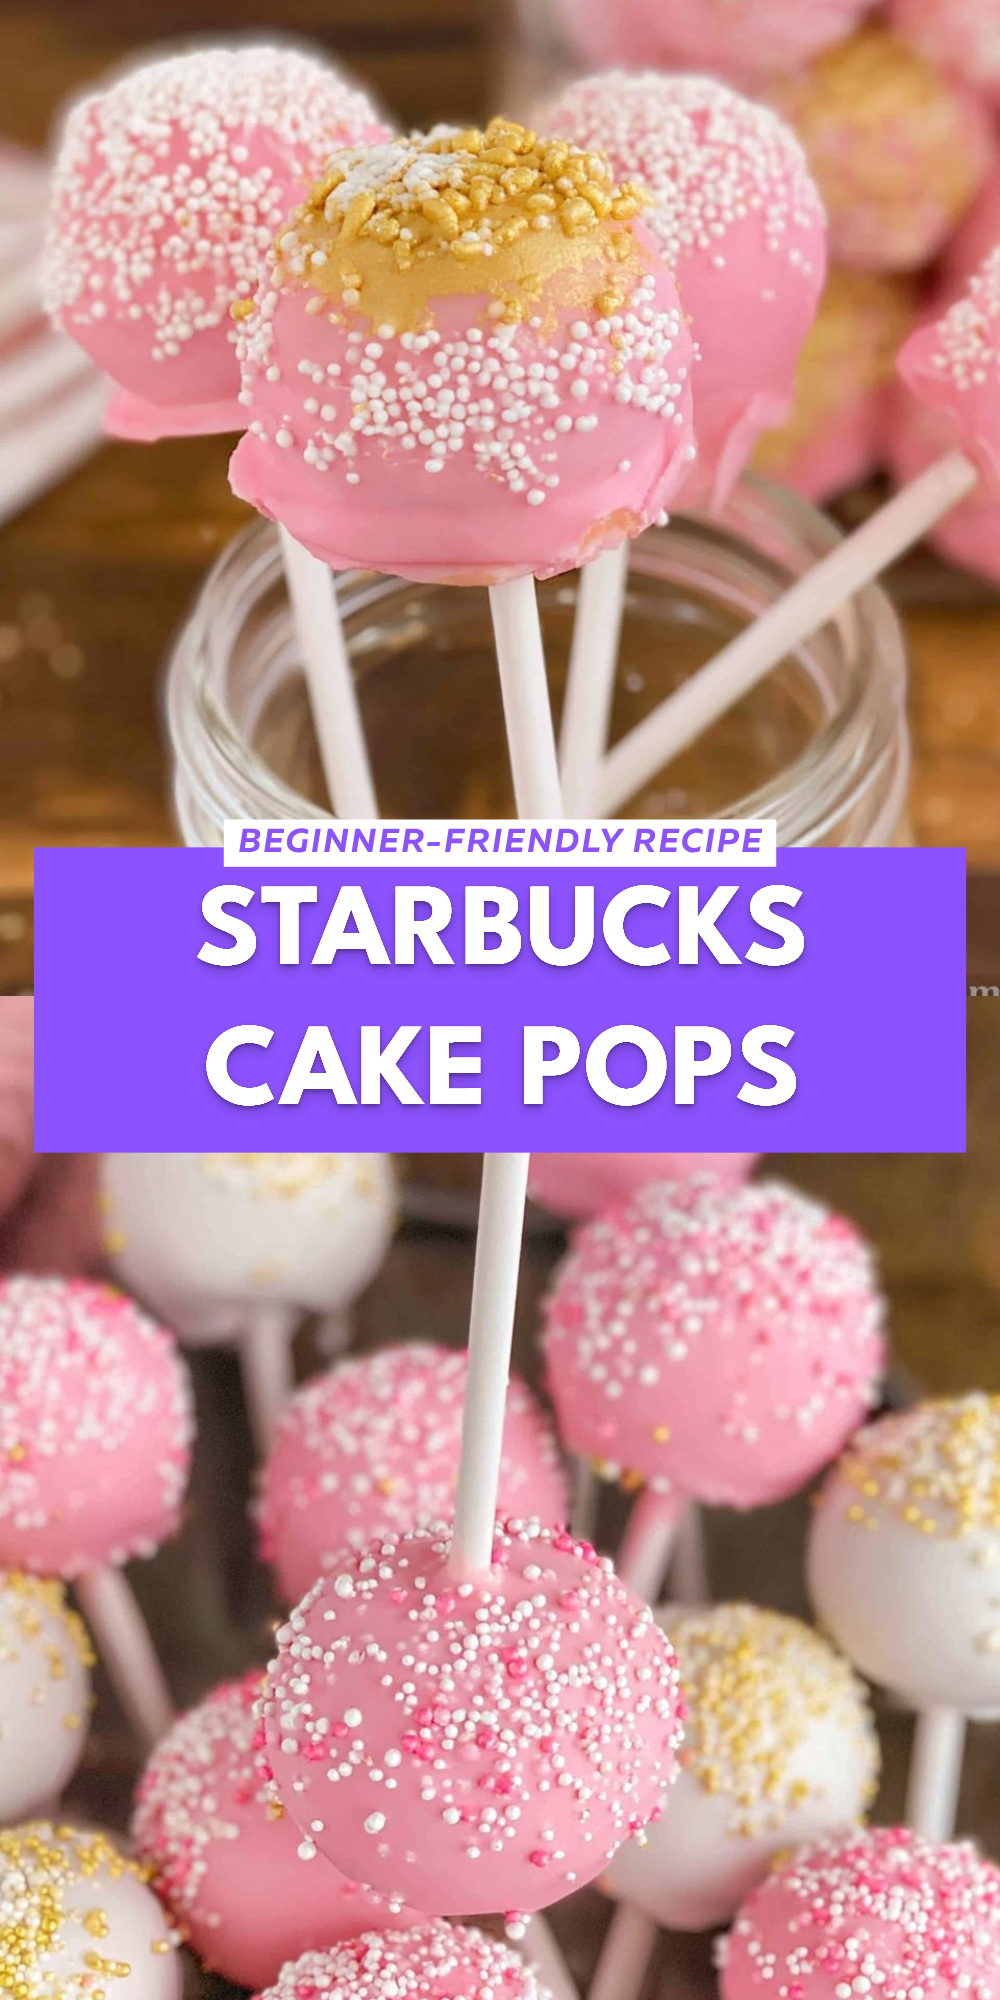
Starbucks Cake Pops

Delightful cake pops that recreate the beloved Starbucks treat, perfect for any occasion.
- Prep Time: 15 minutes
- Cook Time: 30 minutes
- Total Time: 45 minutes
- Yield: 12 servings 1x
- Category: Dessert
- Method: Baking
- Cuisine: American
- Diet: Vegetarian
Ingredients
- 1 box of chocolate cake mix
- 1 can frosting (any flavor)
- Chocolate melts or candy coating
- Lollipop sticks
- Sprinkles (optional)
Instructions
- Bake the chocolate cake according to package instructions. Allow it to cool completely.
- Crumble the cooled cake into a large bowl.
- Mix in the frosting until well combined.
- Roll the mixture into small balls and place them on a baking sheet.
- Freeze the cake balls for about 30 minutes.
- Melt the chocolate melts or candy coating in a microwave.
- Dip the tip of each lollipop stick into the melted chocolate and insert it into a cake ball.
- Dip each cake pop into the chocolate coating, then sprinkle with optional sprinkles.
- Place the cake pops upright in a styrofoam block to dry completely.
Notes
For a sugar-free version, use stevia, monk fruit, or allulose in your frosting. Avoid honey and maple syrup.
Nutrition
- Serving Size: 1 cake pop
- Calories: 120
- Sugar: 15g
- Sodium: 120mg
- Fat: 4g
- Saturated Fat: 2g
- Unsaturated Fat: 2g
- Trans Fat: 0g
- Carbohydrates: 18g
- Fiber: 1g
- Protein: 2g
- Cholesterol: 15mg