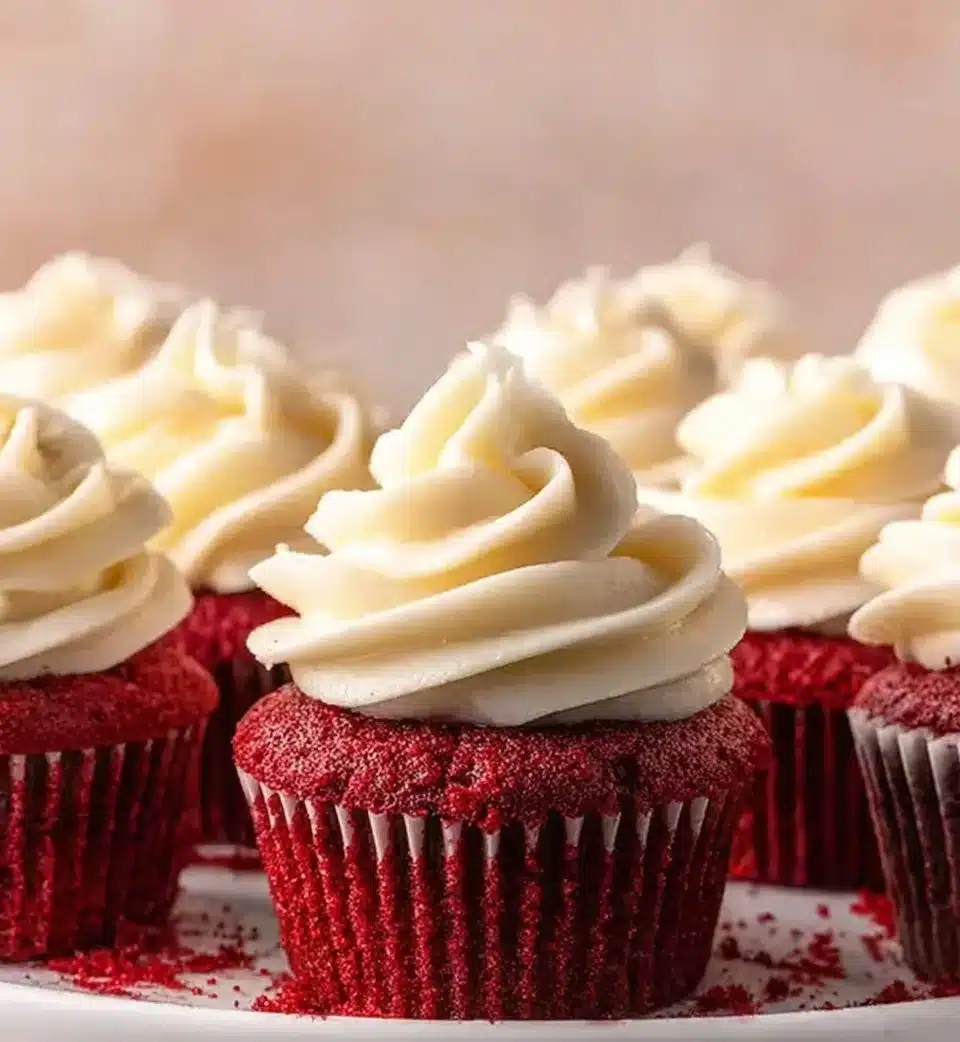
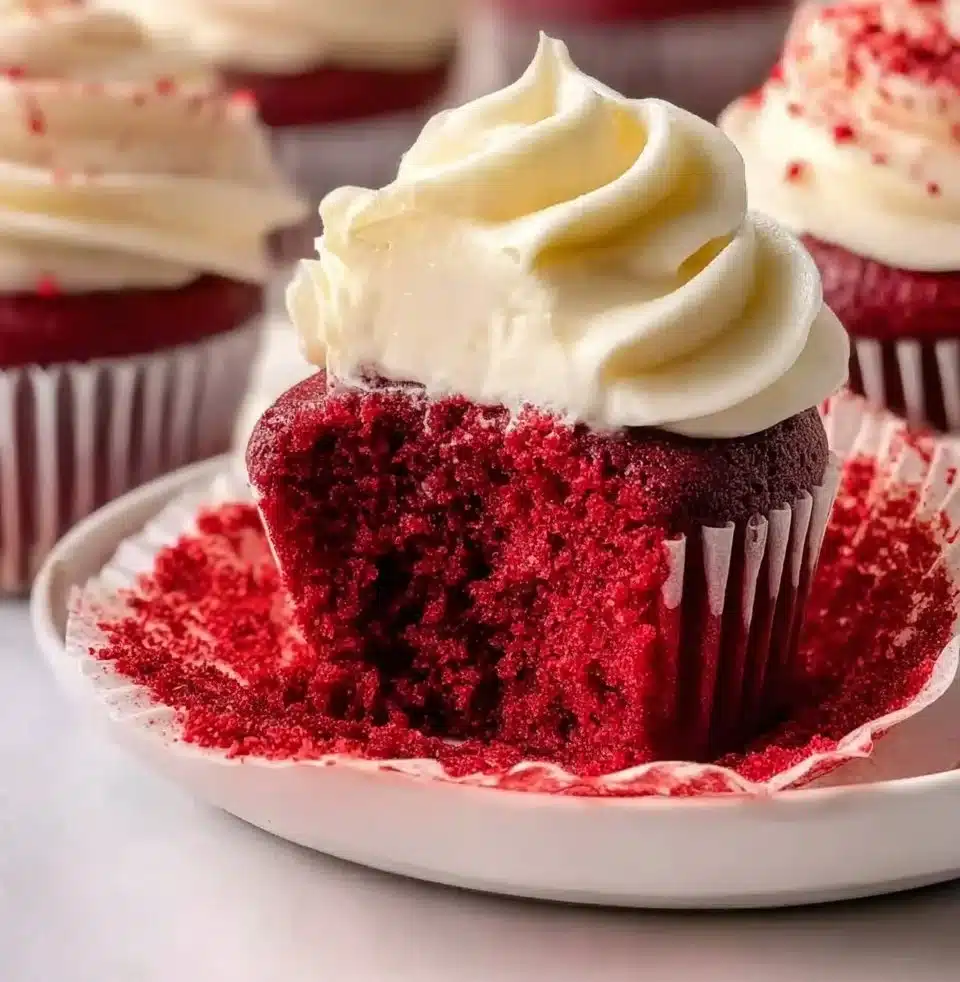
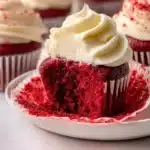
Red Velvet Cupcakes

This post may contain affiliate links
It was a dreary Tuesday afternoon when I first discovered the magic of Red Velvet Cupcakes. As I sifted through my grandmother’s handwritten recipe book, an irresistible urge to bake washed over me. The rich crimson color caught my eye, and the thought of their light, tender crumb filled with a hint of cocoa was the perfect remedy for the gloomy day. Little did I know that these delightful treats would soon become a cherished family favorite, woven into the fabric of our celebrations and cozy gatherings.
Now, whenever I whip up a batch of Red Velvet Cupcakes, I’m transported back to my childhood kitchen, where the scents of baking would dance in the air, mingling with laughter and the clattering of mixing bowls. The striking red hue and the creamy frosting always brought smiles to our faces, marking special moments in a sweet, delicious way. It’s more than just a cupcake; it’s a celebration of love, history, and the joy of sharing something special with those we cherish.
Exploring the Roots of Red Velvet Cupcakes
Red Velvet Cupcakes have a fascinating history that traces back to the Southern United States, where its distinctive mahogany color and velvety texture captured the hearts of many. Originally, the cake was known for its mild chocolate flavor, enhanced by the reaction of cocoa powder with acidic ingredients. Its vibrant red hue became popular thanks to the addition of beet juice, and over the years, food coloring cemented its place in modern baking lore. Today, the sight of these distinctive cupcakes evokes nostalgia and joy, symbolizing love and celebration.
Why You’ll Love This Red Velvet Cupcakes
- Decadent Flavor: With a hint of cocoa and a creamy frosting, each bite is pure bliss.
- Easy to Make: Even novice bakers can master this recipe with ease.
- Family-Friendly: Kids and adults alike adore the rich color and flavor, making them perfect for parties.
- Perfect for Any Occasion: From birthdays to holidays, they add a festive touch that everyone enjoys.
Who Will Enjoy This Red Velvet Cupcakes Most
- Families looking for a fun baking activity together.
- Busy parents who need a quick dessert for gatherings.
- Beginners who want to impress without stress.
- Foodies eager to explore classic American desserts.
Perfect Moments to Enjoy Red Velvet Cupcakes
- Cozy family dinners on chilly evenings.
- Birthday celebrations with loved ones.
- Weddings and bridal showers, adding color to the dessert table.
- Special holidays, like Valentine’s Day or Christmas, for a sweet touch.
How to Make the Perfect Red Velvet Cupcakes
Baking these delightful Red Velvet Cupcakes is a simple yet rewarding process. Follow my step-by-step guide and watch as your kitchen fills with the sweet aroma of baking!
Ingredients
- 1 1/2 cups all-purpose flour
- 1 cup granulated sugar
- 1 teaspoon baking soda
- 1 teaspoon salt
- 1 teaspoon cocoa powder
- 1 cup vegetable oil
- 1 cup buttermilk, at room temperature
- 2 large eggs, at room temperature
- 2 tablespoons red food coloring
- 1 teaspoon vanilla extract
- 1 teaspoon white vinegar
Step-by-Step Instructions
-
Preheat the oven to 350°F (175°C). Line a muffin tin with cupcake liners.
{image_2} -
In a large bowl, whisk together the flour, sugar, baking soda, salt, and cocoa powder.
-
In another bowl, mix together the oil, buttermilk, eggs, red food coloring, vanilla extract, and vinegar until well combined.
-
Add the wet ingredients to the dry ingredients and mix until just combined.
-
Divide the batter evenly among the cupcake liners, filling each about two-thirds full.
-
Bake for 18-20 minutes, or until a toothpick inserted into the center comes out clean.
-
Let cool completely before frosting.
-
Top with cream cheese frosting and enjoy!
For People with Diabetes: Sugar Substitutes
If you’re looking for sugar-free alternatives, consider using stevia, monk fruit, or allulose. Avoid honey and maple syrup, as they can still impact blood sugar levels significantly.
Must-Have Tools for This Recipe
- Muffin tin
- Cupcake liners
- Mixing bowls
- Whisk
- Measuring cups and spoons
Chef-Approved Tips for Success
- Nothing beats fresh ingredients: Ensure your eggs and buttermilk are at room temperature for the best texture.
- Don’t overmix the batter: Stir until just combined to keep cupcakes light and fluffy.
- Test the doneness: Use a toothpick to check when they’re perfectly baked.
Keeping Your Red Velvet Cupcakes Fresh
- Refrigerate: Store frosted cupcakes in an airtight container for up to 5 days.
- Freeze: Unfrosted cupcakes can be frozen for up to 3 months. Just thaw before frosting and serving.
- Reheat: Gently warm in the microwave for a few seconds for an extra treat.
Common Mistakes to Avoid
- Over-mixing the batter: This can result in a dense cupcake.
- Skipping the acid: Don’t skip the vinegar; it’s crucial for activating the baking soda.
- Incorrect measuring: Always measure flour correctly to ensure perfect texture.
Frequently Asked Questions: Red Velvet Cupcakes
-
Can I make these cupcakes gluten-free?
Yes, substitute all-purpose flour with a gluten-free blend. -
Is it okay to use gel food coloring instead?
Yes, gel food coloring works well and produces a more vibrant red. -
How long do they last?
They can last up to 5 days when properly stored in the fridge. -
Can I bake this as a cake instead?
It depends. The recipe can be made into layers but adjust the baking time accordingly.
Wrapping Up: The Joy of Red Velvet Cupcakes
Baking Red Velvet Cupcakes is not just about the delectable result but also about the beautiful moments you create while making them. I encourage you to try this recipe, savor each bite, and share your sweet creations with friends and family. Feel free to leave a comment or share your own Red Velvet Cupcake adventures!
{image_template}
PrintRed Velvet Cupcakes
Delightful Red Velvet Cupcakes with a hint of cocoa and creamy frosting, perfect for any celebration.
- Prep Time: 15 minutes
- Cook Time: 20 minutes
- Total Time: 35 minutes
- Yield: 12 cupcakes 1x
- Category: Dessert
- Method: Baking
- Cuisine: American
- Diet: Vegetarian
Ingredients
- 1 1/2 cups all-purpose flour
- 1 cup granulated sugar
- 1 teaspoon baking soda
- 1 teaspoon salt
- 1 teaspoon cocoa powder
- 1 cup vegetable oil
- 1 cup buttermilk, at room temperature
- 2 large eggs, at room temperature
- 2 tablespoons red food coloring
- 1 teaspoon vanilla extract
- 1 teaspoon white vinegar
Instructions
- Preheat the oven to 350°F (175°C). Line a muffin tin with cupcake liners.
- In a large bowl, whisk together the flour, sugar, baking soda, salt, and cocoa powder.
- In another bowl, mix together the oil, buttermilk, eggs, red food coloring, vanilla extract, and vinegar until well combined.
- Add the wet ingredients to the dry ingredients and mix until just combined.
- Divide the batter evenly among the cupcake liners, filling each about two-thirds full.
- Bake for 18-20 minutes, or until a toothpick inserted into the center comes out clean.
- Let cool completely before frosting.
- Top with cream cheese frosting and enjoy!


Notes
For sugar-free alternatives, consider using stevia, monk fruit, or allulose. Avoid honey and maple syrup.
Nutrition
- Serving Size: 1 cupcake
- Calories: 300
- Sugar: 20g
- Sodium: 400mg
- Fat: 15g
- Saturated Fat: 2g
- Unsaturated Fat: 13g
- Trans Fat: 0g
- Carbohydrates: 38g
- Fiber: 1g
- Protein: 3g
- Cholesterol: 30mg