Oreo Icebox Cake
This post may contain affiliate links
There’s something inherently nostalgic about the rich, creamy layers of an Oreo Icebox Cake. The first time I made it, I was filled with a childlike excitement, reminiscing about lazy summer afternoons spent savoring the sweet crunch of Oreo cookies. Each bite transported me back to those simpler times, where sweetness and laughter mingled in the air. As I layered the cookies and whipped cream, I realized that this dessert is more than just a treat; it’s a celebration of moments shared with family and friends.
The joy of assembling the Oreo Icebox Cake lies in its simplicity. No baking is required—just a few quality ingredients and a little time to let the magic happen in the refrigerator. With each layer, the cookies soften, merging with the whipped cream to create a harmonious balance that melts in your mouth. It’s a dessert that invites everyone to the table, making it an essential part of every gathering.
The Story Behind Oreo Icebox Cake
The Oreo Icebox Cake has its roots in American culinary traditions, particularly hailing from a time when convenience in the kitchen was paramount. As urban life became more bustling, home cooks sought desserts that were easy yet indulgent. The idea of layering cookies and cream in a dish became popular, allowing families to prepare an impressive dessert with minimal effort.
Interestingly, the charm of this cake extends beyond its taste. It evokes feelings of togetherness and warmth, reminiscent of family dinners, birthday celebrations, and summer picnics. Whether you’re celebrating a special occasion or simply enjoying a cozy evening at home, this Oreo Icebox Cake feels like a warm hug from the inside.
Why You’ll Love This Oreo Icebox Cake
- Decadent Flavor: The combination of creamy whipped cream and crunchy Oreos creates a delightful contrast that’s truly irresistible.
- Effortless Preparation: With no baking required, you can whip this together in no time, making it a stress-free addition to any meal.
- Family-Friendly: Kids and adults alike can’t resist its classic flavors, making it a hit for all ages.
- Versatile Toppings: The optional chocolate shavings, crushed Oreos, or fresh berries allow you to customize your cake to suit any occasion or preference.
Who Will Enjoy This Oreo Icebox Cake Most
- Busy Families: A quick, no-bake dessert that’s perfect for after-school snacks or family gatherings.
- Beginner Cooks: With straightforward steps, even novice cooks can impress their guests.
- Foodies Seeking Comfort: This cake acts as a nostalgic indulgence that brings comfort on busy days.
- Anyone with a Sweet Tooth: If you love dessert, this cake is definitely for you!
Perfect Moments to Enjoy Oreo Icebox Cake
- Family Gatherings: Bring a smile to your loved ones during holidays or reunions.
- Cozy Movie Nights: Enjoy a slice while watching your favorite films with friends.
- Summer Barbecues: Lighten up the dessert table with this chilled delight after a grilled feast.
- Birthdays: It’s a fantastic alternative to traditional birthday cakes, sure to surprise and delight.
How to Make the Perfect Oreo Icebox Cake
Creating the perfect Oreo Icebox Cake is a delightful journey. The steps are straightforward, and the end result is a dish that you’ll be proud to serve.
Ingredients
- 24 Oreo cookies
- 2 cups heavy whipping cream
- 1/4 cup powdered sugar
- 1 tsp vanilla extract
- Optional toppings: Chocolate shavings
- Crushed Oreos
- Fresh berries
Step-by-Step Instructions
- Whip heavy cream, powdered sugar, and vanilla in a chilled bowl until stiff peaks form. Avoid overwhipping.
- Spread a thin layer of whipped cream in a rectangular dish.
- Place Oreos side by side for the first layer, pressing gently to stabilize.
- Spread another layer of whipped cream evenly.
- Repeat the cookie and cream layers until finished.
- Top with a final layer of cream.
- Cover and refrigerate for at least 4–6 hours or overnight.
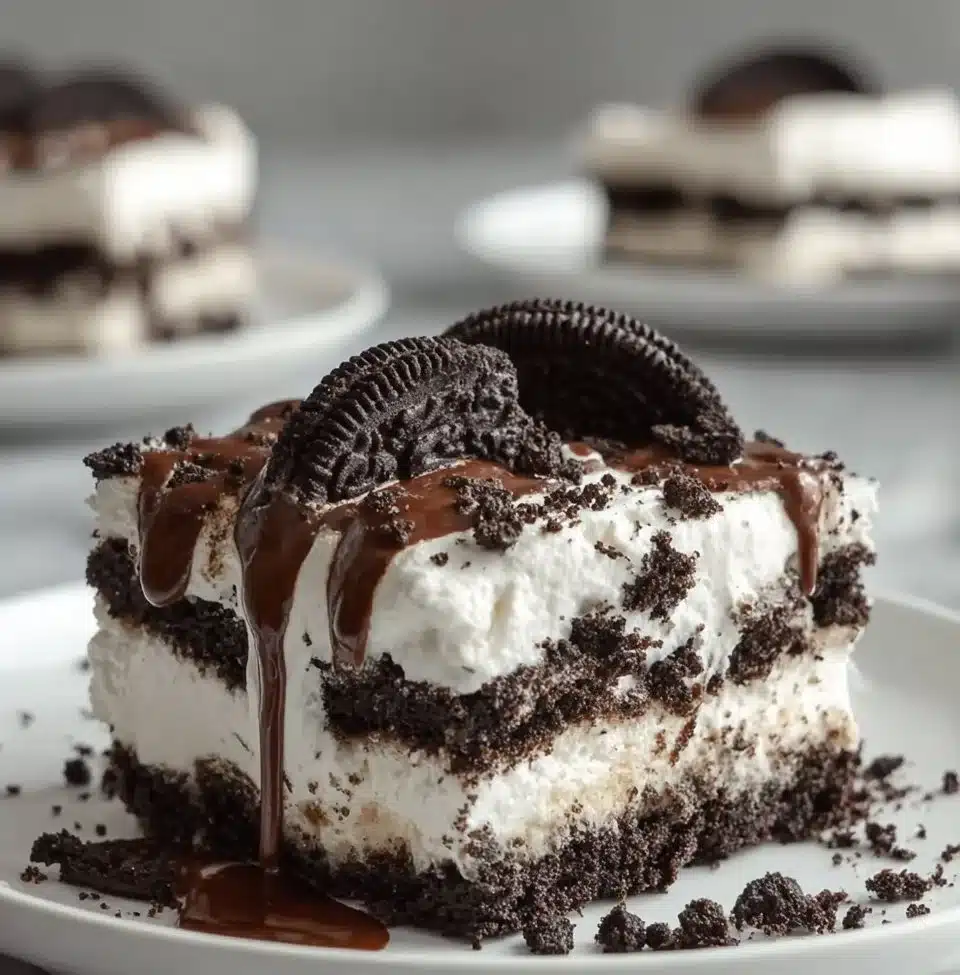
- Garnish with crushed Oreos, chocolate shavings, or berries before slicing. Serve chilled.
{image_2}
For People with Diabetes: Sugar Substitutes
- Stevia: A plant-based sweetener that won’t spike blood sugar levels.
- Monk Fruit: This natural sweetener offers a low-calorie option.
- Allulose: A rare sugar that provides sweetness with fewer calories.
Avoid honey or maple syrup, as these can increase sugar levels significantly.

Essential Tools for Oreo Icebox Cake
- Mixing bowl
- Electric mixer or whisk
- Spatula
- Rectangular dish
- Refrigerator-safe lid or plastic wrap
Pro Tips to Elevate Your Oreo Icebox Cake
- Chill Your Bowl: Chill your mixing bowl and beaters before whipping cream for optimal fluffiness.
- Layering Technique: Watch your layers; ensure that the whipped cream is evenly spread to avoid soggy spots.
- Garnish Generously: Don’t be shy with your toppings; they add not just flavor but also a beautiful aesthetic to your cake.
Keeping Your Oreo Icebox Cake Fresh
- In the Fridge: Store the cake in the refrigerator for up to 3 days. Cover it well to prevent it from absorbing other flavors.
- In the Freezer: If you want to enjoy it later, you can freeze individual slices. Ensure they’re well-wrapped to ensure freshness.
- Reheat Cautiously: Thaw in the refrigerator overnight before serving.
Common Mistakes to Avoid
- Overwhipping the Cream: This can lead to a grainy texture; stop mixing once stiff peaks form.
- Not Chilling Enough: Allowing sufficient time in the refrigerator is crucial for the cake to set properly.
- Skipping the Layers: Every layer contributes to the overall flavor; don’t rush through this step!
Everything You Need to Know About Oreo Icebox Cake
Q: Can I use low-fat cream instead of heavy cream?
A: It depends. Using low-fat cream will result in a less rich flavor and creaminess.
Q: Is it okay to make this cake a day in advance?
A: Yes, making it a day prior enhances the flavors as they meld together nicely.
Q: Can I substitute the Oreos for another cookie?
A: Yes, you can experiment with other cookies, but the flavor profile will change.
Q: How do I store leftovers?
A: Store leftovers in the refrigerator, covered tightly to maintain freshness.
Q: Can I use sugar substitutes in this recipe?
A: Yes, using sugar substitutes is a great option for those monitoring their sugar intake.
Wrapping Up: The Joy of Oreo Icebox Cake
As you gather around the table with loved ones, the Oreo Icebox Cake will not only please your palate but also warm your heart. Its simple preparation and delightful layers are a reminder that sometimes the best moments are those shared over dessert. I’d love to hear your experiences with this recipe, so please feel free to leave a comment or share a photo of your finished creation!
{image_template}
PrintOreo Icebox Cake

A nostalgic dessert that combines creamy whipped cream and crunchy Oreo cookies, perfect for any gathering.
- Prep Time: 15 minutes
- Cook Time: 0 minutes
- Total Time: 240 minutes
- Yield: 8 servings 1x
- Category: Dessert
- Method: No Bake
- Cuisine: American
- Diet: Vegetarian
Ingredients
- 24 Oreo cookies
- 2 cups heavy whipping cream
- 1/4 cup powdered sugar
- 1 tsp vanilla extract
- Optional toppings: Chocolate shavings, crushed Oreos, fresh berries
Instructions
- Whip heavy cream, powdered sugar, and vanilla in a chilled bowl until stiff peaks form. Avoid overwhipping.
- Spread a thin layer of whipped cream in a rectangular dish.
- Place Oreos side by side for the first layer, pressing gently to stabilize.
- Spread another layer of whipped cream evenly.
- Repeat the cookie and cream layers until finished.
- Top with a final layer of cream.
- Cover and refrigerate for at least 240–360 minutes or overnight.
- Garnish with crushed Oreos, chocolate shavings, or berries before slicing. Serve chilled.
Notes
Ensure to chill your mixing bowl and beaters before whipping cream for optimal fluffiness.
Nutrition
- Serving Size: 1 slice
- Calories: 350
- Sugar: 20g
- Sodium: 250mg
- Fat: 24g
- Saturated Fat: 14g
- Unsaturated Fat: 8g
- Trans Fat: 0g
- Carbohydrates: 45g
- Fiber: 2g
- Protein: 4g
- Cholesterol: 50mg