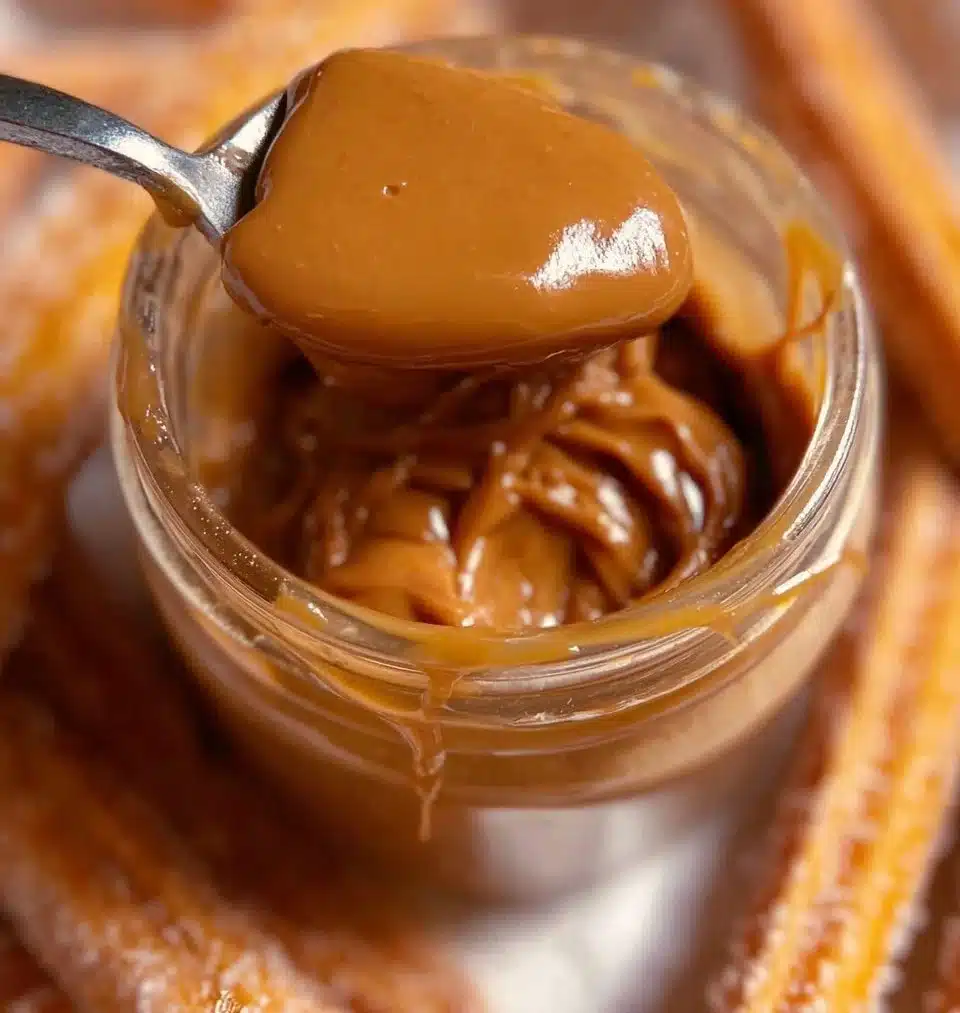
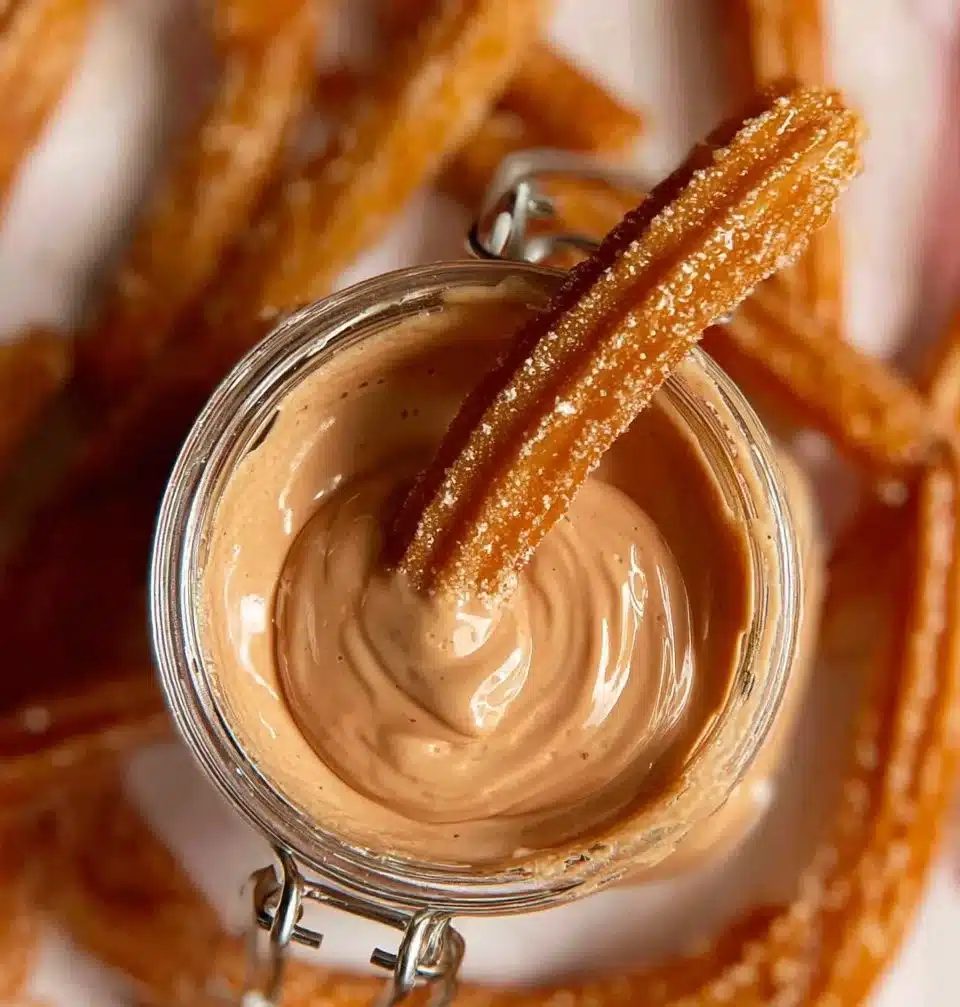
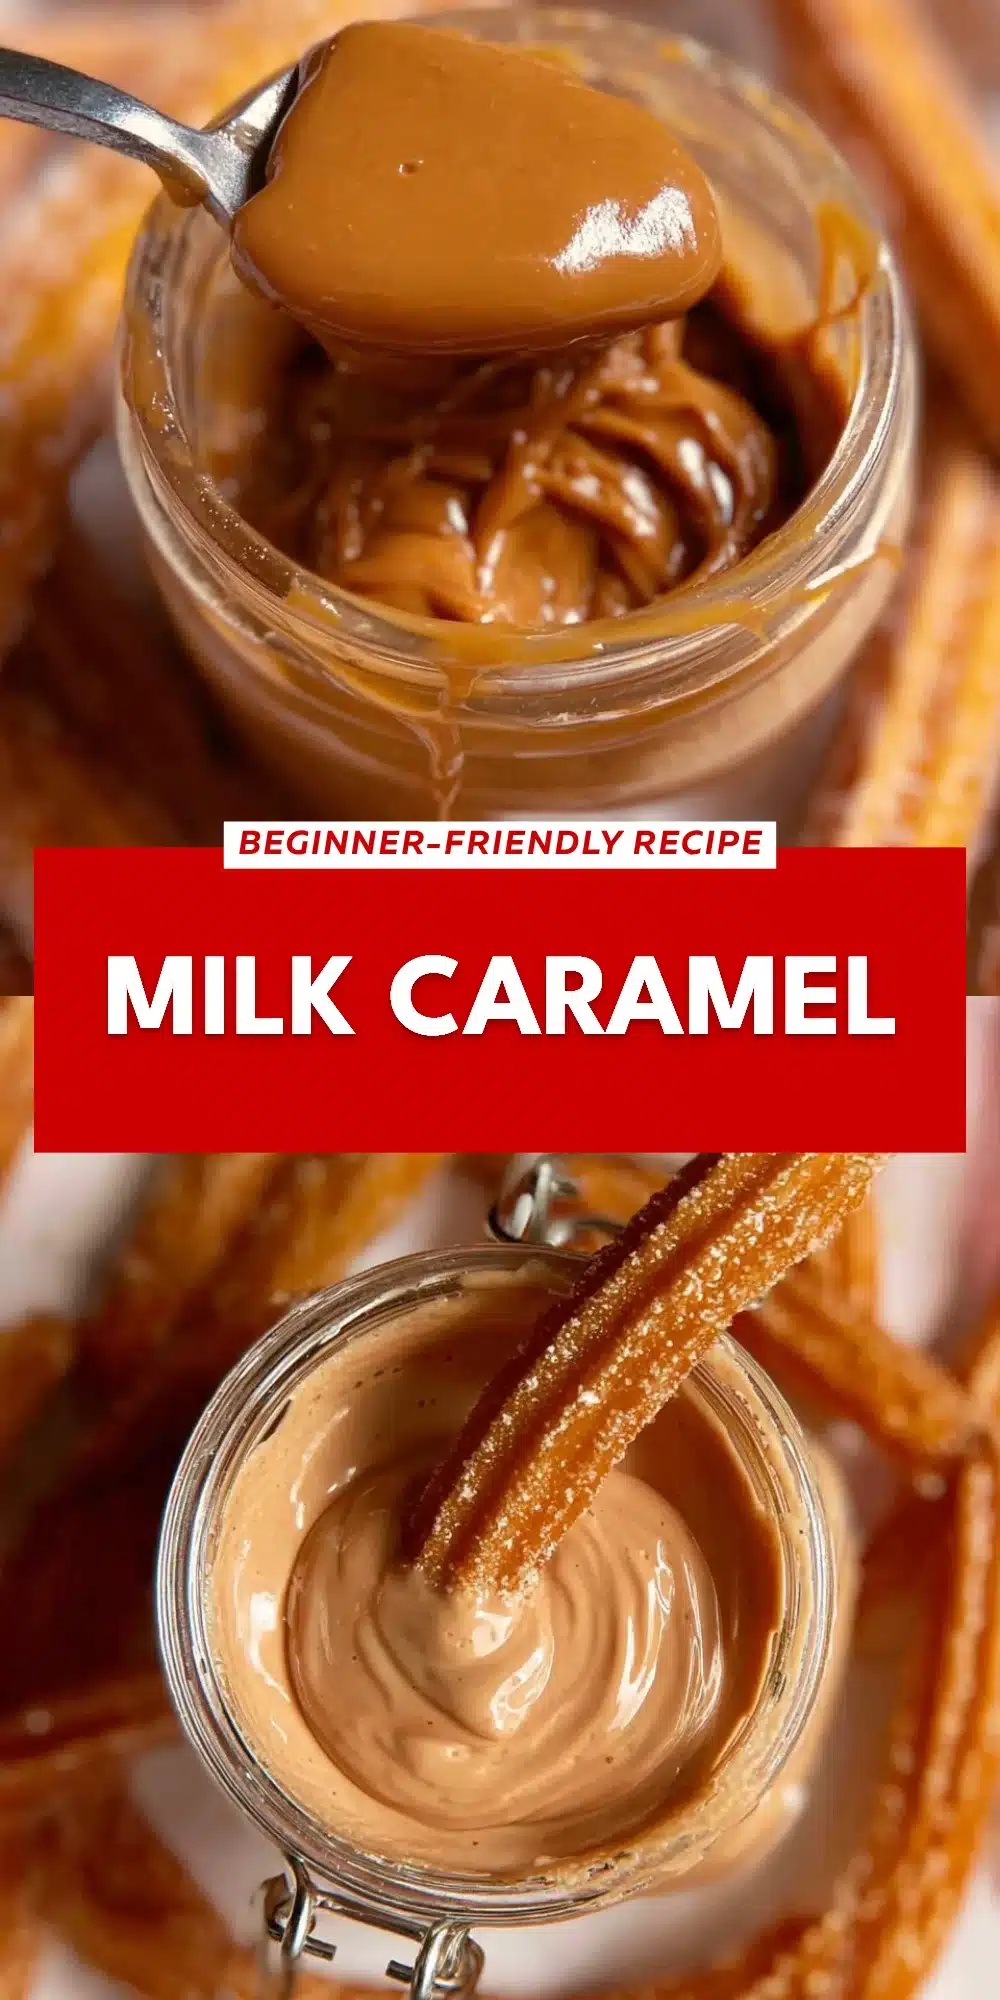
Milk Caramel
This post may contain affiliate links
I still remember the first time I tasted Milk Caramel. It was at my grandmother’s kitchen, a small place with floral curtains and the comforting scent of baked goods wafting through the air. As she stirred away in her little saucepan, I watched in awe as simple ingredients transformed into that golden, velvety sweetness. The moment that rich flavor touched my tongue, it felt like pure magic.
Fast forward to today, I find myself drawn back to that little kitchen, trying to replicate her masterpiece. What’s beautiful about Milk Caramel is its simplicity, yet the depth of flavor it brings is something that stays with you. It’s a nostalgic treat that binds us to moments shared with loved ones—those cozy nights when all you need is a spoonful of something warm and sweet.
Exploring the Roots of Milk Caramel
Milk Caramel, also known as Dulce de Leche in many parts of the world, has roots that stretch across Latin America and into many homes worldwide. This heavenly concoction originates from the blending of milk and sugar, slowly cooked down to create a luscious caramel spread that’s rich in flavor and tradition. I’ve traveled to several countries where this dessert is revered, each culture adding its unique touch. My fondness for Milk Caramel isn’t just about the flavor; it’s a symbol of home, connection, and love.
The journey of transforming a simple can of sweetened condensed milk into a jar of Milk Caramel speaks volumes about patience and warmth. It’s often enjoyed on its own, spread over toast, or drizzled atop desserts. Whether you’re enjoying it for breakfast or turning it into a dessert centerpiece, Milk Caramel is a universal delight that embraces everyone who tries it.
Why This Milk Caramel Stands Out
- Irresistible Flavor: The combination of milk and sugar creates a luxurious caramel flavor that speaks to both your soul and your taste buds.
- Incredibly Easy: With just a can of sweetened condensed milk and a water, it’s a simple dessert that requires minimal effort, making it perfect for busy weeks or spontaneous culinary adventures.
- Versatile Delight: You can use Milk Caramel in countless dishes—whether it’s on pancakes, drizzled over ice cream, or simply enjoyed with a spoon right out of the jar, it adapts to whatever cravings you have.
- Family-Friendly: It’s irresistible to both kids and adults, making it a show-stopping feature at any family gathering.
Who Will Enjoy This Milk Caramel Most
- Busy families looking for a quick dessert option.
- Health-conscious cooks interested in simple, wholesome recipes.
- Beginners in the kitchen who want to try their hand at making sweets.
- Food enthusiasts who appreciate the finer details of homemade, traditional treats.
The Best Occasions for Milk Caramel
- Weeknight dinner desserts that need a touch of sweetness without fuss.
- Gatherings with friends where you want to impress with minimal effort.
- Celebrations and holidays, bringing a unique twist to classic dishes.
- Cozy nights in, perhaps with a movie or a good book, when a sweet indulgence is a must.
How to Make the Perfect Milk Caramel
Creating a velvety jar of Milk Caramel is a delightful journey. The following instructions will guide you through achieving that golden-hued goodness.
Ingredients
- 1 can sweetened condensed milk
- Water
Step-by-Step Instructions
- Pour the sweetened condensed milk into a small saucepan.
- Fill the empty can with water and add it to the pan.
- Heat the mixture over medium-low heat, stirring frequently to prevent sticking.
- Cook for about 1 to 1.5 hours or until it reaches a caramel color and thickened consistency.
- Remove from heat and allow it to cool before using.
- Store in an airtight container in the refrigerator.
For People with Diabetes: Sugar Substitutes
For those looking to enjoy Milk Caramel without the sugar, consider using alternatives like stevia, monk fruit, or allulose to achieve a similar sweetness. Just be cautious and avoid using honey or maple syrup, as they won’t deliver the same caramelization effect.
Essential Tools for Milk Caramel
- A small saucepan
- A wooden spoon or spatula for stirring
- An airtight container for storage
- A measuring cup
Pro Tips to Elevate Your Milk Caramel
- Stir Constantly: This prevents the sweetened condensed milk from burning and sticking to the pan. Just a minute or two of distraction can lead to burnt edges!
- Watch the Color: As it cooks, keep an eye on the color change. You’re not just aiming for a thickened consistency; a lovely caramel hue is your end goal.
- Be Patient: The best Milk Caramel develops its flavor slowly, so resist the urge to rush the process—great things take time!
- Taste as You Go: Once it’s cooled, do a little taste test. If you want more depth, a pinch of sea salt can elevate the flavor beautifully.
Common Mistakes to Avoid
- Don’t skip the stirring! It’s vital for achieving that smooth caramel texture.
- Avoid cooking at high heat, as it can lead to burned Milk Caramel and a bitter flavor.
- Don’t rush the cooling process; allowing it to set properly will enhance the flavor and texture.
Frequently Asked Questions: Milk Caramel
-
Can I use evaporated milk instead of sweetened condensed milk?
No, sweetened condensed milk is necessary for the rich flavor and thick consistency of traditional Milk Caramel. -
How can I make Milk Caramel thicker?
It depends on how long you cook it; longer cooking times will yield thicker results. -
Can I double the recipe?
Yes, just ensure you use a wider pan to accommodate the increased volume without overflowing. -
How long does Milk Caramel last in the refrigerator?
Yes, properly stored, it can last about 2 weeks in the fridge. -
Can I freeze Milk Caramel?
Yes, you can freeze it, but be aware that it may alter the texture slightly when thawed.
Wrapping Up: The Joy of Milk Caramel
Milk Caramel holds a special place in my heart, and I hope it finds a warm spot in your home too. There’s something magical about transforming simple ingredients into a treat that carries so much nostalgia and comfort. So go ahead, make that batch, and let those sweet memories fill your kitchen again. If you’ve tried making this recipe or have your unique twist, I’d love to hear about it in the comments! Let’s savor every last bite of Milk Caramel together.
Milk Caramel
A nostalgic and easy recipe for homemade Milk Caramel, perfect for drizzling over desserts or enjoying on its own.
- Prep Time: 5 minutes
- Cook Time: 90 minutes
- Total Time: 95 minutes
- Yield: 1 jar 1x
- Category: Dessert
- Method: Stovetop
- Cuisine: Latin American
- Diet: Vegetarian
Ingredients
- 1 can sweetened condensed milk
- Water
Instructions
- Pour the sweetened condensed milk into a small saucepan.
- Fill the empty can with water and add it to the pan.
- Heat the mixture over medium-low heat, stirring frequently to prevent sticking.
- Cook for about 60 to 90 minutes or until it reaches a caramel color and thickened consistency.
- Remove from heat and allow it to cool before using.
- Store in an airtight container in the refrigerator.
Notes
For those with diabetes, consider using sugar substitutes like stevia or monk fruit to achieve a similar sweetness.
Nutrition
- Serving Size: 1 tablespoon
- Calories: 200
- Sugar: 30g
- Sodium: 150mg
- Fat: 5g
- Saturated Fat: 3g
- Unsaturated Fat: 2g
- Trans Fat: 0g
- Carbohydrates: 35g
- Fiber: 0g
- Protein: 4g
- Cholesterol: 10mg