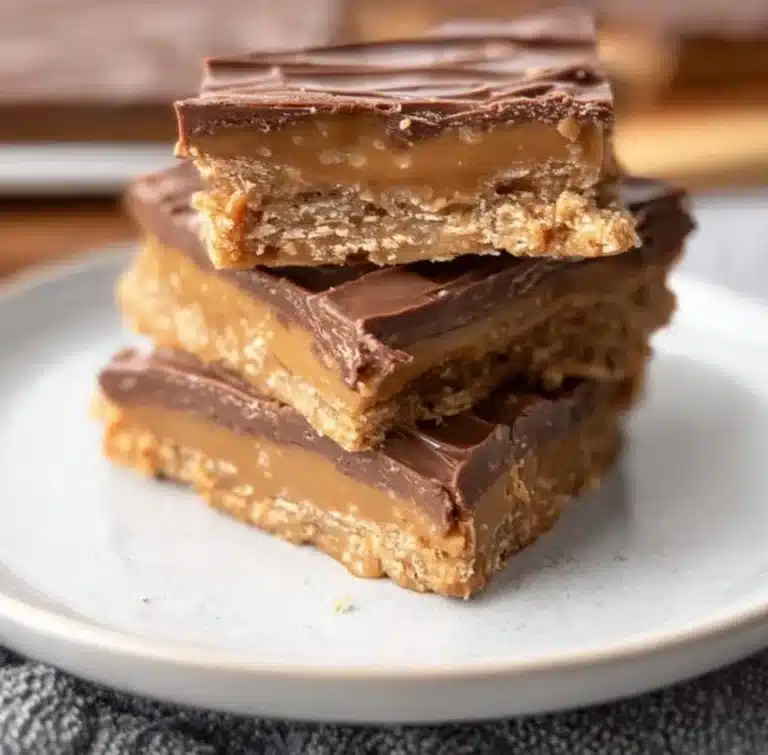
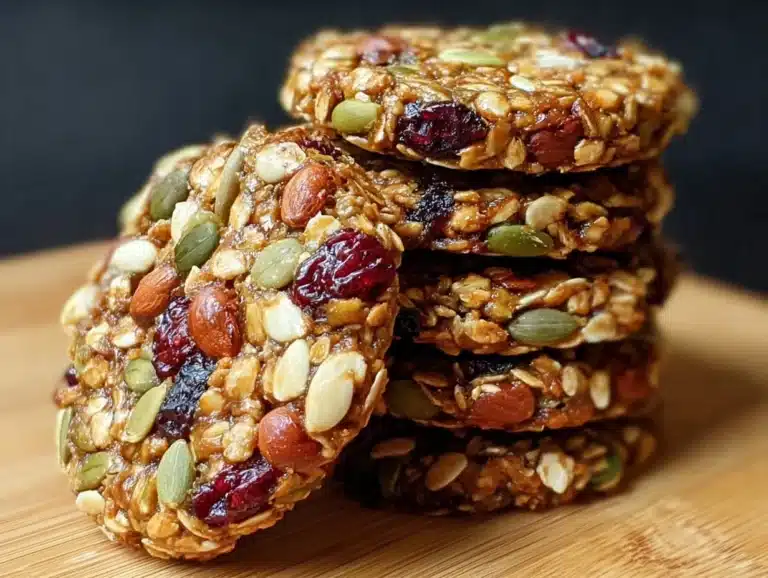
Granola Bars
This post may contain affiliate links
Granola bars have a special place in my heart. The scent of warm oats mingling with honey and a hint of vanilla often takes me back to my childhood kitchen, where deliciousness was always just a stir away. As I mix together the ingredients for these delightful treats, I can almost hear my family’s laughter echoing around me, sharing stories and moments over the kitchen counter. Granola bars aren’t just snacks; they’re memories waiting to happen.
Every time I prepare these nutritious little powerhouses, I feel the familiar rush of nostalgia coupled with excitement. They embody not only comfort but also the joy of cooking something wholesome that my loved ones will enjoy. These granola bars truly are a celebration of simple and natural ingredients, making them perfect for any occasion.
Exploring the Roots of Granola Bars
Granola bars have a rich history that intertwines with the rise of health-conscious eating. Originating in the 1960s and 70s, granola was embraced by the counterculture as a healthy, whole food alternative. The bars that we enjoy today evolved from a need for easy-to-carry snacks that didn’t skimp on flavor or nutrition. Historically associated with outdoor adventures and camping trips, these bars are now a staple in households around the globe.
What’s wonderful about granola bars is their adaptability. You can customize them with myriad ingredients, but they always remain true to their wholesome roots. Today, they symbolize a blend of health and convenience, making them the perfect on-the-go snack.
Why This Granola Bars Stands Out
-
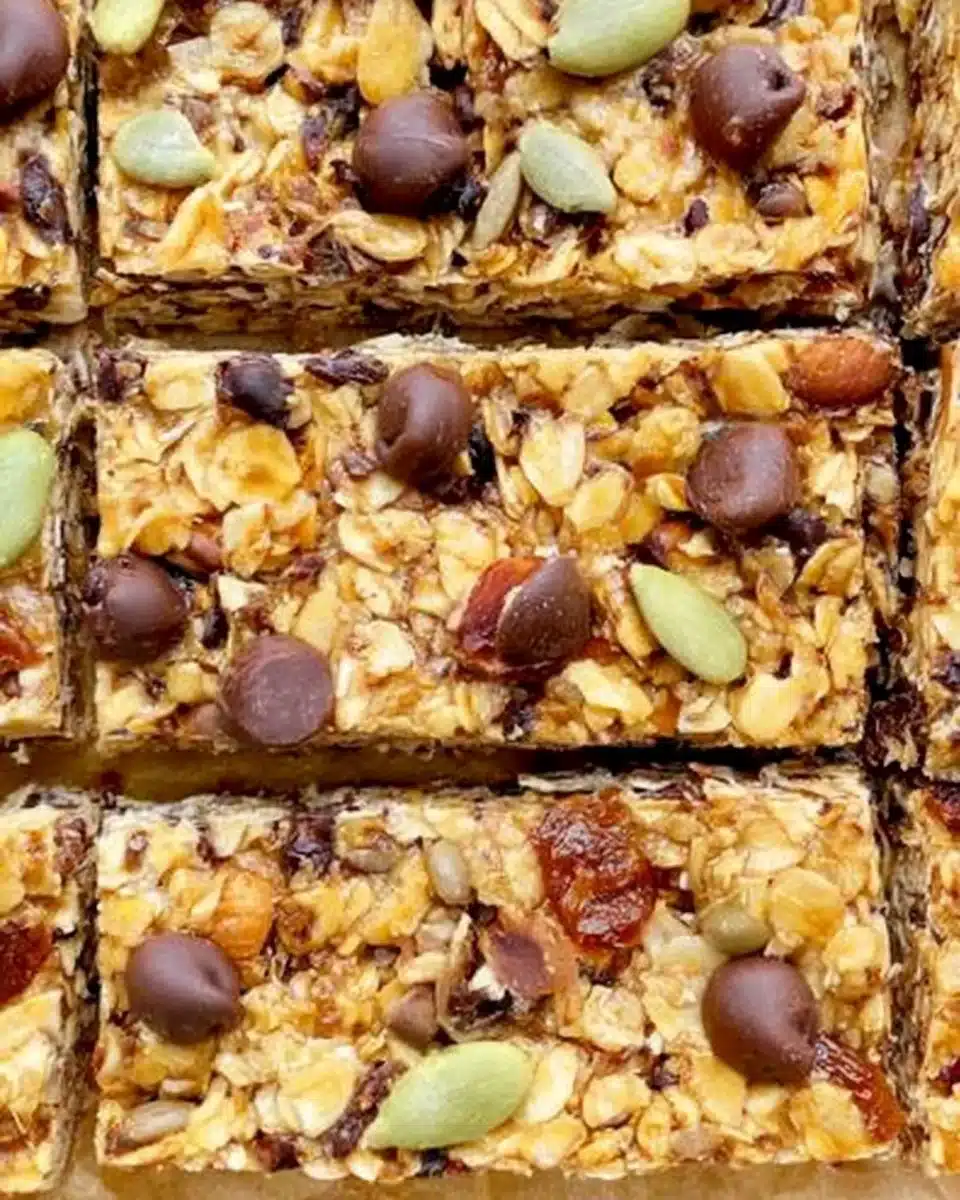
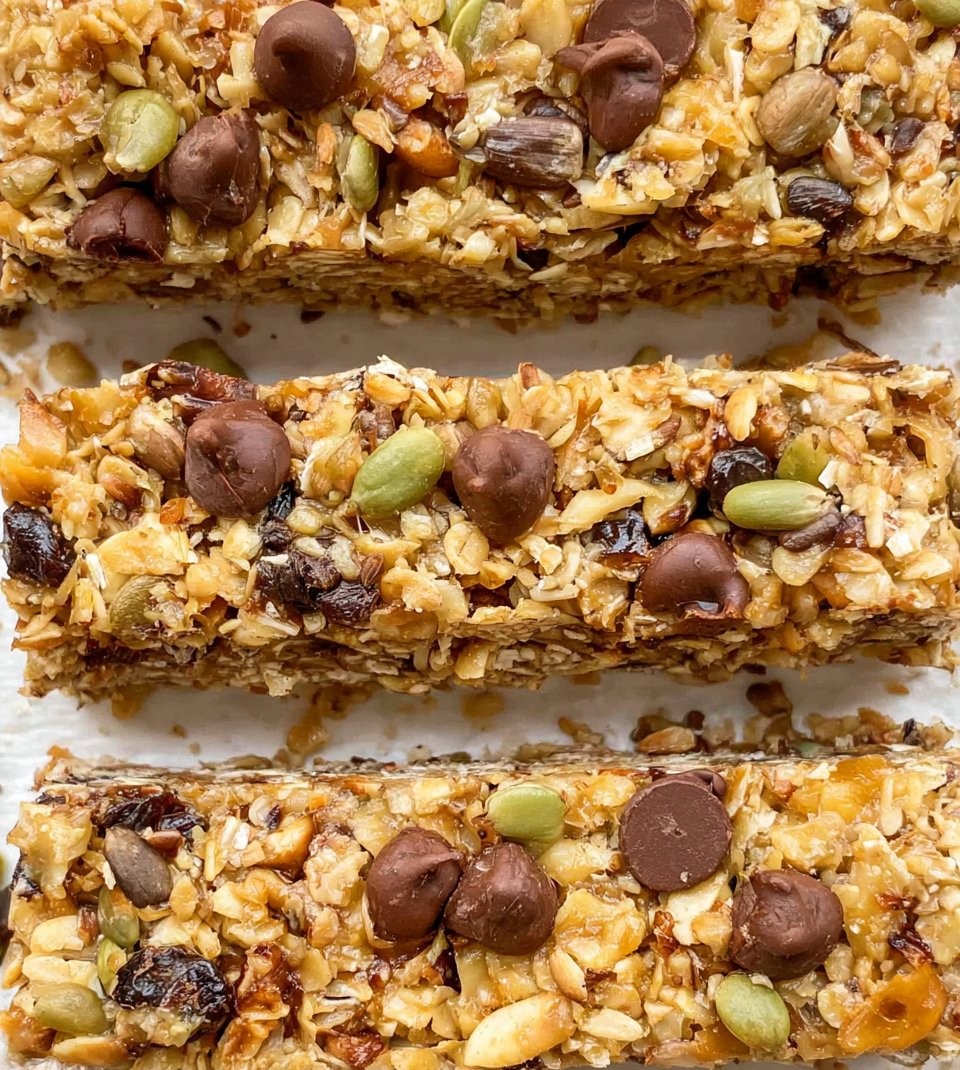
Flavorful Delight: Each bite bursts with nutty goodness from the rolled oats, complemented beautifully by the richness of peanut butter.
-
Quick & Easy: These granola bars require minimal effort, making them an ideal snack to whip up on a busy morning.
-
Nutritiously Rich: Packed with oats, protein from peanut butter, and a hint of sweetness from honey, they fuel you throughout your day.
-
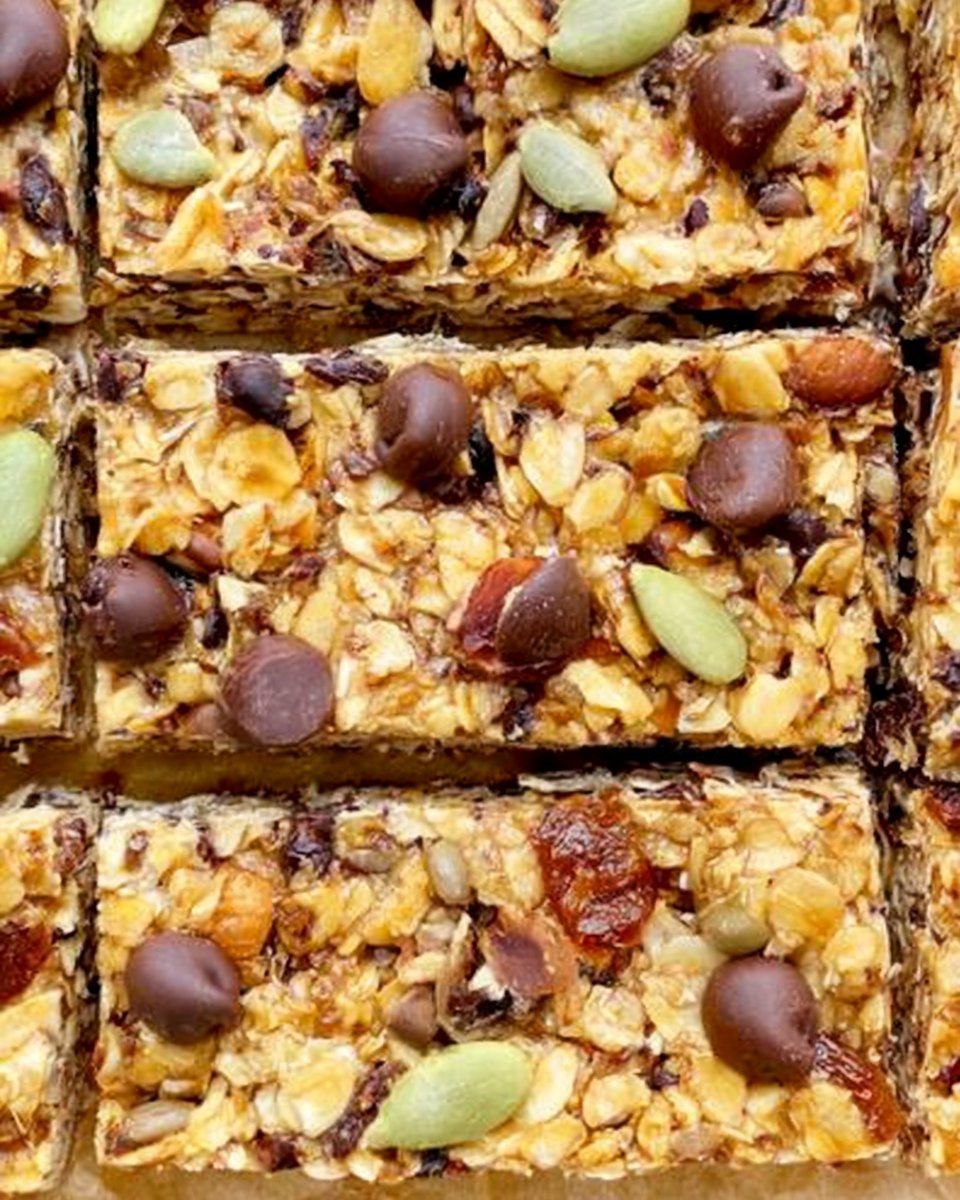
Family-Friendly: With chocolate chips as the cherry on top, these bars are sure to satisfy even the pickiest eaters in your household.
Perfect for These Home Cooks
-
Busy Families: If keeping your family nourished feels like a juggling act, these granola bars come to the rescue.
-
Health-Conscious Cooks: Individuals looking to integrate nutritious snacks into their routine will find these bars fitting.
-
Baking Enthusiasts: Beginners will appreciate how straightforward this recipe is, while seasoned cooks can enjoy customizing their own versions.
-
Kids and School Lunches: Parents searching for healthy treats to include in lunchboxes will find these popular among young snackers.
Perfect Moments to Enjoy Granola Bars
Granola bars shine during various occasions, such as:
-
Busy Weekdays: Grab a bar as you dash out the door.
-
Outdoor Adventures: Enjoy them during hikes, picnics, or camping trips.
-
After-School Snacks: Keep the kiddos fueled up after a long day of learning.
-
Casual Gatherings: Serve as a satisfyingly sweet addition to casual get-togethers with friends.
How to Make the Perfect Granola Bars
Making granola bars at home is simple and rewarding. With just a handful of ingredients and a little time, you’ll have a batch of scrumptious bars that your family will love.
Ingredients
- 2 cups rolled oats
- 1/2 cup peanut butter
- 1/3 cup honey
- 1/2 cup chocolate chips
- 1/4 teaspoon salt
- 1 teaspoon vanilla extract
Step-by-Step Instructions
-
Preheat your oven to 350°F (175°C) and line an 8×8 inch baking dish with parchment paper.
-
Combine in a large mixing bowl the rolled oats, salt, and any additional toppings like seeds or dried fruit.
-
Mix together in a small saucepan over low heat the peanut butter, honey, and vanilla extract until smooth.
-
Pour the peanut butter mixture over the oat mixture and stir until fully combined.
-
Fold in the chocolate chips.
-
Transfer the mixture to the prepared baking dish, pressing it down evenly.
-
Bake for 15-20 minutes, or until lightly golden.
-
Let it cool completely before cutting into bars. Enjoy your homemade granola bars!
For People with Diabetes: Sugar Substitutes
If you’re considering alternatives to honey or maple syrup in your granola bars, try using sugar-free substitutes like stevia, monk fruit, or allulose. It’s essential to note that traditional sweeteners should be replaced carefully to retain the texture and flavor of your bars.
Essential Tools for Granola Bars
- Mixing bowls
- Measuring cups
- Parchment paper
- Small saucepan
- Baking dish (8×8 inch)
- Wooden spoon or spatula
Pro Tips to Elevate Your Granola Bars
-
Customize: Feel free to mix in seeds, nuts, or dried fruits for added texture and nutrition.
-
Texture: For chewier bars, underbake slightly; for crispier bars, allow them to bake a bit longer.
-
Chill: Consider refrigerating the finished bars for a firmer texture before cutting.
Keeping Your Granola Bars Fresh
-
Fridge: Store in an airtight container in the refrigerator for up to a week for freshness.
-
Freezer: For longer storage, wrap bars individually and freeze for up to 3 months.
-
Reheating: Enjoy them at room temperature, or slightly warm them in the microwave for added gooeyness.
Avoid These Mistakes
-
Overmixing: Mixing too much can lead to tough bars.
-
Skipping Salt: A pinch enhances the sweetness and balances flavors.
-
Not Pressing Firmly: If the mixture isn’t compressed enough, bars may crumble when cut.
-
Ignoring Variations: Don’t hold back! Experiment with flavors and textures.
Your Granola Bars Questions Answered
-
Can I use rolled oats instead of instant oats? Yes, rolled oats work perfectly in this recipe.
-
Can I substitute peanut butter with almond butter? It depends; almond butter can be used but may slightly change the taste.
-
Are these bars gluten-free? It depends on the oats; make sure to use certified gluten-free oats for a gluten-free version.
Wrapping Up: The Joy of Granola Bars
These granola bars are more than just a snack; they are a customizable treat that carries the essence of home-cooked comfort. I can’t wait for you to try this recipe and experience the joy it brings. Please share your thoughts or any creative variations in the comments below!
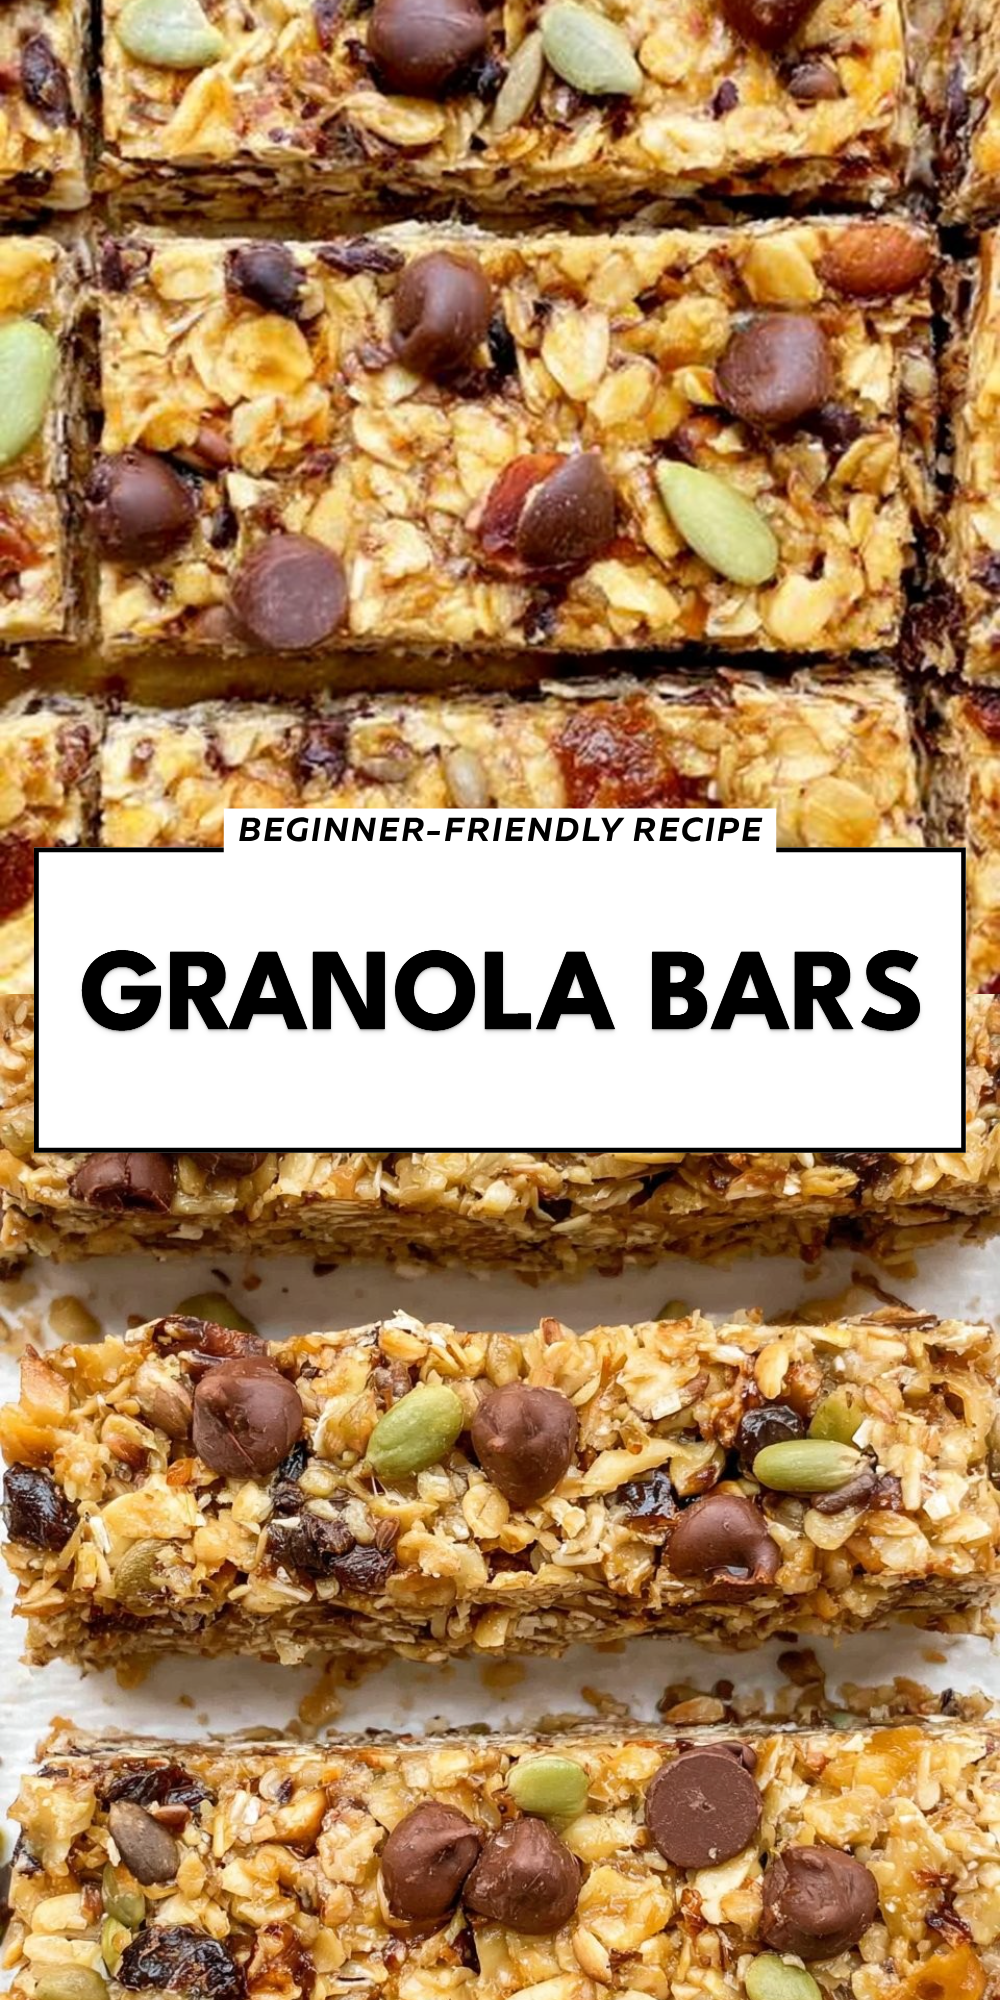
Homemade Granola Bars
Delicious, nutty granola bars made from rolled oats, peanut butter, and honey, perfect for a nutritious snack.
- Prep Time: 10 minutes
- Cook Time: 20 minutes
- Total Time: 30 minutes
- Yield: 16 servings 1x
- Category: Snack
- Method: Baking
- Cuisine: American
- Diet: Vegetarian
Ingredients
- 2 cups rolled oats
- 1/2 cup peanut butter
- 1/3 cup honey
- 1/2 cup chocolate chips
- 1/4 teaspoon salt
- 1 teaspoon vanilla extract
Instructions
- Preheat your oven to 350°F (175°C) and line an 8×8 inch baking dish with parchment paper.
- Combine in a large mixing bowl the rolled oats, salt, and any additional toppings like seeds or dried fruit.
- Mix together in a small saucepan over low heat the peanut butter, honey, and vanilla extract until smooth.
- Pour the peanut butter mixture over the oat mixture and stir until fully combined.
- Fold in the chocolate chips.
- Transfer the mixture to the prepared baking dish, pressing it down evenly.
- Bake for 15-20 minutes, or until lightly golden.
- Let it cool completely before cutting into bars. Enjoy your homemade granola bars!
Notes
For a firmer texture, refrigerate the finished bars before cutting. Customize with your favorite nuts, seeds, or dried fruits.
Nutrition
- Serving Size: 1 bar
- Calories: 180
- Sugar: 8g
- Sodium: 50mg
- Fat: 8g
- Saturated Fat: 2g
- Unsaturated Fat: 6g
- Trans Fat: 0g
- Carbohydrates: 24g
- Fiber: 3g
- Protein: 5g
- Cholesterol: 0mg