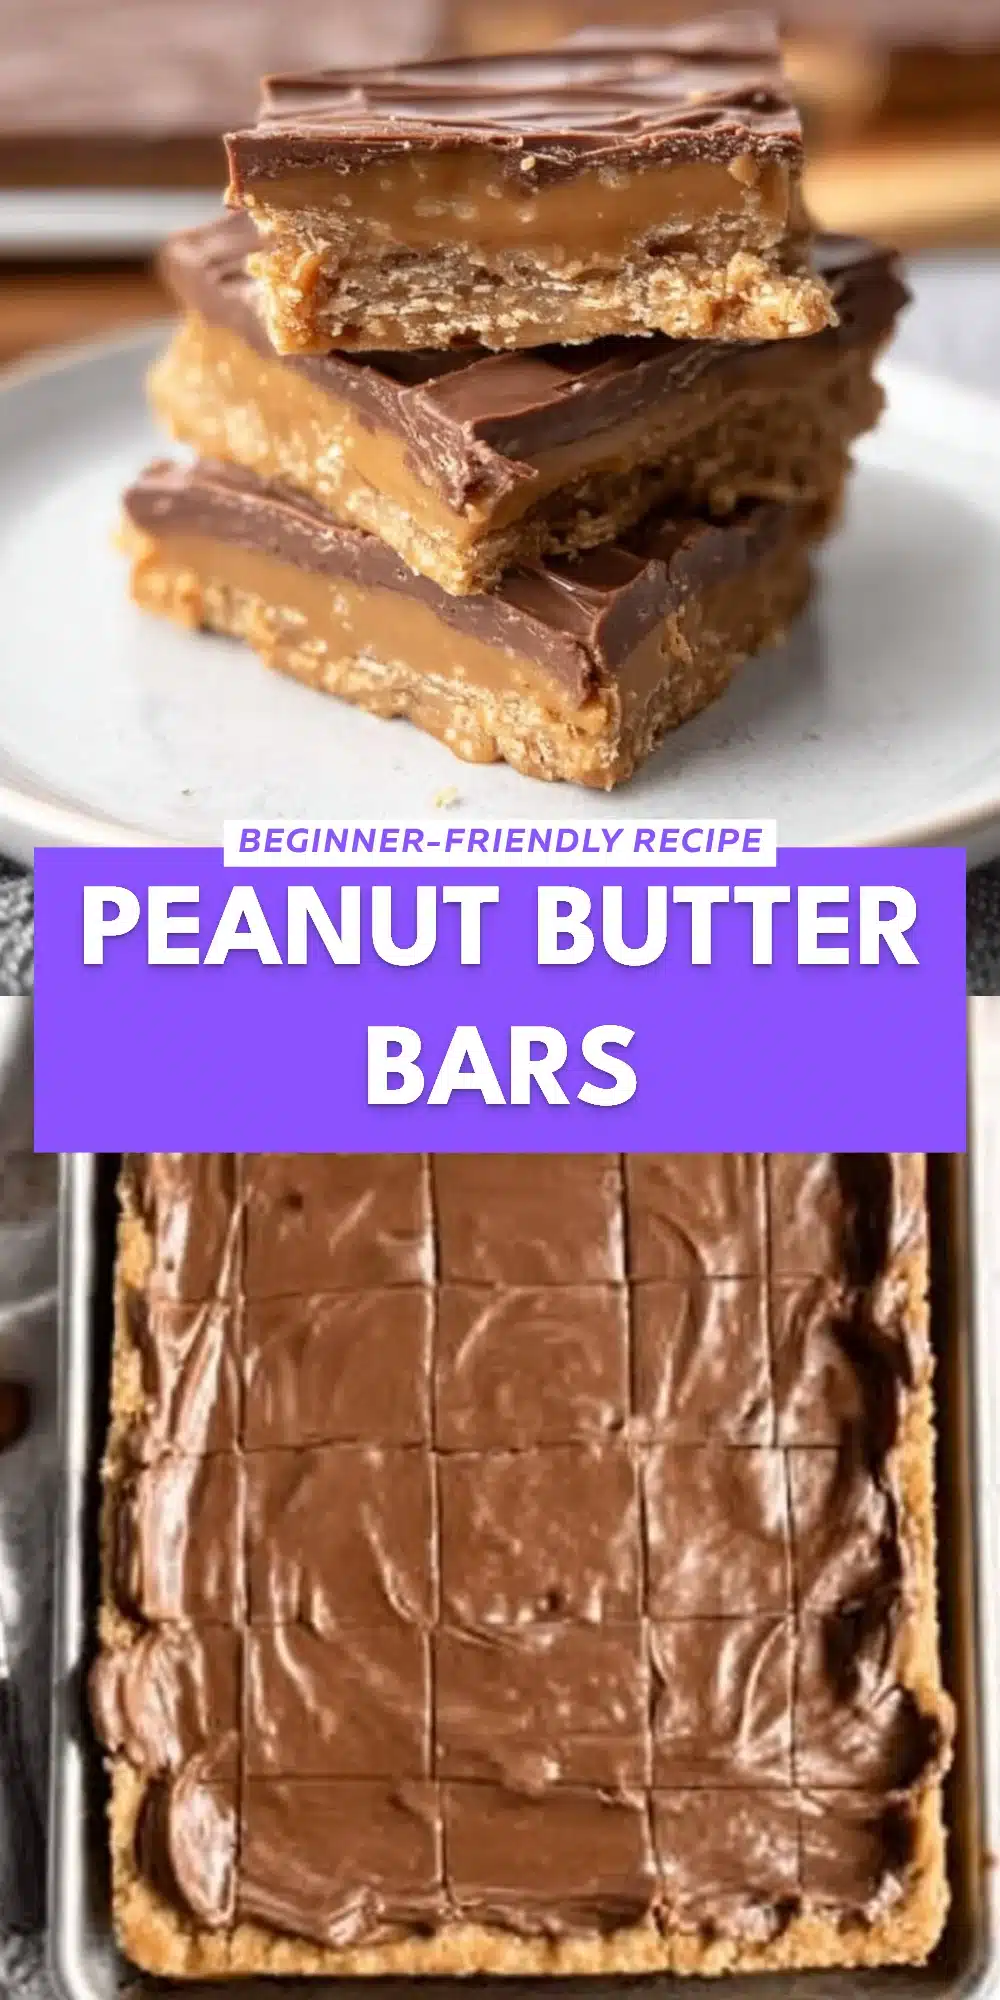
Peanut Butter Bars

This post may contain affiliate links
There’s something utterly nostalgic about the aroma of baked goods wafting through the house, was there ever a time when the scent of sweet peanut butter bars didn’t evoke fond memories? The moment I take a bite of Lunch Lady Peanut Butter Bars, I’m transported back to those carefree school days where good food meant comfort on a plate. These treats are more than just a dessert; they encapsulate love, creativity, and a sprinkle of fun.
Imagine a warm afternoon filled with laughter, where friends gather around a plate of deliciousness. As you sink your teeth into a rich, chewy peanut butter bar, you don’t just taste the combination of flavors, but also the sweet memories that come along with them. Lunch Lady Peanut Butter Bars aren’t just about the ingredients; they’re about sharing moments, creating traditions, and indulging in life’s little pleasures.
The Story Behind Lunch Lady Peanut Butter Bars
Every great recipe has a tale, and Lunch Lady Peanut Butter Bars are no exception. Originating from school cafeterias, these delightful bars were beloved by students for their rich flavors and hearty texture. They have become a staple comfort food, reminiscent of simpler times. Whether you enjoyed them during lunchtime or at special school events, they carry a sense of nostalgia that many associate with their childhood.
These bars blend together affordable, simple ingredients to create a mouthwatering dessert that can easily fit into anyone’s budget. They reflect the essence of home-cooked love, highlighting how food transcends time and place, bringing people together around the table.
Why You’ll Love This Lunch Lady Peanut Butter Bars
- Decadent Flavor: The creamy peanut butter combined with chocolate frosting creates a heavenly taste experience that satisfies every sweet tooth.
- Family-Friendly: This recipe is straightforward, making it perfect for budding bakers—kids and adults alike—creating lasting memories in the kitchen.
- Versatile Dessert: Great for special occasions as well as everyday treats, they can be served at parties, potlucks, or simply on a cozy night at home.
- Hearty and Filling: These bars are not just sweet; they offer substantial ingredients like oats and peanut butter that promote satiety.
Who Will Enjoy This Lunch Lady Peanut Butter Bars Most
- Busy Families: A quick and easy dessert option that can pair with dinner or serve as an after-school snack.
- Home Bakers: Beginners and experienced bakers will appreciate the straightforward process and satisfying result.
- Peanut Butter Lovers: Those who crave peanut butter and chocolate will find this recipe to be a dream come true.
- Kids: They make for a fabulous lunchbox addition or a sweet time after homework.
When to Cook It
- School Events: Perfect for bake sales or school functions, these bars are always a hit with kids.
- Family Gatherings: Bring them to your next family reunion for a collective blast from the past.
- Game Nights: Pair these bars with some fun games for a sweet treat while cheering for your favorite team.
- Weekend Indulgence: Enjoy them on a lazy Sunday afternoon, savoring each bite with a cup of coffee or milk.
How to Make the Perfect Lunch Lady Peanut Butter Bars
Cooking should be a joyful experience filled with laughter and love. So, let’s dive into the steps to make these delectable Lunch Lady Peanut Butter Bars.
Ingredients
- 1 cup salted butter (softened (227g))
- 1 cup granulated sugar ((200g))
- 1 cup packed light brown sugar ((200g))
- 2 1/2 cups creamy peanut butter (divided)
- 2 large eggs
- 2 teaspoons vanilla extract
- 2 cups all-purpose flour (scooped & leveled (282g))
- 2 cups old-fashioned oats
- 1 teaspoon baking soda
- 1 teaspoon salt
- 1/2 cup salted butter (softened (114g))
- 3 cups powdered sugar
- 4 Tablespoons cocoa powder
- 1/4 cup milk
- 2 teaspoons vanilla extract
Step-by-Step Instructions
- Preheat oven to 350°F.
- Spray a half-sheet baking sheet (13″x18″) with baking spray.
- Beat the butter, granulated sugar, brown sugar, and 1 cup of the peanut butter in a mixer until creamy and light.
- Add eggs and vanilla extract, then beat again, scraping the bottom and sides of the bowl.
- Add the flour, oats, baking soda, and salt.
- Mix just until combined.
- Spread the peanut butter oatmeal cookie dough into the prepared pan with a spatula.
- Bake for 15-17 minutes until golden brown around the edges and barely set in the middle.
- Do not overbake.
- While the peanut butter oatmeal cookie base is still hot, melt the remaining 1 1/2 cups of peanut butter in the microwave in a microwave-safe bowl for 1 minute.
- Drizzle over the top of the bars, spreading it into an even layer with a spatula or knife.
- Let cool completely until the peanut butter has firmed up.
- This can be sped up by sticking the bars in the fridge.
- Make the chocolate frosting by beating the butter, powdered sugar, cocoa powder, milk, and vanilla extract in a large bowl until smooth.
- Spread in an even layer over the cooled bars.
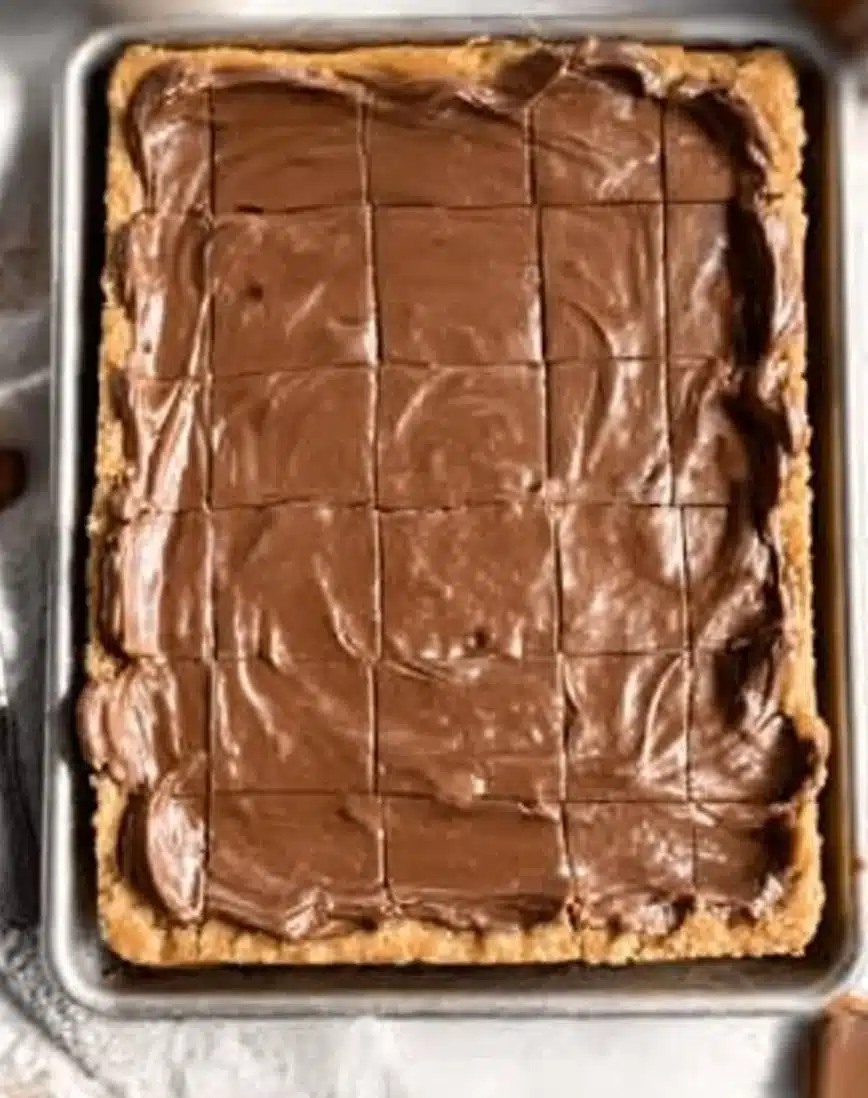
- Cut into squares.
For People with Diabetes: Sugar Substitutes
Consider using stevia, monk fruit, or allulose as suitable sugar substitutes in this recipe. Be cautious with honey or maple syrup, as they can affect blood sugar levels.

Must-Have Tools for This Recipe
- Mixing bowl
- Electric mixer
- Half-sheet baking sheet (13″x18″)
- Spatula
- Measuring cups
- Microwave-safe bowl
Pro Tips to Elevate Your Lunch Lady Peanut Butter Bars
- Line the pan: Use parchment paper for easy removal of the bars once baked.
- Chill the bars: For a firmer texture, refrigerate the bars after drizzling with melted peanut butter.
- Experiment with toppings: Consider adding chopped nuts or other favorites on top of the chocolate frosting for extra crunch.
Storing and Reheating Tips
- Refrigerate: Keep the bars in an airtight container in the fridge for up to one week.
- Freeze: Stash them in the freezer for up to three months, just make sure to wrap them well!
- Reheat: To enjoy warm, microwave for a few seconds before serving; it brings back all the gooey goodness.
Common Mistakes to Avoid
- Overbaking: Keep a close eye on your baking time; you want just golden edges!
- Not letting them cool: It’s tempting, but don’t frost the bars while they’re still warm; it can make a gooey mess.
- Using the wrong measurements: Ensure you ‘scoop and level’ your flour for accuracy; it makes a big difference in texture!
Frequently Asked Questions: Lunch Lady Peanut Butter Bars
- Can I make this recipe gluten-free?
Yes, use gluten-free flour in place of all-purpose flour. - Can I use crunchy peanut butter?
It depends on your preference; crunchy peanut butter will add texture. - Are these bars suitable for freezing?
Yes, they freeze well for several months when properly wrapped. - Can I use a different type of frosting?
Yes, feel free to get creative with your favorite frosting flavor! - How sweet are these bars?
Yes, they’re quite sweet due to the sugars and peanut butter; a delicious indulgence!
Wrapping Up: The Joy of Lunch Lady Peanut Butter Bars
In a world where culinary trends come and go, Lunch Lady Peanut Butter Bars stand the test of time. They’re a delightful reminder of home, community, and the joy of baking. I invite you to make this recipe your own and share it with loved ones. You might just create a new generation of memories! Feel free to comment below and share your experiences.
Lunch Lady Peanut Butter Bars
Delightful peanut butter bars with rich flavors and hearty texture, reminiscent of school days.
- Prep Time: 20 minutes
- Cook Time: 15 minutes
- Total Time: 35 minutes
- Yield: 24 servings 1x
- Category: Dessert
- Method: Baking
- Cuisine: American
- Diet: Vegetarian
Ingredients
- 1 cup salted butter, softened (227g)
- 1 cup granulated sugar (200g)
- 1 cup packed light brown sugar (200g)
- 2 1/2 cups creamy peanut butter, divided
- 2 large eggs
- 2 teaspoons vanilla extract
- 2 cups all-purpose flour, scooped & leveled (282g)
- 2 cups old-fashioned oats
- 1 teaspoon baking soda
- 1 teaspoon salt
- 1/2 cup salted butter, softened (114g)
- 3 cups powdered sugar
- 4 tablespoons cocoa powder
- 1/4 cup milk
- 2 teaspoons vanilla extract
Instructions
- Preheat oven to 350°F.
- Spray a half-sheet baking sheet (13″x18″) with baking spray.
- Beat the butter, granulated sugar, brown sugar, and 1 cup of the peanut butter in a mixer until creamy and light.
- Add eggs and vanilla extract, then beat again, scraping the bottom and sides of the bowl.
- Add the flour, oats, baking soda, and salt.
- Mix just until combined.
- Spread the peanut butter oatmeal cookie dough into the prepared pan with a spatula.
- Bake for 15-17 minutes until golden brown around the edges and barely set in the middle. Do not overbake.
- While the peanut butter oatmeal cookie base is still hot, melt the remaining 1 1/2 cups of peanut butter in the microwave for 1 minute.
- Drizzle over the top of the bars, spreading it into an even layer with a spatula or knife.
- Let cool completely until the peanut butter has firmed up.
- Make the chocolate frosting by beating the butter, powdered sugar, cocoa powder, milk, and vanilla extract in a large bowl until smooth.
- Spread in an even layer over the cooled bars.
- Cut into squares.
Notes
For a firmer texture, refrigerate the bars after drizzling with melted peanut butter. Use parchment paper for easy removal.
Nutrition
- Serving Size: 1 bar
- Calories: 250
- Sugar: 18g
- Sodium: 200mg
- Fat: 13g
- Saturated Fat: 6g
- Unsaturated Fat: 7g
- Trans Fat: 0g
- Carbohydrates: 30g
- Fiber: 2g
- Protein: 6g
- Cholesterol: 30mg