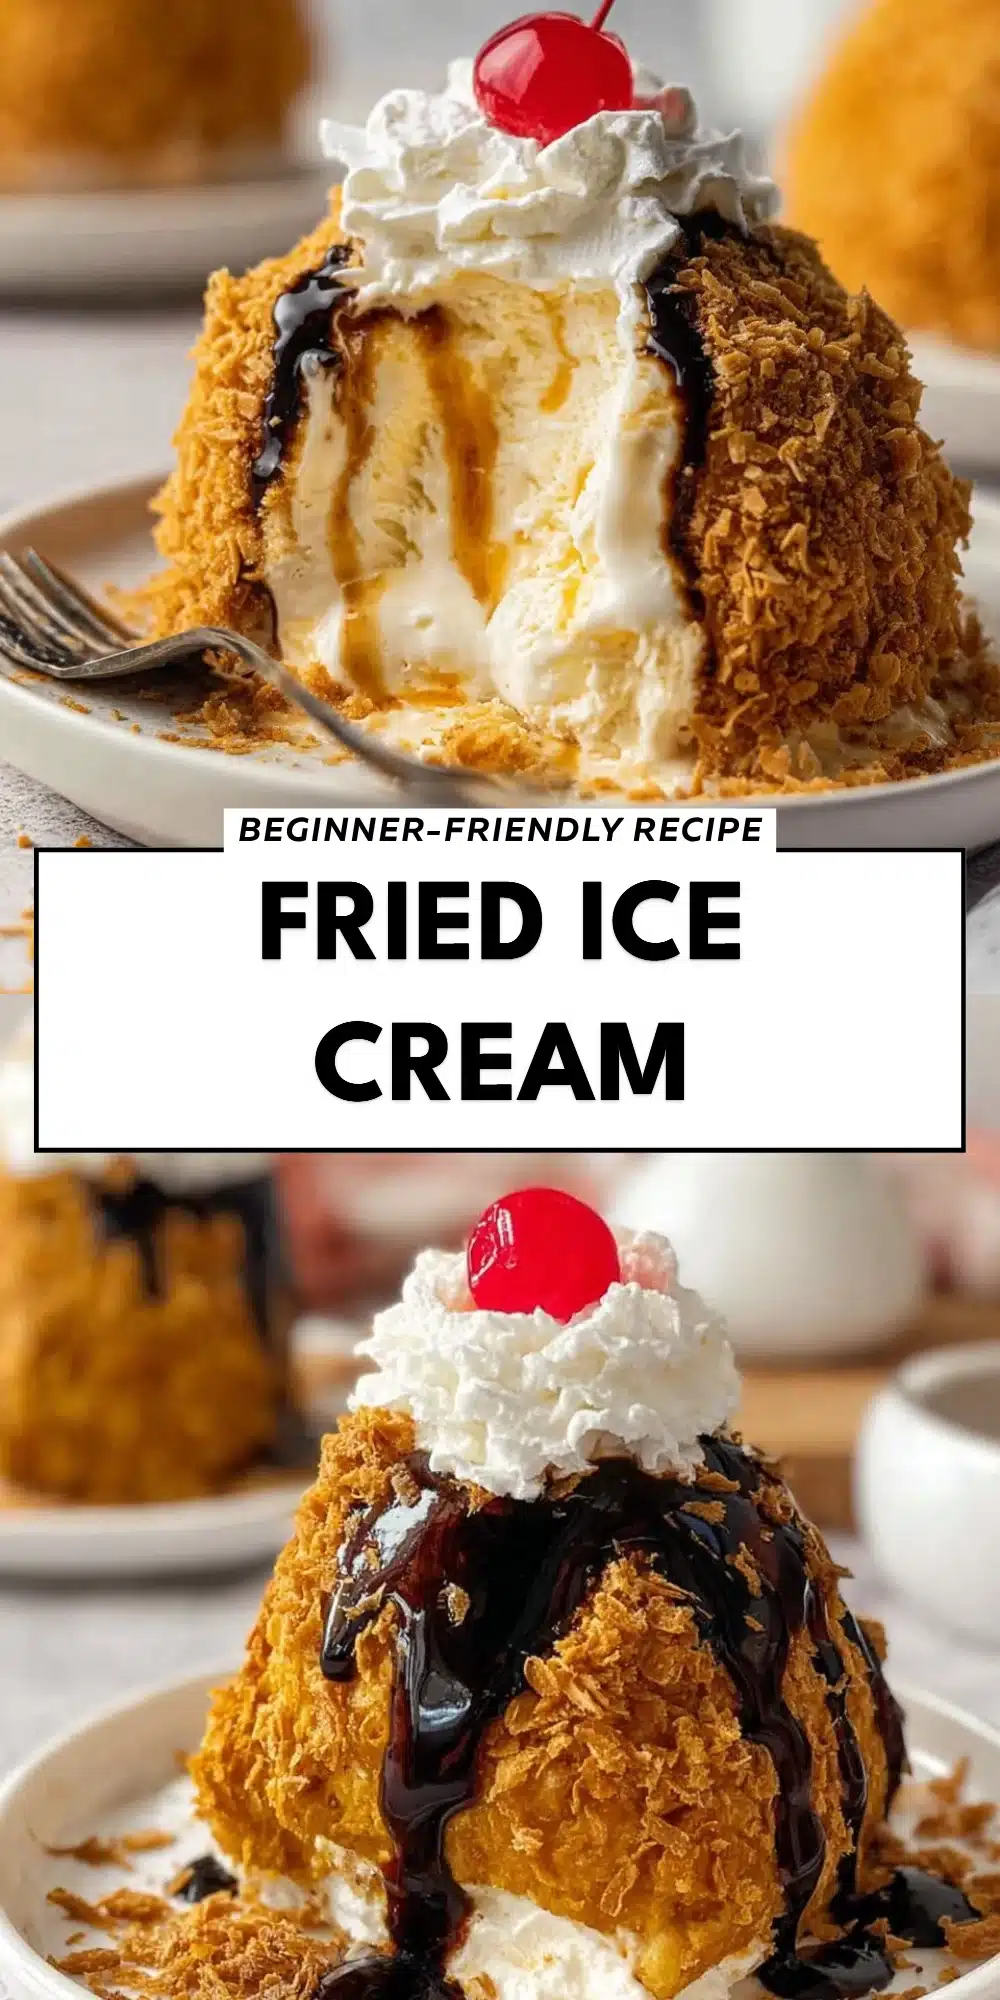
Fried Ice Cream
This post may contain affiliate links
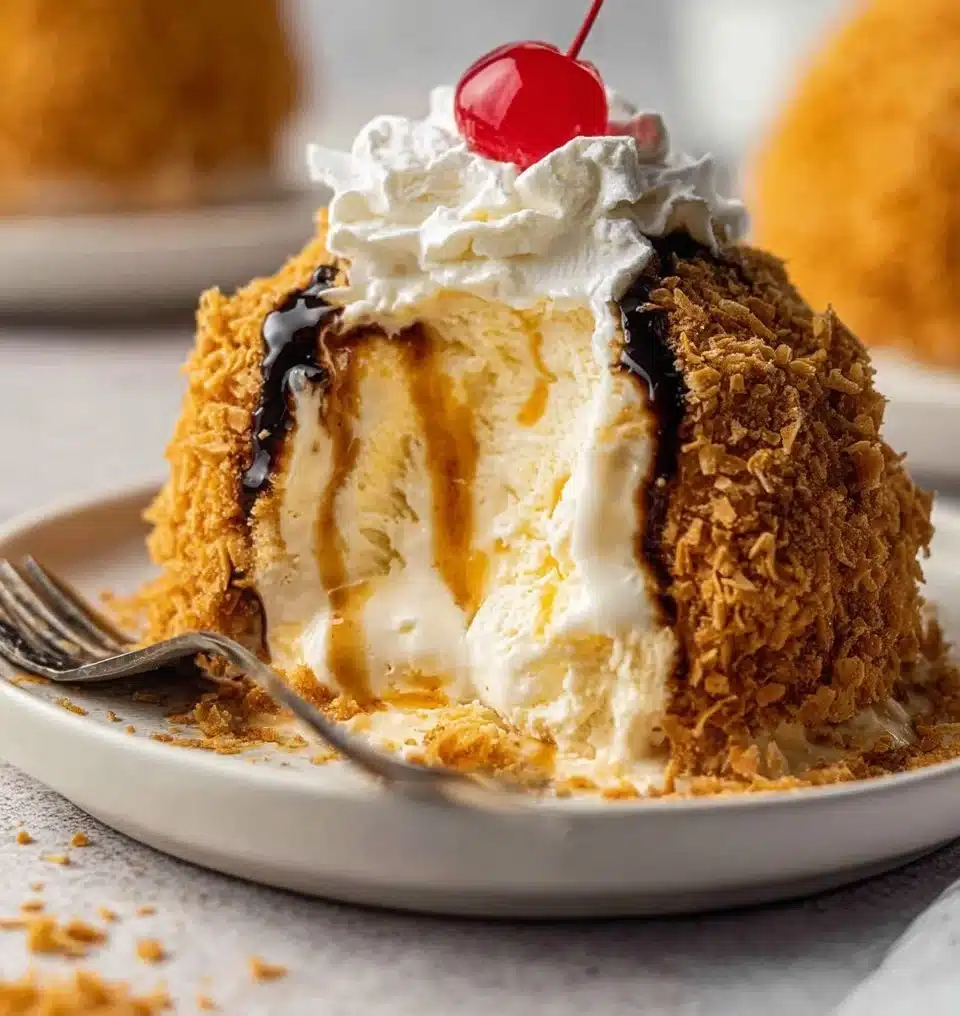
There’s something magical about the combination of hot and cold that brings out the child in all of us. Just the thought of biting into a golden, crunchy sphere filled with velvety ice cream sends shivers down my spine. Homemade Fried Ice Cream has a special place in my heart as it not only captures that essence but also lets me indulge in nostalgia and comfort. The excitement of creating this treat is as delightful as the first bite!
Whenever I take a moment to create this crowd-pleaser—rich velvety ice cream encased in a crispy, golden shell—I am transported back to the summer evenings of my childhood. Homemade Fried Ice Cream is a storytelling dish; each flavor, each texture narrates memories, laughter, and joy as my family gathers around to share in this delicious experience.
Exploring the Roots of Homemade Fried Ice Cream
Homemade Fried Ice Cream is a beloved dessert that has roots in both American and Mexican cuisines. Although the exact origin is often debated, it’s widely accepted that this whimsical creation surged in popularity during the mid-20th century. Influenced by traditional Mexican churros and modern American innovation, this dessert has become a staple in many households and eateries. The beauty lies in the contrasts—ice cream, typically frozen and comforting, juxtaposed against a hot, crispy coating. It’s that enticing deep-frying that transforms the dessert into something heavenly!
You might think that frying ice cream sounds impossible, but trust me; it’s a beautiful dance of temperatures that results in pure delight. I fondly remember enjoying Homemade Fried Ice Cream in various Mexican restaurants, where the anticipation built as the waiter arrived with the dessert, drizzled in chocolate and topped with whipped cream. It was always a celebration; sharing it with my family and friends was a joyous occasion, emphasizing that food is indeed an experience to be shared.
Why You’ll Love This Homemade Fried Ice Cream
- Flavor Explosion: The rich, creamy texture of the ice cream wrapped in a crunchy, sweet shell creates a taste sensation that’s impossible to resist.
- Easy and Fun: Despite its restaurant-level appeal, making this dessert at home is surprisingly straightforward and so much fun to prepare with family or friends.
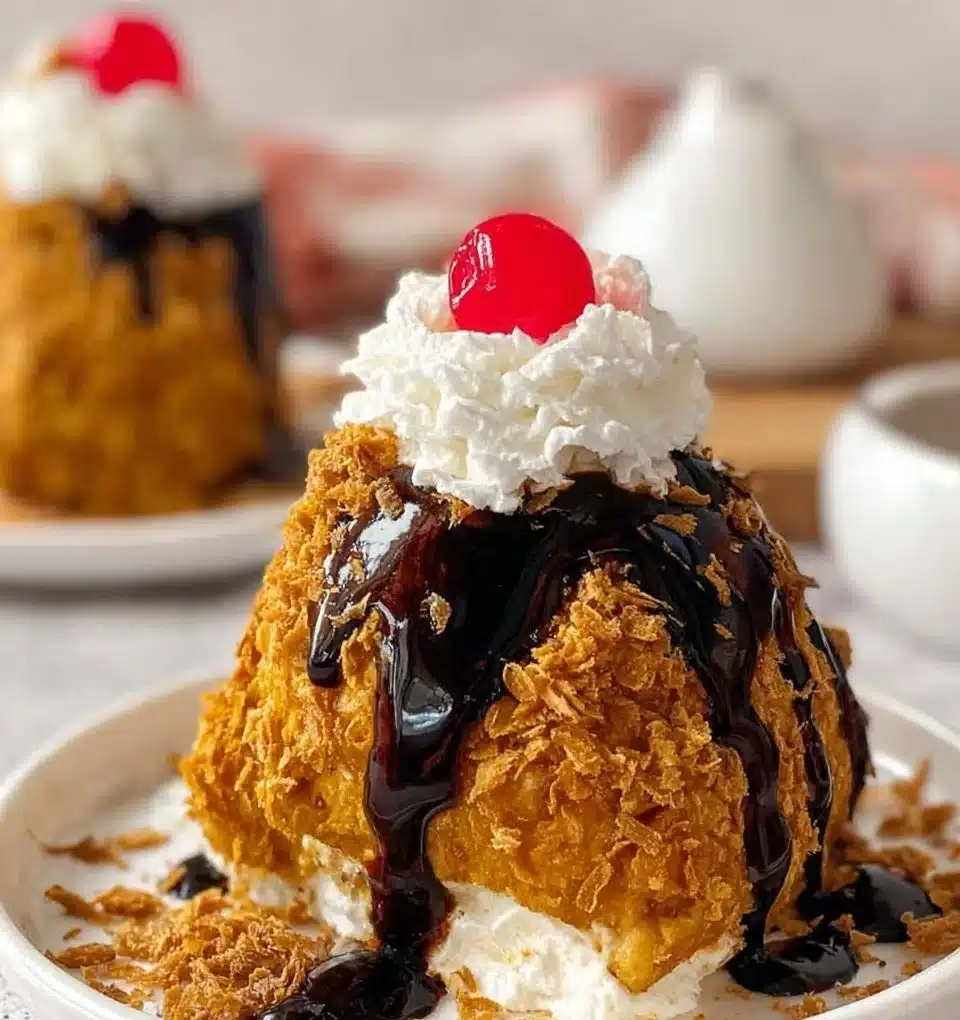
- Alluring Presentation: Drizzling chocolate sauce over the crispy ice cream balls topped with fluffy whipped cream makes this treat visually stunning. It’s a treat your loved ones won’t forget!
- Perfect for Any Occasion: Whether it’s a cozy dinner, birthday celebration, or summer gathering, Homemade Fried Ice Cream adds a special touch to any event.
Who Will Enjoy This Homemade Fried Ice Cream Most
- Busy Families: A perfect weekend project to engage everyone in the kitchen.
- Foodies: Those who relish in creating and experimenting with unique dishes.
- Ice Cream Lovers: Anyone who has a passion for frozen treats will fall head over heels.
- Home Cooks: Beginners and seasoned cooks alike will find joy in crafting this delightful dessert.
Perfect Moments to Enjoy Homemade Fried Ice Cream
- Weeknight Treats: After a long day, making this dessert can transform a regular evening into an extraordinary one.
- Gatherings: Impress your friends and family during parties; it’s guaranteed to be the highlight!
- Holidays: Brighten your holiday festivities with this cheerful dessert that delights all ages.
- Summer Nights: On warm evenings, nothing feels more refreshing than a delightful scoop of fried ice cream.
How to Make the Perfect Homemade Fried Ice Cream
Now that we’re feeling excited about this delectable dessert, let’s get to the delicious part!
Ingredients
- 1 pint of ice cream (your choice)
- 2 cups cornflakes, crushed
- 1 teaspoon ground cinnamon
- 1 cup all-purpose flour
- 2 eggs, beaten
- 1 teaspoon vanilla extract
- Oil for frying
- Chocolate sauce (for drizzling)
- Whipped cream (for serving)
Step-by-Step Instructions
- Scoop ice cream into small balls and freeze until solid, about 2 hours.
- Mix crushed cornflakes with cinnamon in a shallow dish.
- Add flour into another bowl.
- Combine beaten eggs with vanilla in a third bowl.
- Roll each ice cream ball first in flour.
- Dip each ball in the egg mixture.
- Coat with the cornflake mixture.
- Freeze the coated balls for an additional 30 minutes.
- Heat oil in a deep pan over medium heat.
- Fry the ice cream balls for a few seconds until golden brown.
- Remove and drain on paper towels.
- Serve immediately with chocolate sauce and whipped cream.
For People with Diabetes: Sugar Substitutes
If you’re considering alternatives for sweetness, here are a few sugar-free options that work well:
- Stevia
- Monk fruit
- Allulose
It’s essential to avoid honey or maple syrup, as they can significantly impact blood sugar levels.
Tools You’ll Need
- Deep-frying pan
- Mixing bowls
- Whisk
- Baking sheet
- Paper towels
Pro Tips to Elevate Your Homemade Fried Ice Cream
- Freeze Well: Make sure that the ice cream balls are entirely frozen before frying for the perfect texture.
- Coating: Ensure an even coat with the cornflake mixture for maximum crunch.
- Temperature Control: Maintain a consistent oil temperature while frying; too high might burn the coating before the ice cream has a chance to softens.
- Make It Healthier: Experiment with different toppings like fresh fruit, nuts, or a fruit-based sauce for a twist.
Storing and Reheating Tips
- Fridge: Store any leftovers in an airtight container for up to 2 days.
- Freezer: You can freeze extra coated ice cream balls, but they may lose their original texture after thawing.
- Reheating: Fried ice cream is best enjoyed fresh, but if you need to store and reheat, a quick stint in the microwave (for just a few seconds) can help soften it slightly.
Common Mistakes to Avoid
- Under-Frying: Not frying long enough can lead to an unsatisfying texture; ensure they are golden brown.
- Too Warm Ice Cream: Use fully frozen ice cream balls; otherwise, they’ll melt during the frying process.
- Inadequate Coating: Make sure to coat them well in the cornflake mixture to achieve that famous crispy layer.
Your Homemade Fried Ice Cream Questions Answered
- Can I use any flavor of ice cream? Yes, feel free to experiment with your favorite ice cream flavors!
- Is it possible to prepare this dessert ahead of time? It depends on when you fry them. The ice cream balls can be made a few hours ahead but should be fried right before serving for the best results.
- Can I use gluten-free flour? Yes, using alternatives like almond or coconut flour can work well.
- What type of oil is best for frying? Yes, I recommend using oils with a high smoke point, such as vegetable or canola oil.
- Are there nut-free options for the coating? Yes, simply use cornflakes and avoid any nut-based ingredients in your ice cream.
Final Word on This Homemade Fried Ice Cream Recipe
Homemade Fried Ice Cream deserves a special spot at your table for its rich flavor and inspiring creativity. Every scoop holds memories, stories, and joy! I invite you to try your hand at this marvelous treat and share your delightful experiences in the comments. Let’s make sweet memories together!
Homemade Fried Ice Cream
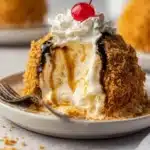
Delightful fried ice cream with a crispy coating that brings nostalgia and joy.
- Prep Time: 15 minutes
- Cook Time: 5 minutes
- Total Time: 150 minutes
- Yield: 4 servings 1x
- Category: Dessert
- Method: Frying
- Cuisine: American, Mexican
- Diet: Vegetarian
Ingredients
- 1 pint of ice cream (your choice)
- 2 cups cornflakes, crushed
- 1 teaspoon ground cinnamon
- 1 cup all-purpose flour
- 2 eggs, beaten
- 1 teaspoon vanilla extract
- Oil for frying
- Chocolate sauce (for drizzling)
- Whipped cream (for serving)
Instructions
- Scoop ice cream into small balls and freeze until solid, about 120 minutes.
- Mix crushed cornflakes with cinnamon in a shallow dish.
- Add flour into another bowl.
- Combine beaten eggs with vanilla in a third bowl.
- Roll each ice cream ball first in flour.
- Dip each ball in the egg mixture.
- Coat with the cornflake mixture.
- Freeze the coated balls for an additional 30 minutes.
- Heat oil in a deep pan over medium heat.
- Fry the ice cream balls for a few seconds until golden brown.
- Remove and drain on paper towels.
- Serve immediately with chocolate sauce and whipped cream.


Notes
Ensure ice cream balls are fully frozen before frying for the best texture.
Nutrition
- Serving Size: 1 serving
- Calories: 350
- Sugar: 28g
- Sodium: 400mg
- Fat: 18g
- Saturated Fat: 8g
- Unsaturated Fat: 6g
- Trans Fat: 0g
- Carbohydrates: 45g
- Fiber: 2g
- Protein: 6g
- Cholesterol: 60mg