Frozen Custard
This post may contain affiliate links
It was one of those sun-drenched afternoons when the world seems to stand still and demands a little indulgence. As I sat on my porch, children’s laughter echoing in the distance, I couldn’t help but yearn for a creamy treat that would wrap me in nostalgia—the kind of dessert that transports you to warm summer days and memories shared with loved ones. That’s when I knew it was time to make Frozen Custard.
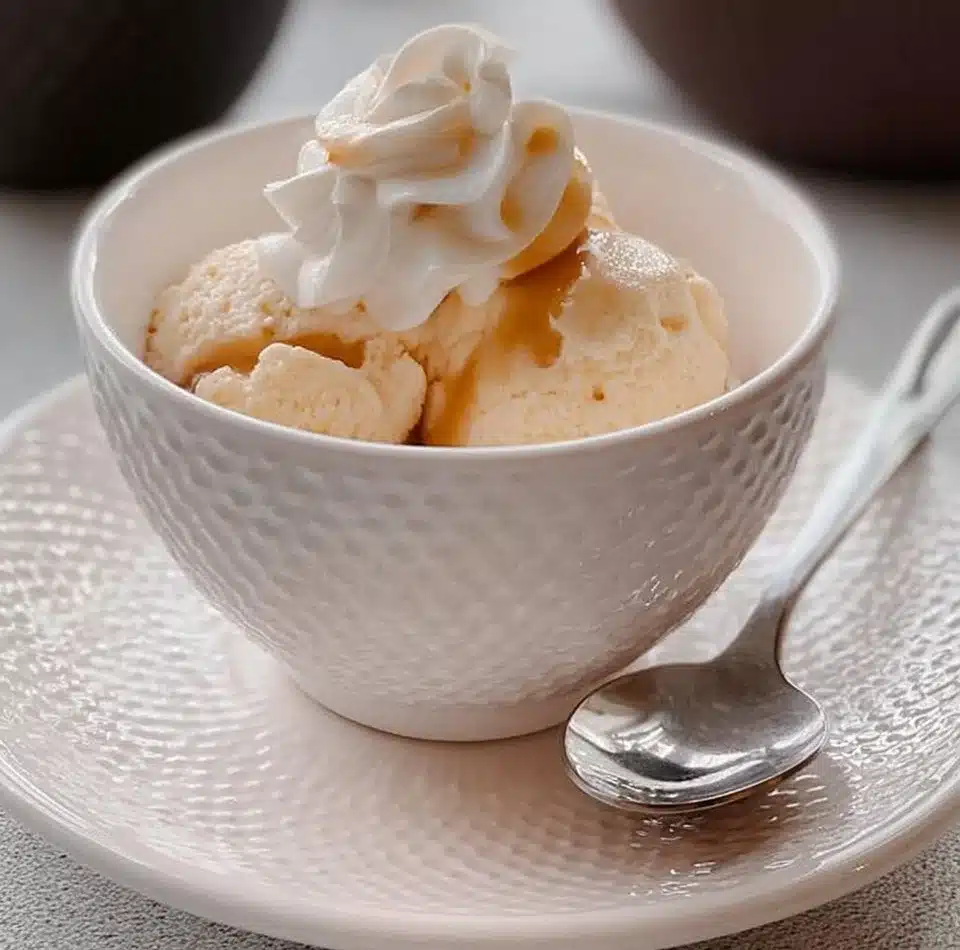
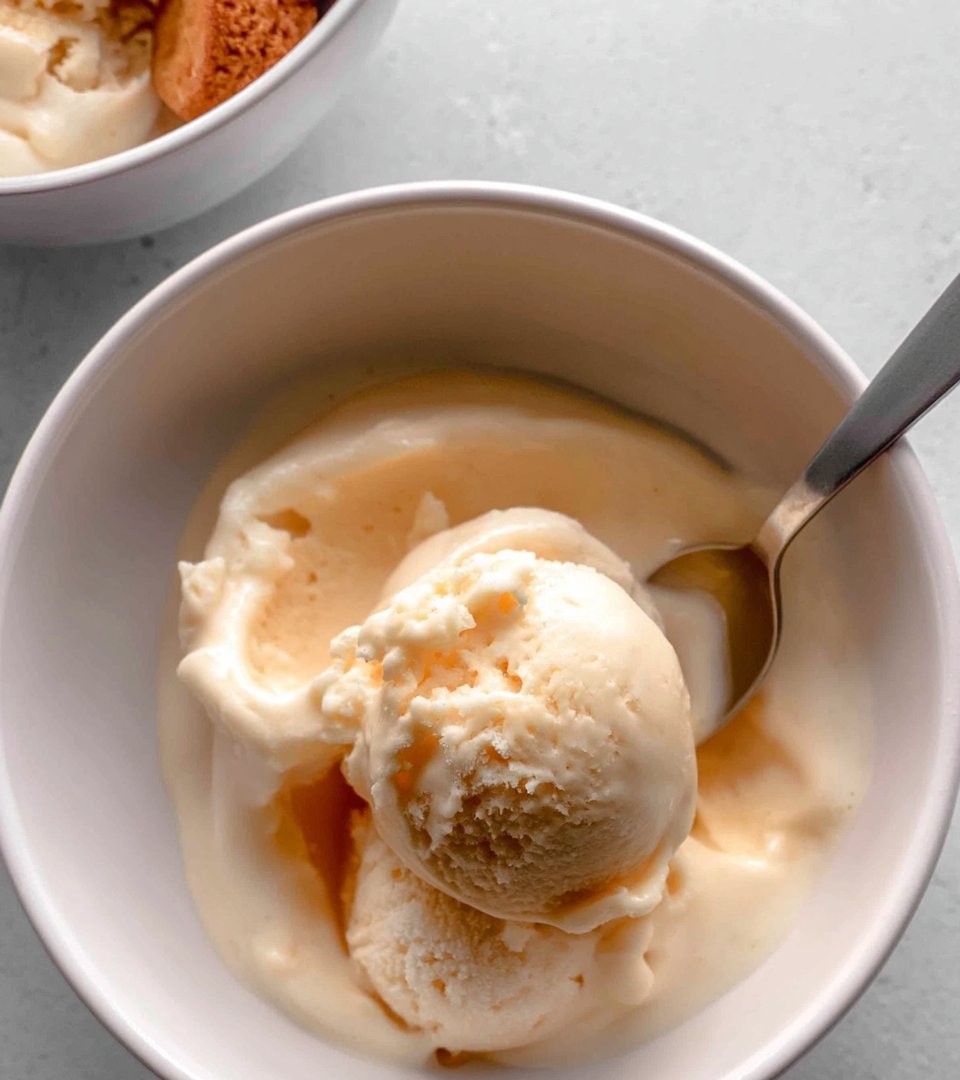
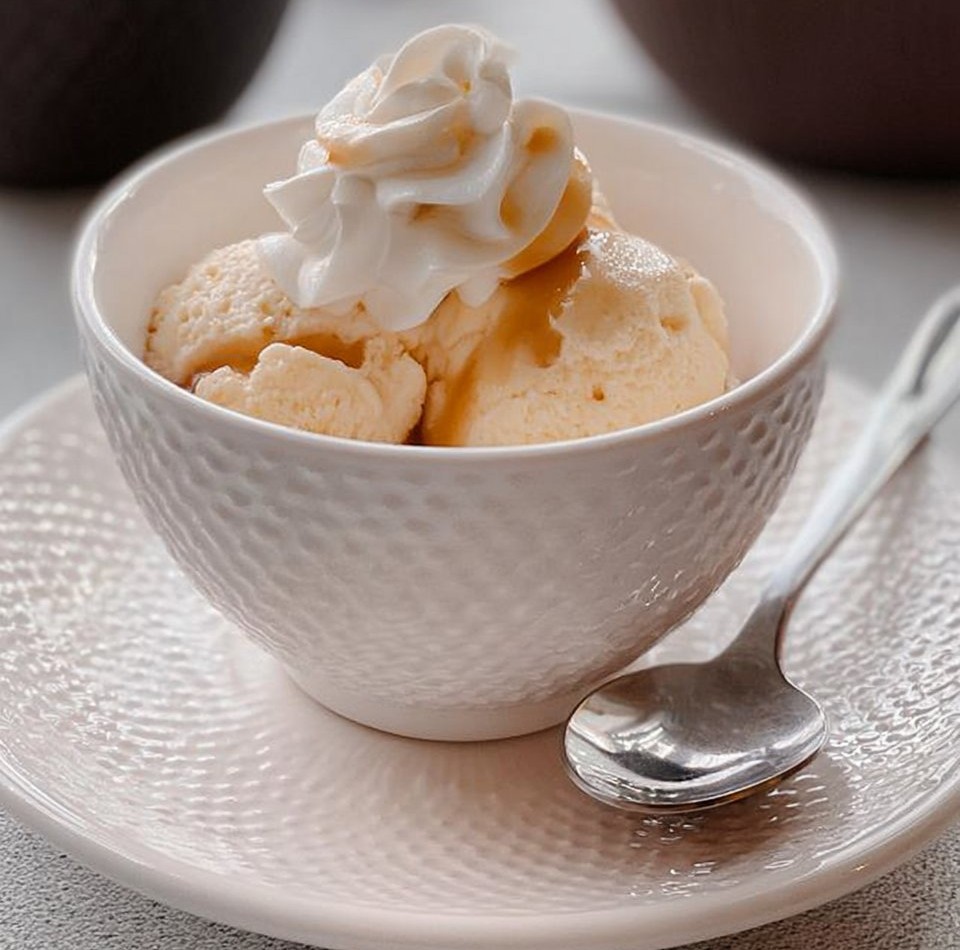
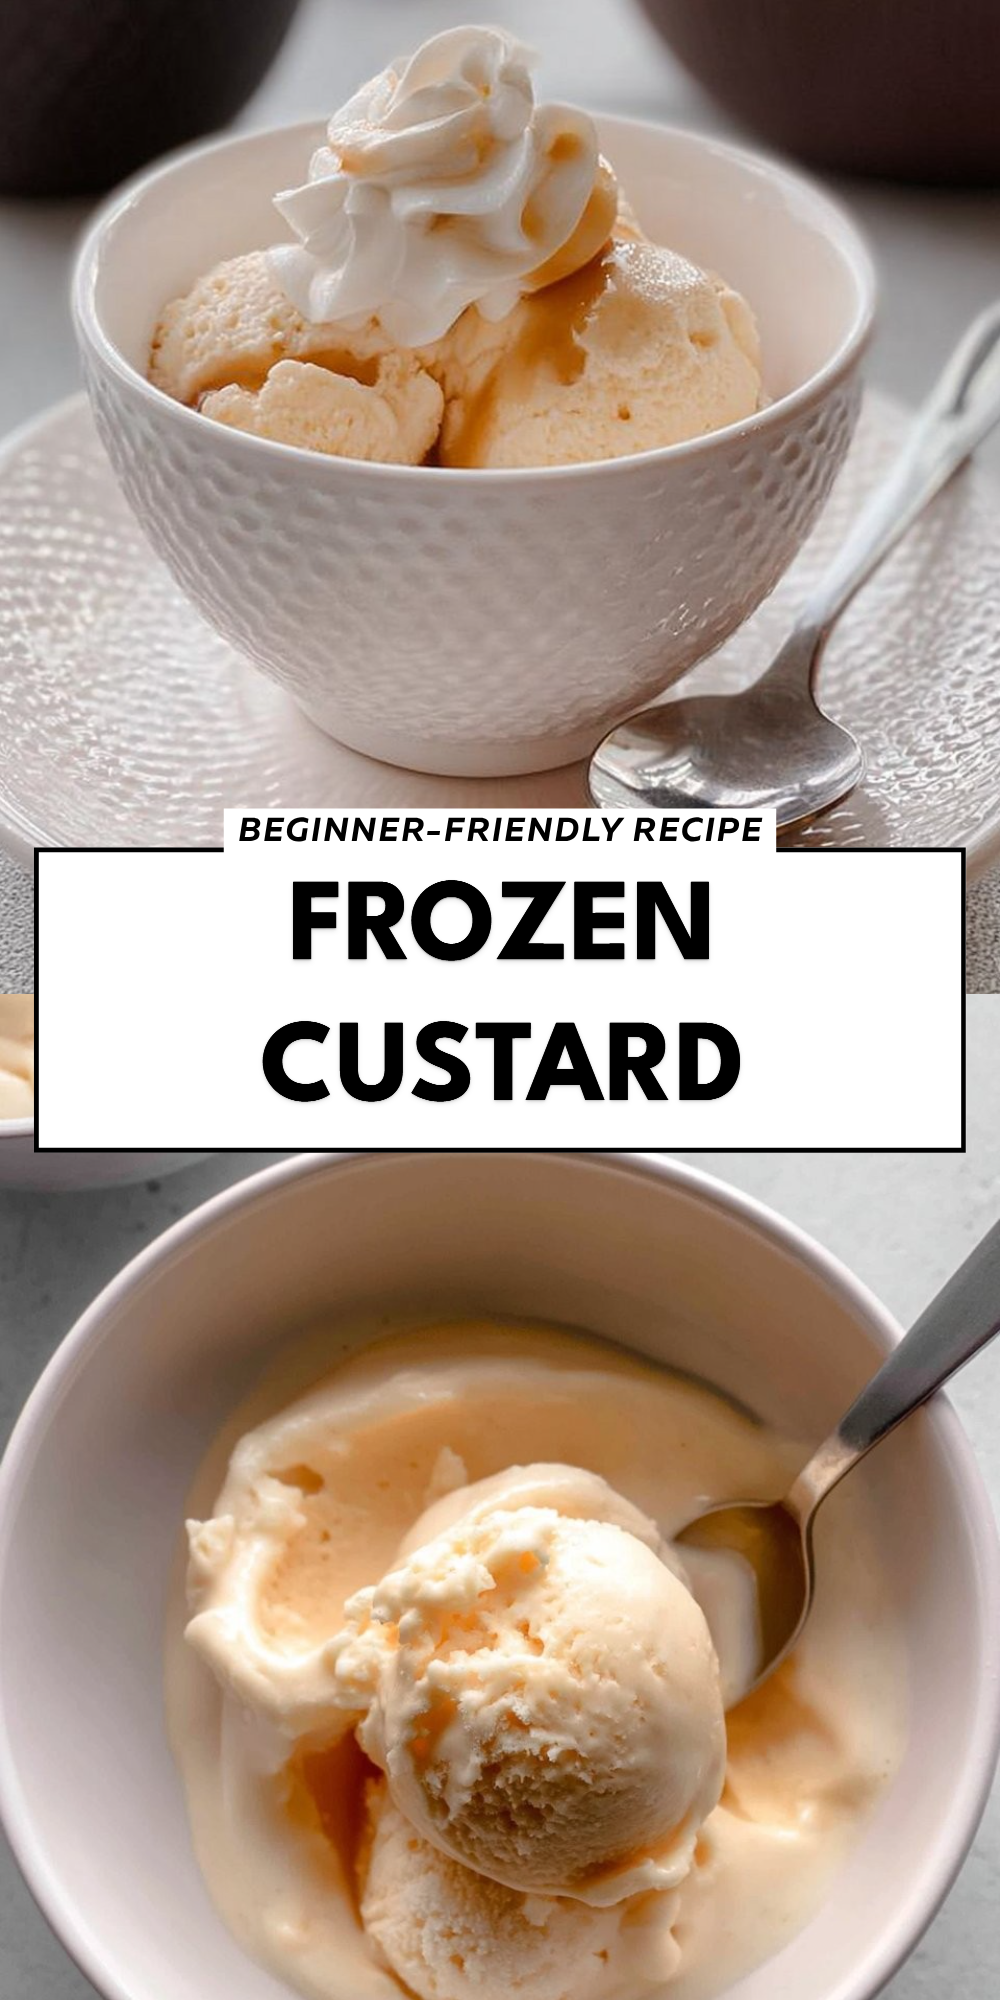
There’s something utterly delightful about the rich, velvety texture of Frozen Custard—it’s like ice cream met a cloud of creaminess and decided to dance to a nostalgic rhythm. Every bite resembles a gentle hug from a cherished moment. Today, I’m excited to share my Frozen Custard recipe with you, a love letter filled with warmth and the aroma of sweet vanilla and happiness.
The Story Behind Frozen Custard
Frozen Custard, often mistaken for regular ice cream, holds a special place in American culinary history. First created in Coney Island, New York in the 1910s, this creamy dessert has evolved over the years but retained its charm and uniqueness. It’s made with egg yolks, which lend a rich texture that distinguishes it from traditional ice cream.
In fact, the addition of egg yolks and a slower churning process makes Frozen Custard a beautifully dense and creamy treat. It’s a quintessential part of summer fairs and boardwalk indulgences, evoking feelings of joy with every scoop. Each mouthful sings a nostalgic tune, taking us back to simpler times filled with laughter and sweeter days.
Why You’ll Love This Frozen Custard
- Irresistible Creaminess: The heavy cream and eggs create an incredibly smooth texture that simply melts in your mouth.
- Versatile Flavor: While this recipe is pure vanilla, you can easily infuse it with your favorite flavors like chocolate or caramel.
- Simple Ingredients: Made with wholesome ingredients you likely have on hand—perfect for spontaneous cravings!
- Family-Friendly: Easy enough for kids to join in the fun, making it a delightful family activity.
Perfect for These Home Cooks
- Busy Families: Ideal for quick summer desserts that everyone will love.
- Home Cooks of All Levels: From beginners to seasoned chefs, this recipe is straightforward yet elegant.
- Foodies: Create your unique flavor combinations with simple additions or toppings.
Perfect Moments to Enjoy Frozen Custard
- Summer Gatherings: The go-to dessert for barbecues and picnics.
- Cozy Nights In: The perfect treat while binge-watching your favorite shows.
- Celebrations: Birthdays, holidays, or just because—you can never go wrong with Frozen Custard.
How to Make the Perfect Frozen Custard
Creating delightful Frozen Custard at home is easier than you might think! Let’s dive into the ingredients and instructions so you can savor this luscious treat.
Ingredients
- 2 1/4 cups heavy cream
- 3/4 cup whole milk
- 2/3 cup granulated sugar
- 1 pinch salt
- 5 large egg yolks
- 2 1/2 teaspoons pure vanilla extract
Step-by-Step Instructions
- Combine cream, milk, sugar, and salt in a saucepan over medium-low heat. Simmer until the sugar dissolves, about 5 minutes.
- Whisk the egg yolks in a separate bowl.
- Gradually drizzle about 1/2 cup of the warm milk mixture into the yolks, whisking constantly.
- Return the tempered yolks to the saucepan and add the vanilla.
- Cook over medium-low heat, stirring constantly, until the mixture thickens and coats the back of a spoon. Do not let the mixture boil at any point.
- Strain the mixture through a mesh sieve, then cool to room temperature.
- Cover and refrigerate until completely chilled, about 3-4 hours.
- Churn in an ice cream maker according to the manufacturer’s instructions.
For People with Diabetes: Sugar Substitutes
If you’re looking to make this recipe more diabetes-friendly, consider using sugar substitutes like stevia, monk fruit, or allulose. Just be mindful to avoid sweeter alternatives like honey or maple syrup, which can spike blood sugar levels.
Essential Tools for Frozen Custard
- Saucepan
- Whisk
- Mixing bowls
- Mesh sieve
- Ice cream maker
Pro Tips to Elevate Your Frozen Custard
- Chill Everything: Make sure your ingredients are cold before combining for a smoother texture.
- Don’t Rush the Churn: Allow the ice cream maker to do its job—this is vital for achieving that creamy consistency.
- Experiment: Don’t be afraid to play with flavors and mix-ins, like crushed cookies or fresh fruit!
How to Store & Reheat Frozen Custard
- Refrigerate: Store in an airtight container for up to one week.
- Freeze: If you need to keep it longer, it can last up to two months in the freezer—although I doubt it will last that long!
- Reheat: To soften, let the custard sit at room temperature for a few minutes.
Mistakes That Ruin Frozen Custard
- Boiling the Mixture: This can cause the egg yolks to scramble, ruining the texture. Take care with the temperature!
- Not Chilling Enough: Failing to chill the mixture thoroughly can result in a grainy frozen dessert.
- Skipping the Straining Step: Not straining the mixture can leave unwanted bits of cooked egg in your custard.
Frequently Asked Questions: Frozen Custard
-
Can I make Frozen Custard without an ice cream maker?
Yes, you can put the mixture in a shallow dish and stir it every 30 minutes until it reaches the desired consistency. -
Will this recipe work with low-fat milk?
It depends. While you can use low-fat milk, it may alter the creaminess of the final product. -
How can I make this dairy-free?
It depends. You could use coconut cream instead of heavy cream, though the texture may differ.
Final Thoughts on This Frozen Custard Recipe
There’s something magical about preparing Frozen Custard—it fosters connection and sparks joy with every spoonful. This homemade treat combines comfort, creativity, and a whole lot of love. I encourage you to give it a try and embrace the smiles it’ll bring to your table. Feel free to share your thoughts or experiences in the comments below!
Frozen Custard
A rich and creamy Frozen Custard recipe that transports you to sun-drenched days filled with nostalgia and joy.
- Prep Time: 15 minutes
- Cook Time: 15 minutes
- Total Time: 240 minutes
- Yield: 6 servings 1x
- Category: Dessert
- Method: Churning
- Cuisine: American
- Diet: Vegetarian
Ingredients
- 2 1/4 cups heavy cream
- 3/4 cup whole milk
- 2/3 cup granulated sugar
- 1 pinch salt
- 5 large egg yolks
- 2 1/2 teaspoons pure vanilla extract
Instructions
- Combine cream, milk, sugar, and salt in a saucepan over medium-low heat. Simmer until the sugar dissolves, about 5 minutes.
- Whisk the egg yolks in a separate bowl.
- Gradually drizzle about 1/2 cup of the warm milk mixture into the yolks, whisking constantly.
- Return the tempered yolks to the saucepan and add the vanilla.
- Cook over medium-low heat, stirring constantly, until the mixture thickens and coats the back of a spoon. Do not let the mixture boil at any point.
- Strain the mixture through a mesh sieve, then cool to room temperature.
- Cover and refrigerate until completely chilled, about 3-4 hours.
- Churn in an ice cream maker according to the manufacturer’s instructions.
Notes
Experiment with flavors and mix-ins like crushed cookies or fresh fruit for added excitement.
Nutrition
- Serving Size: 1 serving
- Calories: 250
- Sugar: 20g
- Sodium: 50mg
- Fat: 15g
- Saturated Fat: 9g
- Unsaturated Fat: 6g
- Trans Fat: 0g
- Carbohydrates: 24g
- Fiber: 0g
- Protein: 5g
- Cholesterol: 150mg