Easter Eggs

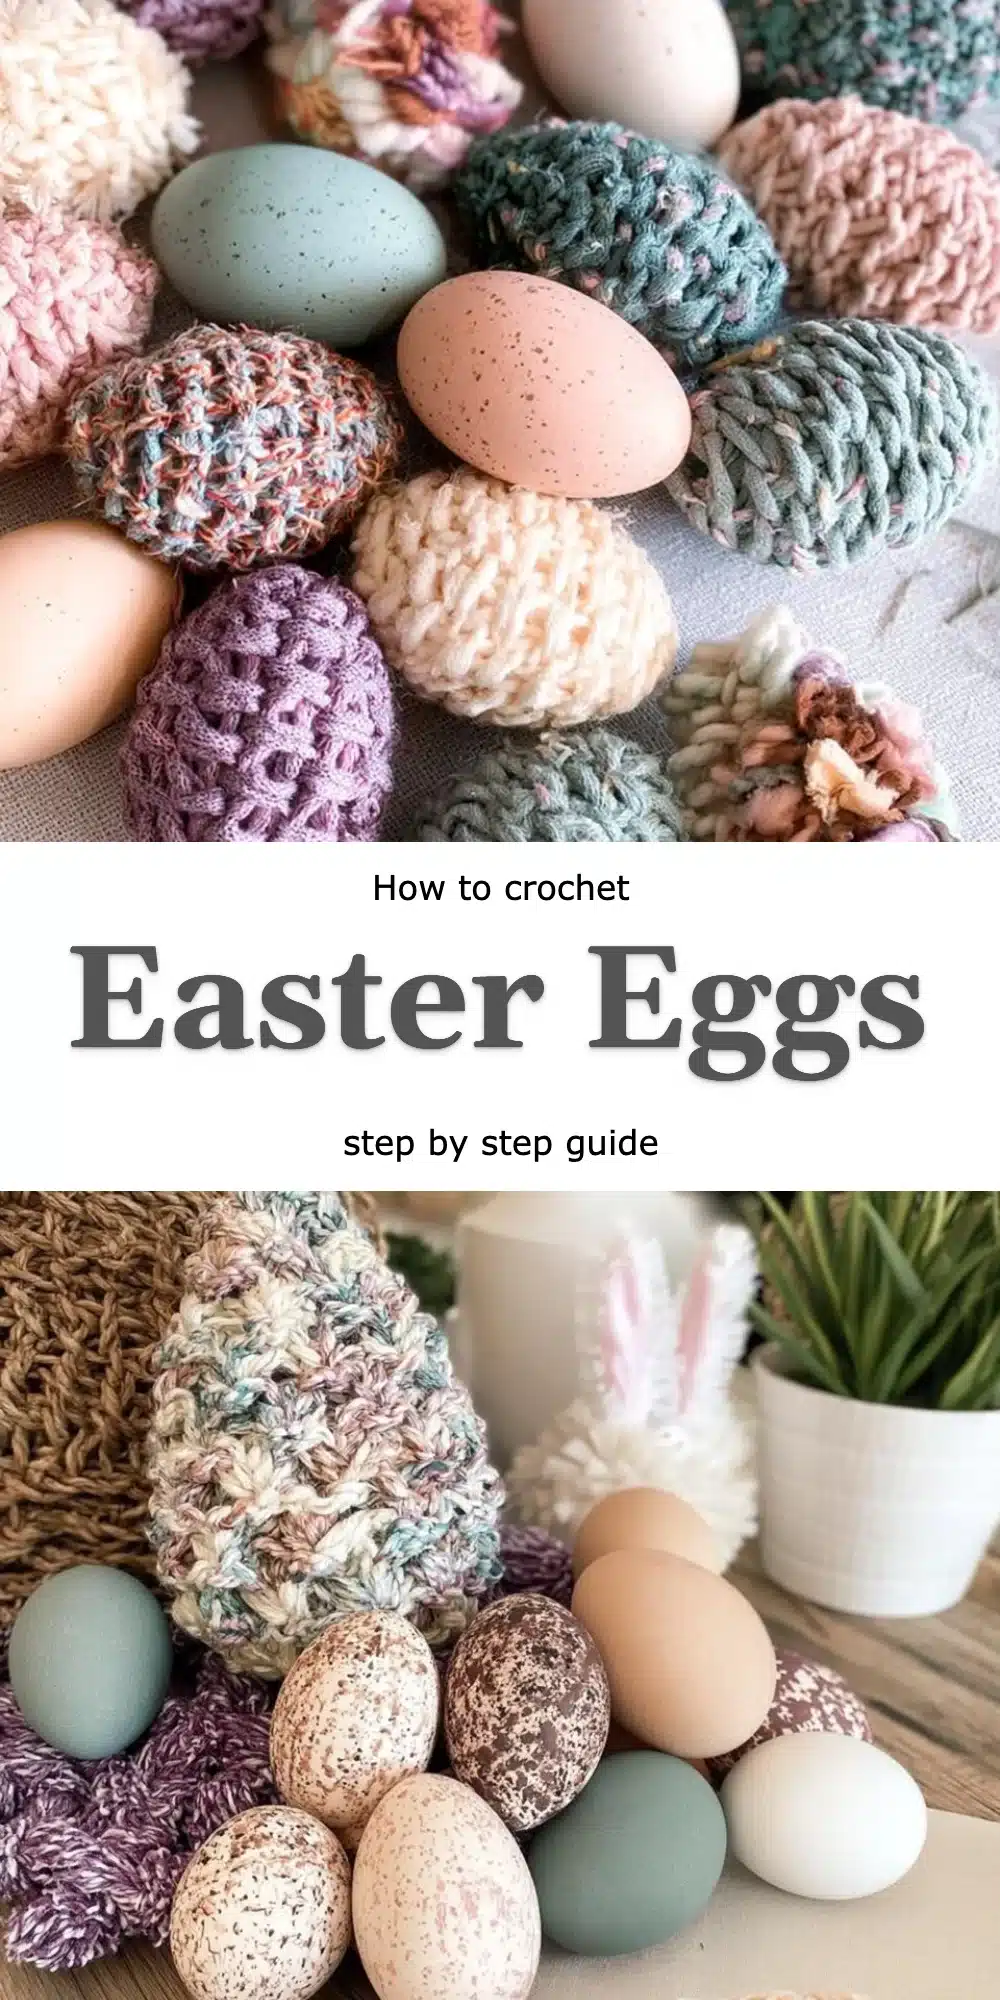
Creating Rustic Farmhouse Easter Eggs is a true delight for any crochet enthusiast. Unlike standard Easter decorations, these cozy little eggs blend modern aesthetics with that classic, rustic charm. The rich texture of wool and a little touch of creativity transforms them into heartwarming pieces of décor perfect for your spring celebrations. This free pattern is designed to guide you step by step, making it approachable even if you’re a first-time crocheter.
As I worked on my own set of Rustic Farmhouse Easter Eggs, I was transported to a sunny afternoon in my garden, surrounded by blooming flowers and chirping birds. Each stitch felt like a hug, each round a promise of warmth that these eggs bring to any home. The joy of making these lovely eggs isn’t just in the outcome, but in the therapeutic process of crocheting them, which can be a beautiful escape from the everyday hustle.
Why Rustic Farmhouse Easter Eggs Feel Different
The technique used for crafting these Rustic Farmhouse Easter Eggs sets them apart from standard patterns. The introduction of the Wool Ease Thick & Quick yarn creates a plush, inviting texture that feels wonderful to the touch. It gives the eggs a cozy, handmade quality that truly enhances their rustic appearance.
What makes this variation worth trying:
- Textured Feel: The thick yarn gives a beautiful depth and comfort to the eggs.
- Quick to Make: The larger hook size and yarn allow for faster completion, perfect for last-minute décor.
- Versatile Design: They can be easily customized with colors and embellishments.
- Homey Vibe: They add a warm touch to your decor that feels personal and inviting.
What You’ll Need: Materials Table
Before diving into the delightful world of crochet, let’s gather our supplies for this project.
| Item | Recommended Type | Approximate Amount |
|—————————–|——————————-|————————–|
| Wool Ease Thick & Quick yarn | Super bulky yarn | 1-2 skeins for a set of 3 sizes |
| Crochet hook | Size P (11.5 mm) | 1 |
| Stuffing for eggs | Polyester fiberfill | Enough to fill all eggs |
Feel free to substitute the Wool Ease with any other super bulky yarn, but remember the wool blend adds that special rustic quality.
Sizing Guide
These eggs can be made in three different sizes, allowing for a charming variety in your display. Pay attention to gauge as you crochet; this can subtly influence the final size.
| Size | Approximate Measurement |
|—————|————————-|
| Small | 3 inches |
| Medium | 4 inches |
| Large | 5 inches |
Keep in mind that your tension can affect the size; it’s a good idea to make a quick swatch to ensure consistency.
Step-by-Step: How to Crochet the Rustic Farmhouse Easter Eggs
Step 1: Start the Foundation
- Chain 2 to begin.
- Work 6 single crochet (sc) into the 2nd chain from the hook.
- Join the last sc to the first one with a slip stitch (sl st).
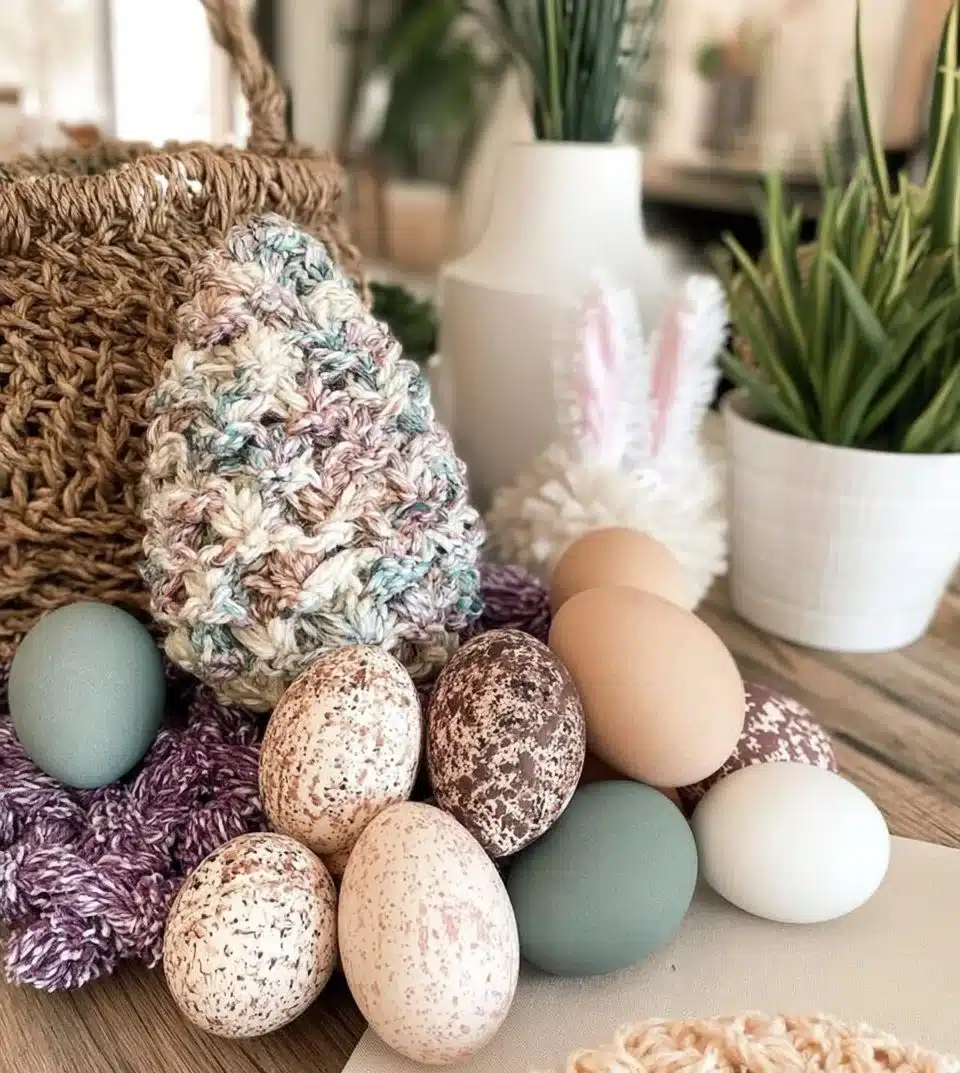
Step 2: Crochet the Shaping Rounds
- Round 1: Increase in each stitch (12 sc total).
- Round 2: 1 sc in the first stitch, 2 sc in the next – repeat around (18 sc total).
- Round 3: 2 sc in the first stitch, 1 sc in the next two stitches – repeat (24 sc total).
Step 3: Create the Body
- Rounds 4-7: Work 1 sc in each stitch (24 sc each round).
- Round 8: 1 sc in the first three stitches, 2 sc in the next – repeat (30 sc total).
Step 4: Begin Decreasing
- Round 9: 2 sc in the first stitch, 1 sc in the next four stitches – repeat (36 sc total).
- Rounds 10-12: Continue 1 sc in each stitch.
- Round 13: Reduce to 18 sc total for closure.
Step 5: Add Stuffing and Close
- Fasten off your work.
- Stuff the egg with polyester fiberfill until it’s full but still soft.
- Use a tapestry needle to carefully close the hole with a whip stitch.
Step 6: Create the Fillable Version
- Repeat steps 1-5, but before closing, leave a gap and attach a button or toggle closure.
Step 7: Add the Finishing Touches
- Embellish your eggs using embroidery or additional crochet techniques—think flowers or stripes!
Utilize the step-by-step video tutorial for detailed guidance throughout the construction process.
Tips for Clean, Even Crochet
- Keep Tension Consistent: Be mindful of your stitches to maintain uniformity.
- Use Stitch Markers: Place them at the beginning of rounds to easily track your progress.
- Practice on a Swatch: If you’re new, practice the pattern on a smaller piece before starting on the eggs.
- Check Hook Size: Ensure you’re using the recommended size to achieve the desired texture and shape.
Common Mistakes to Avoid
- Not counting stitches — can lead to lopsided eggs.
- Overstuffing — makes closure difficult and distorts shape.
- Skipping the gauge swatch — results in incorrect sizes.
- Misplacing the slip stitch — causes twisting in the foundation round.
Frequently Asked Questions
What is the Rustic Farmhouse Easter Eggs technique?
This crochet technique allows you to create charming, textured eggs perfect for decorative use.
Can I use different yarn or materials?
Absolutely! Just be mindful of the yarn weight, as it can affect the final texture and size of your eggs.
Is this pattern easy for beginners?
Yes! This pattern is designed to be beginner-friendly with simple stitches and clear instructions.
How much yardage do I need for the eggs?
For a set of three different sizes, you’ll need about 1-2 skeins of Wool Ease Thick & Quick yarn.
Can I apply this technique to other crochet patterns?
Yes! The shaping and body techniques used for these eggs can be adapted for various projects.
Conclusion
The Rustic Farmhouse Easter Eggs pattern is not just about making decorative pieces; it’s about crafting memories and creating a sense of warmth and comfort in your home. These cozy eggs are an excellent project for beginners and seasoned crocheters alike, allowing for creativity and personal flair.
I encourage you to dive into this delightful crochet adventure and share your finished pieces with our community. Witnessing the array of designs and colors inspired by this pattern brings such joy, so let’s get those hooks moving and create something beautiful together!