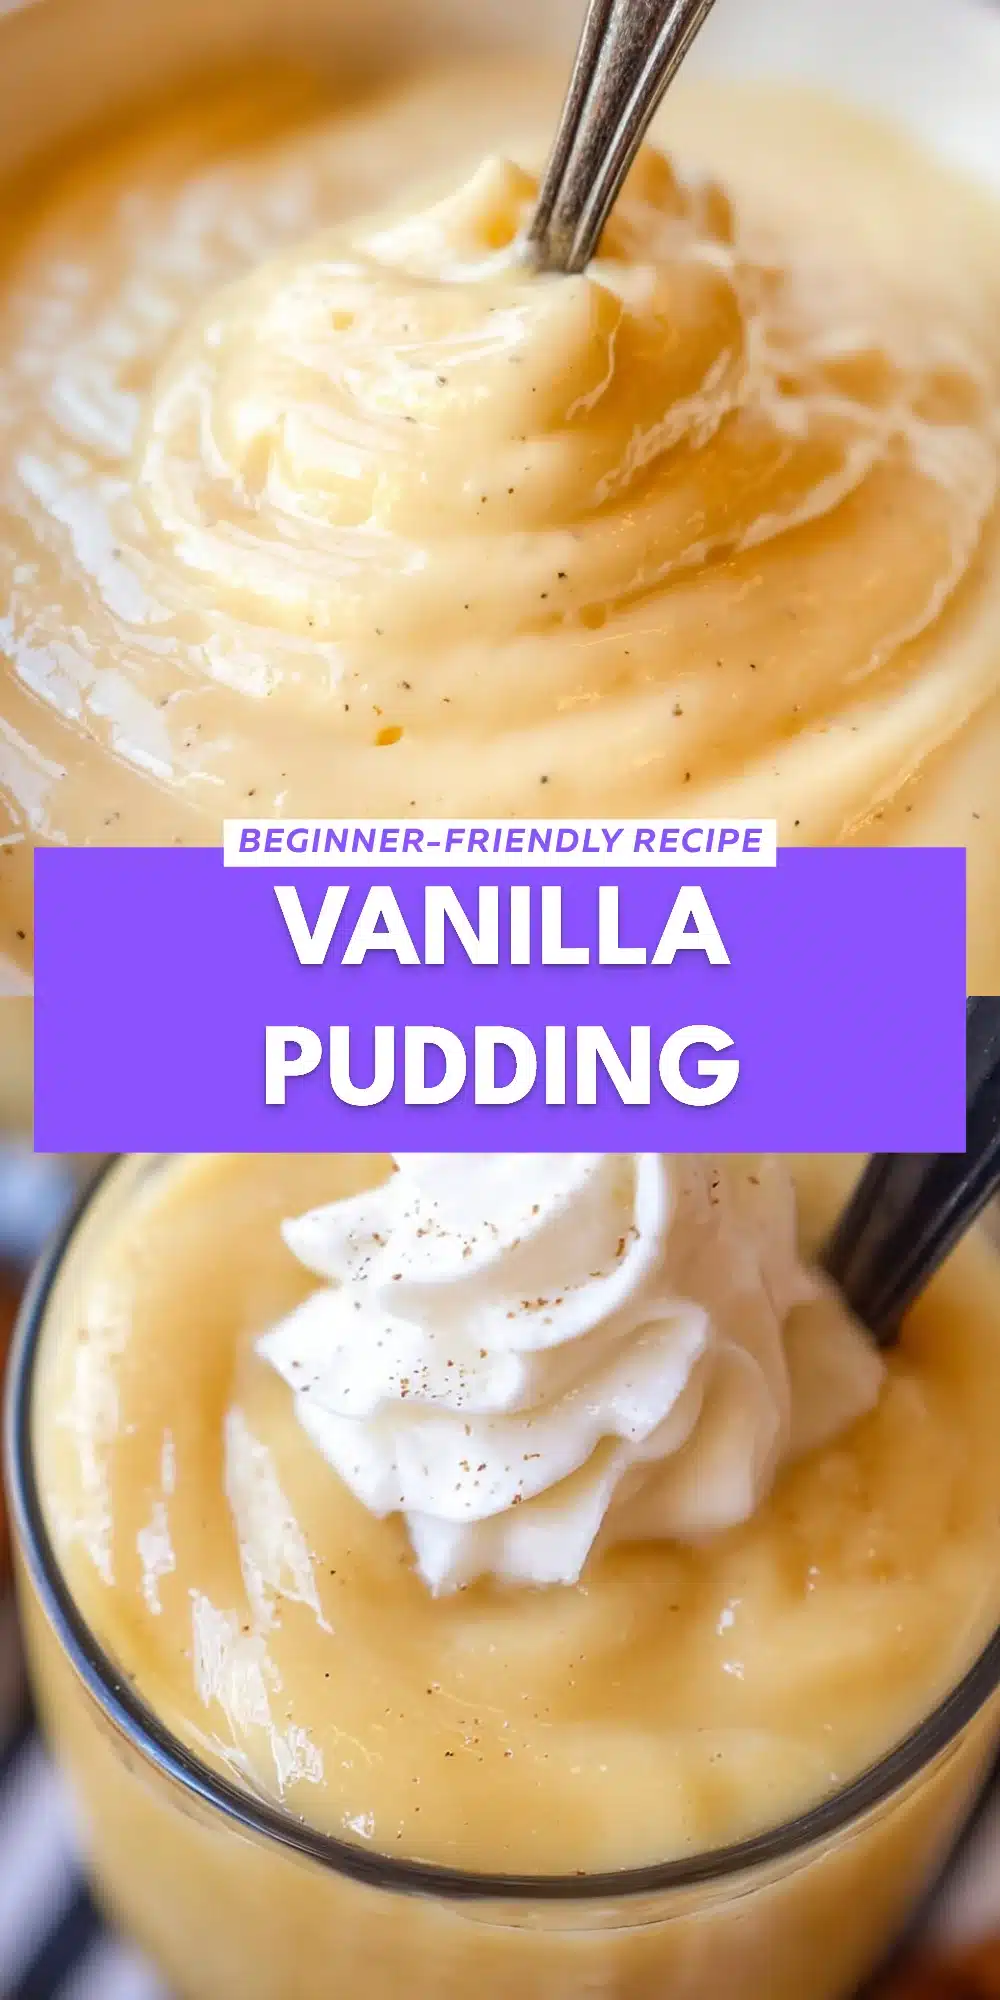
Vanilla Pudding
This post may contain affiliate links
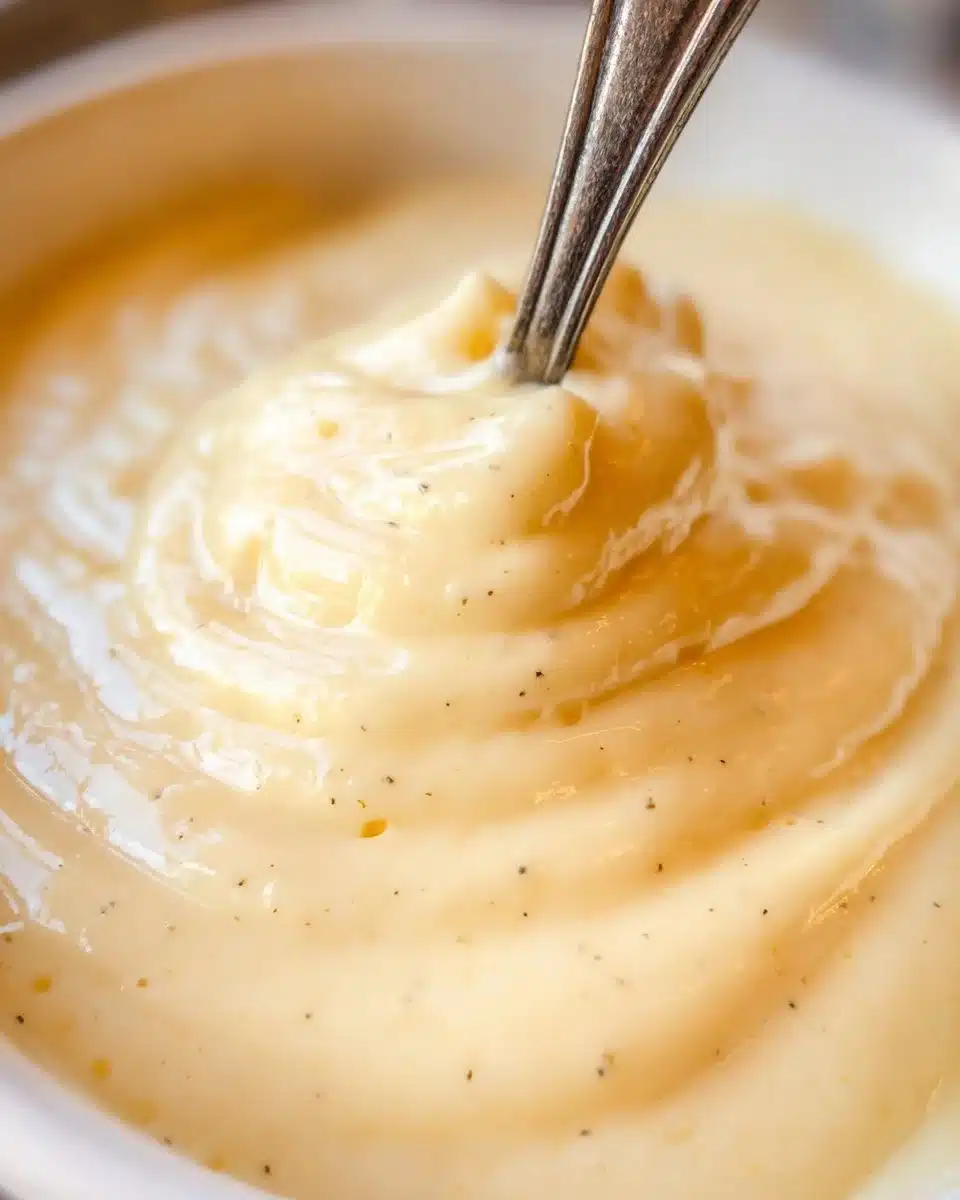
There’s something delightfully nostalgic about the gentle, creamy texture of Homemade Vanilla Pudding. Growing up, I would watch my grandmother whip up the simplest ingredients into a dessert that felt luxurious and comforting all at once. The sweet aroma of vanilla would fill our kitchen, each spoonful carrying with it a wave of warmth and love.
Homemade Vanilla Pudding has a way of turning an ordinary day into something special. As it chilled in the refrigerator, I often found myself sneaking tastes when no one was looking, a moment of pure bliss that never ceased to bring a smile to my face.
Understanding the Magic of Homemade Vanilla Pudding
At its core, Homemade Vanilla Pudding is a sweet, creamy custard that’s been cherished across generations. Its roots can be traced back to comfort food traditions, where simple ingredients like milk, sugar, and cornstarch were transformed into a rich dessert with just a little patience. Many cultures have their version of pudding, whether it’s the beloved American vanilla or the silky-smooth custards found in various European countries. This dessert is not just food; it’s a key that unlocks cherished memories and creates new ones.
Why This Homemade Vanilla Pudding Stands Out
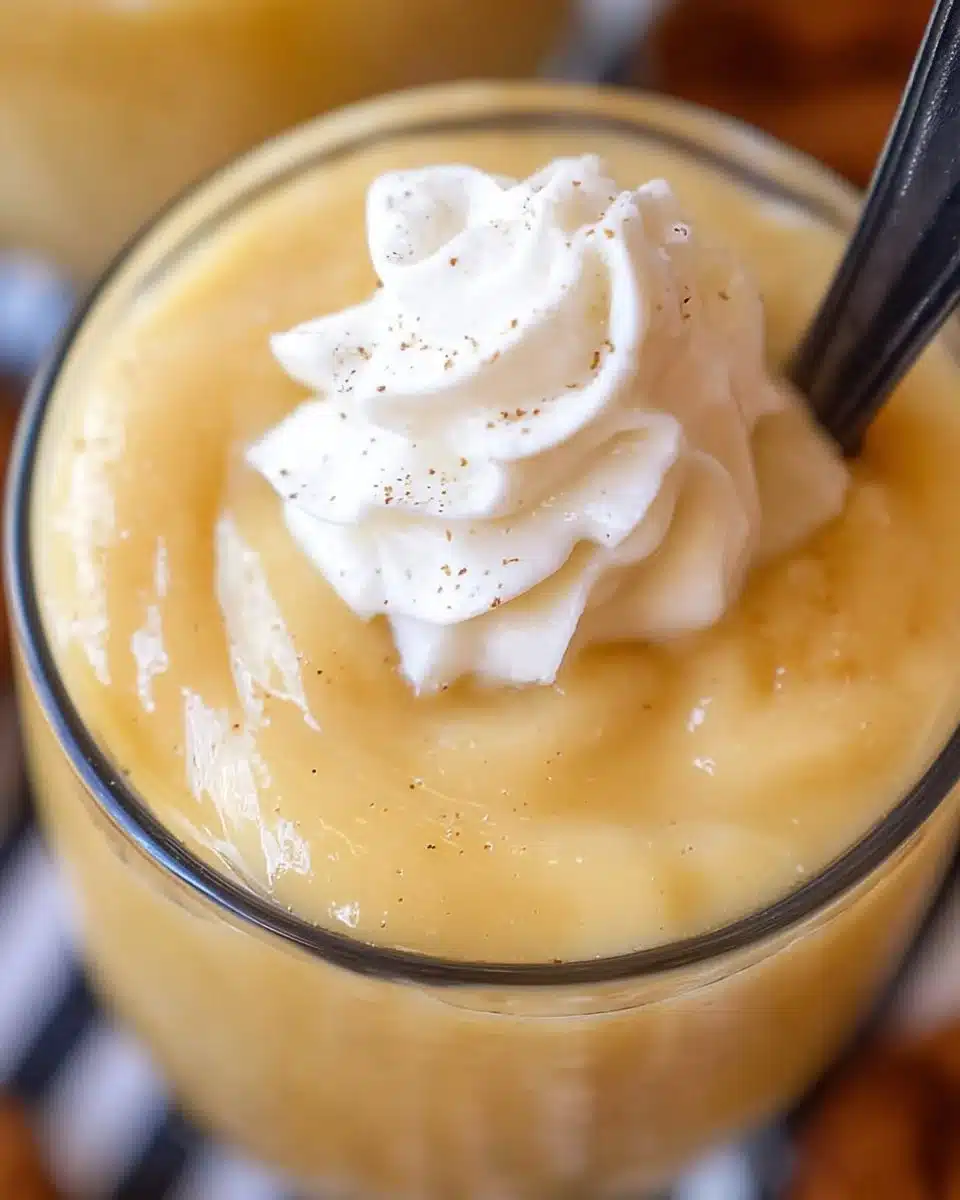
- Flavor: The unmistakable essence of pure vanilla and mouthwatering creaminess make every bite an indulgent experience.
- Convenience: With just a handful of ingredients, it’s easy to whip up and doesn’t require any fancy techniques.
- Healthier Option: Compared to many store-bought alternatives, this pudding can be made with less sugar or sugar substitutes if needed.
- Family Appeal: Children and adults alike adore the silky texture and sweet flavor, making it a beloved dessert for all ages.
Who Will Enjoy This Homemade Vanilla Pudding Most
- Busy Families: Quick and easy to make, perfect for weeknight desserts.
- Health-Conscious Cooks: Offers the flexibility to be modified with healthier alternatives.
- Budding Chefs: Great for novice cooks who want to master a classic dessert.
- Vanilla Lovers: If you adore everything vanilla, this pudding will be your dream come true.
Perfect Moments to Enjoy Homemade Vanilla Pudding
- Weeknight Treats: An effortless way to sweeten up dinner on a weekday.
- Gatherings: A crowd-pleaser for potlucks or family gatherings, where sharing desserts is key.
- Holidays: A comforting dessert that fits perfectly on any holiday table.
- Cozy Nights: Perfect for curling up on the couch with your loved ones, enjoying a sweet end to your day.
How to Make the Perfect Homemade Vanilla Pudding
Creating this soothing dessert is a rewarding experience, and I promise, it’s well worth the effort!
Ingredients
- 2 ¾ cups whole milk
- ¾ cup granulated sugar
- ¼ cup cornstarch
- ¼ teaspoon salt
- 2 tablespoons unsalted butter
- 2 teaspoons pure vanilla extract
Step-by-Step Instructions
- Whisk together the sugar, cornstarch, and salt in a medium saucepan.
- Gradually add the milk while continually whisking to create a smooth mixture.
- Place the saucepan over medium heat.
- Cook the mixture while continuously stirring until it thickens and begins to bubble, approximately 8-10 minutes.
- Remove the saucepan from heat.
- Stir in the butter and vanilla extract until fully incorporated.
- Pour the pudding into serving dishes or a large bowl.
- Cover with plastic wrap, making sure it touches the surface of the pudding to prevent a skin from forming.
- Chill in the refrigerator for at least two hours before serving.
For People with Diabetes: Sugar Substitutes
- Stevia: A natural zero-calorie sweetener that won’t spike blood sugar.
- Monk Fruit: Offers a sweet taste with no calories or carbs.
- Allulose: A low-calorie sweetener that mimics sugar without the calories.
- Avoid honey or maple syrup, as they can impact blood sugar levels.
Essential Tools for Homemade Vanilla Pudding
- Medium saucepan
- Whisk
- Measuring cups and spoons
- Plastic wrap
- Serving dishes or bowls
Chef-Approved Tips for Success
- Use Fresh Ingredients: For the best flavor, ensure your milk and vanilla extract are fresh.
- Constant Whisking: Keep whisking while cooking to avoid lumps and ensure a smooth texture.
- Taste as You Go: Adjust sweetness by adding a little more sugar or even a hint of salt if desired.
- Chill Properly: Letting it chill thoroughly helps to develop the creamy consistency.
Storing and Reheating Tips
- Refrigerate: Store leftover pudding in an airtight container in the fridge for up to 3 days.
- Freezer: Not recommended, as freezing can change the texture.
- Reheat a bit if desired: Gently warm on the stove over low heat, adding a splash of milk if it thickens too much.
Common Mistakes to Avoid
- Not Whisking Enough: Failing to whisk while cooking can lead to a lumpy pudding.
- Using Low-Fat Milk: Whole milk provides the best creaminess; low-fat milk may yield a thinner consistency.
- Skipping the Chilling Step: Serving pudding warm doesn’t offer the delightful texture that chilling provides.
FAQs About Homemade Vanilla Pudding
Q: Can I use non-dairy milk?
Yes, you can substitute with almond milk or coconut milk, but it may slightly alter the flavor and texture.
Q: How can I make the pudding richer?
It depends on your preferences. Adding an extra tablespoon of butter can enhance the creaminess.
Q: Is there a way to make this pudding less sweet?
Yes, simply reduce the amount of sugar to suit your taste.
Q: Can I add flavors other than vanilla?
Yes, you can introduce almond or citrus zest for a different flavor profile.
Q: How can I keep the pudding smooth?
No, you cannot skip whisking during cooking, or lumps will form.
Wrapping Up: The Joy of Homemade Vanilla Pudding
Homemade Vanilla Pudding isn’t just a dessert; it’s a way to connect with memories and create new traditions. I invite you to give this delightful recipe a try and share your experiences! Let me know how you customize it or serve it at your gatherings. Your feedback means the world to me.
Homemade Vanilla Pudding
A delightful and creamy dessert that brings nostalgic warmth and pure vanilla flavor to your table.
- Prep Time: 15 minutes
- Cook Time: 10 minutes
- Total Time: 125 minutes
- Yield: 6 servings 1x
- Category: Dessert
- Method: Stovetop
- Cuisine: American
- Diet: Vegetarian
Ingredients
- 2 ¾ cups whole milk
- ¾ cup granulated sugar
- ¼ cup cornstarch
- ¼ teaspoon salt
- 2 tablespoons unsalted butter
- 2 teaspoons pure vanilla extract
Instructions
- Whisk together the sugar, cornstarch, and salt in a medium saucepan.
- Gradually add the milk while continually whisking to create a smooth mixture.
- Place the saucepan over medium heat.
- Cook the mixture while continuously stirring until it thickens and begins to bubble, approximately 8-10 minutes.
- Remove the saucepan from heat.
- Stir in the butter and vanilla extract until fully incorporated.
- Pour the pudding into serving dishes or a large bowl.
- Cover with plastic wrap, making sure it touches the surface of the pudding to prevent a skin from forming.
- Chill in the refrigerator for at least two hours before serving.


Notes
For a healthier option, consider using sugar substitutes. Ensure fresh ingredients for best flavor.
Nutrition
- Serving Size: 1 serving
- Calories: 250
- Sugar: 20g
- Sodium: 70mg
- Fat: 9g
- Saturated Fat: 5g
- Unsaturated Fat: 4g
- Trans Fat: 0g
- Carbohydrates: 36g
- Fiber: 0g
- Protein: 5g
- Cholesterol: 30mg


