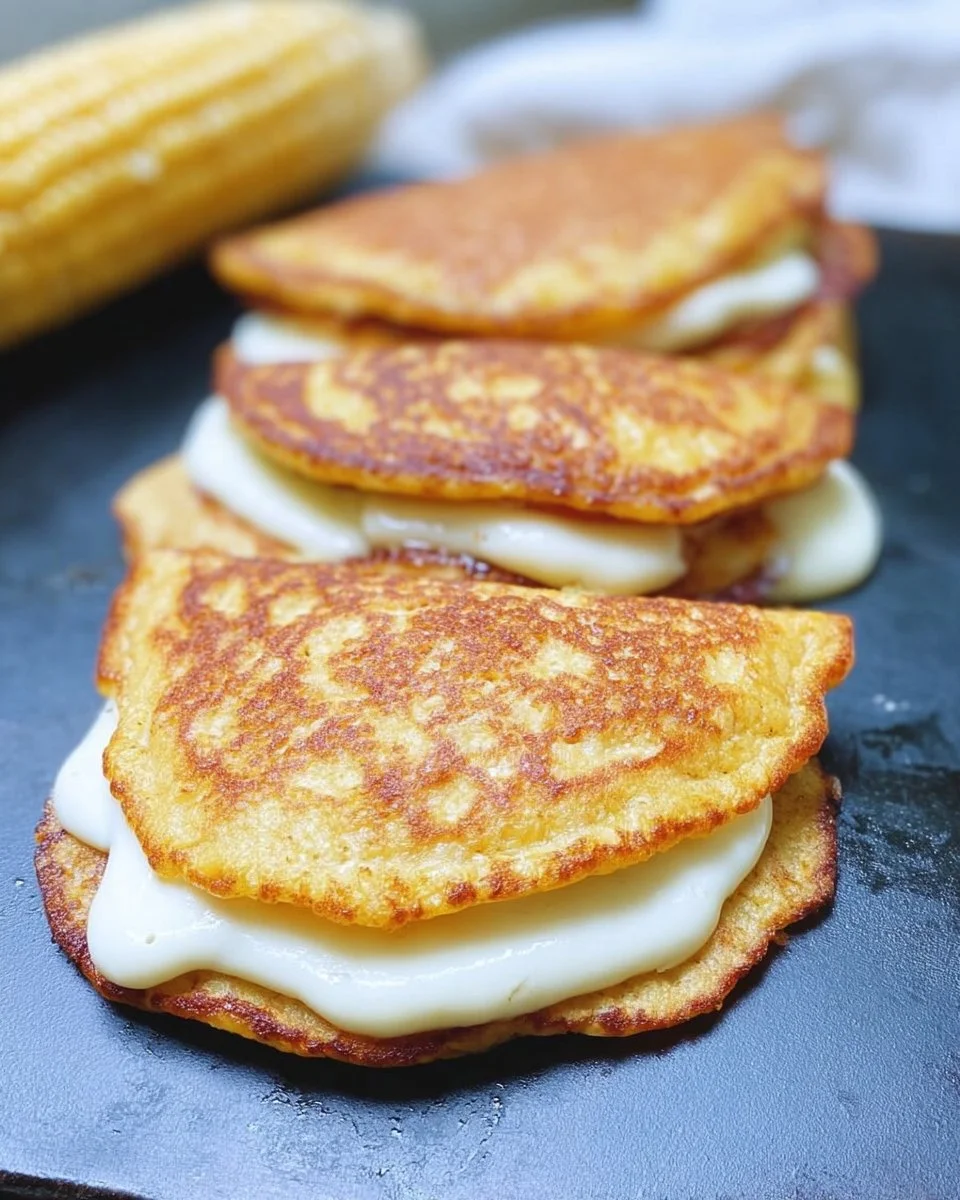
Gluten-free Tater Tot Appetizer Cups

This post may contain affiliate links
As a passionate home cook, I often find myself reminiscing about the joy of gathering around the table with family and friends, sharing laughter and delicious food. One of my favorite memories is from a cozy winter evening when I decided to whip up a batch of Gluten-free Tater Tot Appetizer Cups. The aroma of crispy tater tots baking in the oven filled my kitchen, instantly transporting me back to my childhood, where comfort food reigned supreme.
These delightful little cups are not just a treat for the palate; they are a celebration of flavors and textures that everyone can enjoy. The crispy exterior of the gluten-free tater tots gives way to a warm, cheesy filling, topped with fresh green onions and a dollop of sour cream. Each bite is a burst of flavor that brings a smile to your face. Whether you’re hosting a game night or simply looking for a fun snack, these Gluten-free Tater Tot Appetizer Cups are sure to impress.
What I love most about this recipe is its versatility. You can easily customize the toppings to suit your family’s preferences, making it a perfect choice for busy weeknights or festive gatherings. Plus, knowing that they are gluten-free means that everyone can indulge without worry. So, let’s dive into this delicious recipe and create some unforgettable moments around the table!
What is Gluten-free Tater Tot Appetizer Cups?
Gluten-free Tater Tot Appetizer Cups are a delightful fusion of classic American comfort food and modern dietary needs. Originating from the beloved tater tot, these appetizer cups take the crispy, golden exterior and transform it into a fun, bite-sized vessel for a variety of toppings. The concept of using tater tots in this way is a nod to the creativity found in home kitchens across the country, where cooks are always looking for new ways to elevate familiar dishes.
These appetizer cups not only cater to gluten-sensitive individuals but also embrace the spirit of sharing and togetherness that food brings. The versatility of the tater tot allows for endless customization, making it to incorporate flavors from different cuisines. Whether you’re adding spicy salsa, creamy cheese, or fresh herbs, each cup becomes a unique culinary experience. This recipe is a perfect example of how traditional comfort food can be adapted to fit modern dietary preferences while still delivering on taste and satisfaction.
Why You’ll Love This Gluten-free Tater Tot Appetizer Cups
- Quick and to prepare for any gathering: With minimal prep time, these cups are perfect for last-minute entertaining.
- Crispy texture that delights the palate: The combination of baked tater tots and melted cheese creates a satisfying crunch.
- Customizable toppings for every taste preference: From savory bacon to fresh veggies, you can tailor each cup to your liking.
- Gluten-free option that everyone can enjoy: These cups ensure that no one feels left out at the table.
Who It’s For
These Gluten-free Tater Tot Appetizer Cups are ideal for busy families looking for a quick and satisfying meal option. They also cater to health-conscious cooks who want to provide delicious, gluten-free alternatives without sacrificing flavor. Food lovers of all ages will appreciate the fun and interactive nature of these appetizer cups, making them a hit at any gathering.
When to Cook It
These delightful cups are perfect for a variety of occasions. Whether you’re hosting a casual weeknight dinner, celebrating a birthday, or enjoying a game night with friends, they fit seamlessly into any event. Their preparation and crowd-pleasing flavors make them a go-to choice for family meals or festive gatherings, ensuring that everyone leaves the table satisfied.
How to Make the Perfect Gluten-free Tater Tot Appetizer Cups
Ingredients
- 2 cups gluten-free tater tots
- 1 cup shredded cheese (cheddar or your choice)
- 1/2 cup cooked and crumbled bacon (optional)
- 1/4 cup green onions, chopped
- 1/2 cup sour cream
- 1/4 cup salsa
Step-by-Step Instructions
- Preheat the oven: Start by preheating your oven to 425°F (220°C). This ensures that your tater tots will bake evenly and become perfectly crispy.
- Prepare the muffin tin: Grab a muffin tin and arrange the gluten-free tater tots in each cup. Press them down gently to form little cups. This step is crucial for holding all the delicious toppings!
- Bake the tater tots: Place the muffin tin in the preheated oven and bake for about 20 minutes. You want them to be golden brown and crispy, filling your kitchen with a mouthwatering aroma.
- Add cheese and bacon: Once the tater tots are baked, remove the muffin tin from the oven. Sprinkle shredded cheese and crumbled bacon (if using) into each cup, allowing the cheese to melt into the warm tater tots.
- Final bake: Return the muffin tin to the oven for an additional 5 minutes. This will melt the cheese to gooey perfection, making each cup even more irresistible.
- Top and serve: After the final bake, take the muffin tin out of the oven. Top each cup with chopped green onions, a dollop of sour cream, and a spoonful of salsa. Serve warm and enjoy the delightful flavors!
For People with Diabetes: Sugar Substitutes
If you’re looking for sugar substitutes, consider using stevia, monk fruit, or allulose. These alternatives provide sweetness without the added sugar. However, it’s best to avoid honey or maple syrup, as they can spike blood sugar levels.
Tools You’ll Need
- Muffin tin
- Baking sheet
- Mixing bowl
- Measuring cups and spoons
- Spatula or spoon for pressing tater tots
- Oven mitts
- Serving platter
Top Tips from Well-Known Chefs
- Use Frozen Tater Tots: Many chefs recommend using frozen gluten-free tater tots for convenience. They are pre-cooked and just need to be baked, saving you time in the kitchen.
- Experiment with Cheese: Don’t limit yourself to just cheddar! Try a blend of cheeses like mozzarella for stretchiness or pepper jack for a spicy kick.
- Pre-bake for Extra Crispiness: For an even crispier texture, consider pre-baking the tater tots for a few minutes before forming them into cups. This extra step can elevate your appetizer game.
- Layer Flavors: Chefs suggest layering flavors by adding spices or herbs to the tater tots before baking. A sprinkle of garlic powder or smoked paprika can add depth to your dish.
- Make Ahead: Many chefs agree that these cups can be assembled ahead of time. Just bake them right before serving to ensure they are hot and crispy!
Storing and Reheating Tips
- Refrigeration: Store any leftover Gluten-free Tater Tot Appetizer Cups in an airtight container in the fridge for up to 3 days.
- Freezing: For longer storage, freeze the cups in a single layer on a baking sheet. Once frozen, transfer them to a freezer-safe bag or container for up to 2 months.
- Reheating in the Oven: To reheat, preheat your oven to 350°F (175°C). Place the cups on a baking sheet and heat for about 10-15 minutes, or until warmed through and crispy.
- Microwave Option: If you’re short on time, you can microwave the cups for 30-60 seconds, but be aware that this may result in a softer texture.
- Do Not Refreeze: Avoid refreezing once the cups have been thawed, as this can affect their texture and flavor.
Common Mistakes to Avoid
- Not Pressing Tater Tots Firmly: Failing to press the tater tots down firmly can result in cups that fall apart. Make sure to create a solid base to hold all the delicious toppings.
- Overbaking: Baking for too long can lead to overly crispy or burnt tater tots. Keep an eye on them to achieve that perfect golden-brown color.
- Skipping the Toppings: These cups shine with toppings, so don’t skip them! Adding cheese, bacon, and fresh herbs elevates the flavor and makes them more enjoyable.
- Using Non-Gluten-Free Tater Tots: Ensure you’re using certified gluten-free tater tots to avoid cross-contamination. Always check the packaging to keep your dish safe for those with gluten sensitivities.
- Not Preheating the Oven: Skipping the preheating step can lead to uneven cooking. Always preheat your oven to ensure the tater tots bake evenly and achieve that desired crispiness.
FAQs About Gluten-free Tater Tot Appetizer Cups
- Can these be made ahead of time? Yes, these can be made ahead of time. Simply prepare the cups and store them in the refrigerator until you’re ready to bake.
- Do I need to fry them? No, you don’t need to fry them; baking is sufficient to achieve that crispy texture.
- Can I customize the toppings? It depends on your preference for toppings; customize as you like to suit your taste and dietary needs.
- Can they be frozen for later use? Yes, they can be frozen for later use. Just make sure to store them properly in an airtight container.
- Are they suitable for a low-carb diet? No, they are not suitable for a low-carb diet due to the tater tots and other ingredients used.
Conclusion: Final Thoughts on Gluten-free Tater Tot Appetizer Cups
In conclusion, Gluten-free Tater Tot Appetizer Cups are not just a delicious snack; they are a celebration of flavors that everyone can enjoy. Their crispy texture and customizable toppings make them a perfect addition to any gathering, ensuring that no one feels left out. I hope you give this recipe a try and create your own memorable moments around the table. If you enjoyed this recipe, please share your thoughts in the comments below and don’t forget to share it with your friends and family!
PrintGluten-free Tater Tot Appetizer Cups

Delicious and crispy gluten-free tater tot appetizer cups perfect for any gathering.
- Prep Time: 10 minutes
- Cook Time: 25 minutes
- Total Time: 35 minutes
- Yield: 12 appetizer cups 1x
- Category: Appetizer
- Method: Baking
- Cuisine: American
- Diet: Gluten Free
Ingredients
- 2 cups gluten-free tater tots
- 1 cup shredded cheese (cheddar or your choice)
- 1/2 cup cooked and crumbled bacon (optional)
- 1/4 cup green onions, chopped
- 1/2 cup sour cream
- 1/4 cup salsa
Instructions
- Preheat the oven to 425°F (220°C).
- Arrange the gluten-free tater tots in a muffin tin, pressing them down to form cups.
- Bake for 20 minutes or until golden brown and crispy.
- Remove from the oven and sprinkle cheese and bacon (if using) into each cup.
- Return to the oven for an additional 5 minutes, until the cheese is melted.
- Top with green onions, sour cream, and salsa before serving.
Notes
- Feel free to customize the toppings based on your preferences.
- These can be made ahead of time and reheated before serving.
Nutrition
- Serving Size: 1 cup
- Calories: 150
- Sugar: 1g
- Sodium: 300mg
- Fat: 10g
- Saturated Fat: 4g
- Unsaturated Fat: 6g
- Trans Fat: 0g
- Carbohydrates: 12g
- Fiber: 1g
- Protein: 5g
- Cholesterol: 20mg