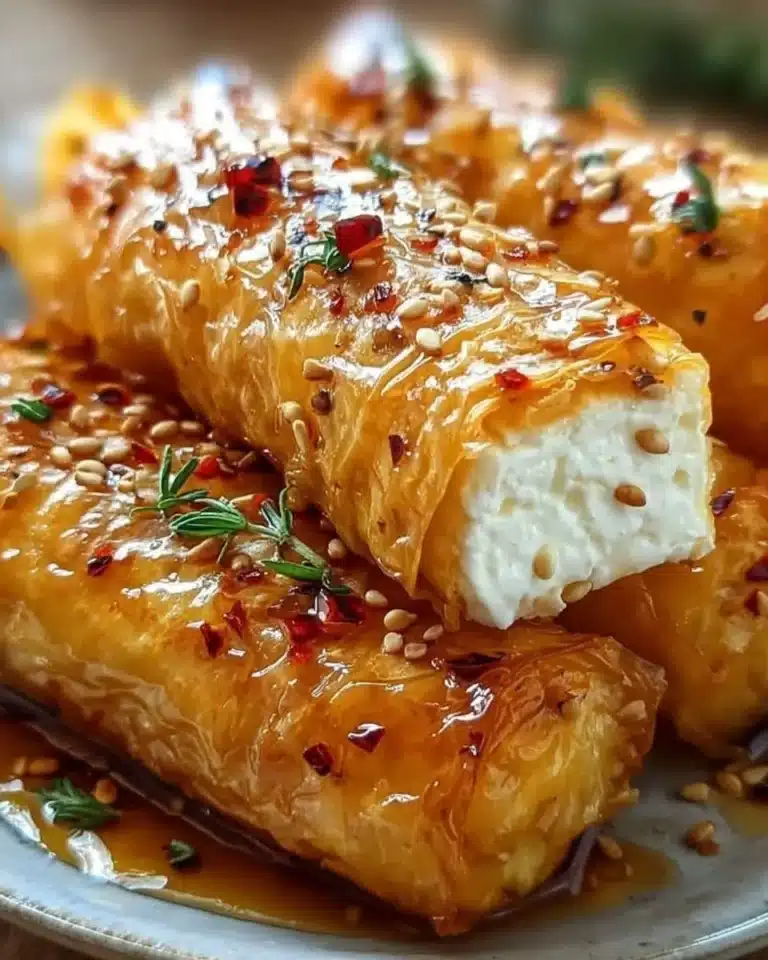
Gluten Free Cheez Its: Deliciously Crunchy Snack Recipe to Enjoy Anytime

This post may contain affiliate links
As a passionate home cook, I’ve always found joy in recreating beloved snacks that cater to everyone’s dietary needs. One of my all-time favorites is the classic Cheez It, but with a twist: Gluten Free Cheez Its. These little bites of cheesy goodness are not just for those avoiding gluten; they’re for anyone who craves a crunchy, flavorful snack.
Growing up, I remember the sound of the crinkly box opening, the aroma of cheese wafting through the air, and the satisfying crunch with every bite. It was a simple pleasure that brought my family together during movie nights and after-school snacks. Now, I want to share that same joy with you, but in a way that’s accessible for everyone, including those with gluten sensitivities.
Imagine the delightful scent of melted cheddar cheese mingling with a hint of garlic and paprika as you bake these Gluten Free Cheez Its in your own kitchen. The golden edges and perfectly crisp texture will transport you back to those carefree days, all while being a healthier alternative to store-bought options. Plus, they’re incredibly easy to make, so you can whip up a batch anytime you need a quick snack or a fun addition to lunchboxes.
What is Gluten Free Cheez Its?
Gluten Free Cheez Its are a delightful twist on the classic cheesy snack that many of us grew up loving. Originating from the iconic Cheez It brand, these homemade versions cater to those who need to avoid gluten while still enjoying that irresistible crunch and cheesy flavor. The beauty of this recipe lies in its simplicity and adaptability, allowing you to create a snack that fits your dietary needs without sacrificing taste.
These little bites are not just a gluten-free alternative; they also reflect a growing trend in the culinary world towards inclusivity and health-conscious eating. With the rise of gluten sensitivities and celiac disease awareness, many home cooks are seeking ways to recreate their favorite snacks using gluten-free ingredients. By making your own Gluten Free Cheez Its, you can control the ingredients, ensuring they are not only gluten-free but also made with quality cheese and spices that elevate the flavor profile.
Why You’ll Love This Gluten Free Cheez Its
- Quick and easy to prepare: With just a few simple ingredients, you can whip up a batch in no time.
- Perfectly crunchy and cheesy flavor: Each bite delivers that satisfying crunch and rich cheese taste.
- Healthier alternative to store-bought snacks: You know exactly what goes into your snacks, making them a better choice for you and your family.
- Great for kids and adults alike: These snacks are perfect for lunchboxes, after-school treats, or even as a party appetizer.
Who It’s For
This recipe is ideal for busy families looking for quick snack options that everyone can enjoy. It’s also perfect for health-conscious cooks who want to provide tasty, gluten-free alternatives without compromising on flavor. Whether you’re a food lover exploring new recipes or someone with dietary restrictions, these Gluten Free Cheez Its are a must-try!
When to Cook It
These delightful snacks are perfect for a variety of occasions. Whether you’re preparing for a cozy movie night, packing lunchboxes for the kids, or simply craving a crunchy treat during the week, Gluten Free Cheez Its fit the bill. They’re also great for gatherings, providing a homemade touch that will impress your guests.
How to Make the Perfect Gluten Free Cheez Its
Ingredients
- 1 cup gluten-free all-purpose flour
- 1 cup shredded cheddar cheese
- 1/4 cup unsalted butter, softened
- 1/2 teaspoon salt
- 1/4 teaspoon paprika
- 1/4 teaspoon garlic powder
- 3-4 tablespoons cold water
Step-by-Step Instructions
Making your own Gluten Free Cheez Its is not only fun but also incredibly rewarding. Here’s how to do it:
- Preheat your oven to 350°F (175°C). This ensures that your Cheez Its bake evenly and get that perfect crunch.
- Mix the dry ingredients: In a mixing bowl, combine the gluten-free flour, shredded cheddar cheese, softened butter, salt, paprika, and garlic powder. The aroma of the cheese and spices will fill your kitchen!
- Combine until crumbly: Use your hands or a fork to mix until the ingredients are well combined and crumbly. It should resemble coarse sand.
- Add cold water: Gradually add cold water, one tablespoon at a time, mixing until the dough comes together. This step is crucial for achieving the right texture.
- Roll out the dough: On a floured surface, roll out the dough to about 1/8 inch thick. The thinner you roll it, the crunchier your Cheez Its will be!
- Cut into squares: Use a knife or pizza cutter to cut the dough into small squares. Place them on a baking sheet lined with parchment paper.
- Bake: Bake for 15-20 minutes or until the edges are golden brown. Keep an eye on them to avoid burning!
- Cool before serving: Let them cool on the baking sheet for a few minutes before transferring to a wire rack. This helps them crisp up even more.
For People with Diabetes: Sugar Substitutes
If you’re looking for sugar substitutes, consider using stevia, monk fruit, or allulose. These options provide sweetness without the carbs. Avoid honey or maple syrup, as they can spike blood sugar levels.

Tools You’ll Need
- Mixing bowl
- Fork or pastry cutter
- Rolling pin
- Knife or pizza cutter
- Baking sheet
- Parchment paper
- Wire rack
Top Tips from Well-Known Chefs
Creating the perfect Gluten Free Cheez Its can be a delightful experience, especially when you incorporate some expert tips. Here are a few chef-approved hacks to elevate your snack game:
- Use high-quality cheese: Opt for freshly shredded cheese instead of pre-packaged. It melts better and enhances the flavor.
- Experiment with spices: Don’t hesitate to add your favorite spices or herbs, like cayenne pepper for heat or dried oregano for an Italian twist.
- Chill the dough: After mixing, let the dough chill in the fridge for about 30 minutes. This helps the flavors meld and makes it easier to roll out.
- Keep an eye on baking time: Ovens can vary, so check your Cheez Its a few minutes before the recommended time to prevent over-baking.
- Try different flours: While gluten-free all-purpose flour works great, experimenting with almond flour or chickpea flour can add unique flavors and textures.
By incorporating these tips, you’ll not only make your Gluten Free Cheez Its tastier but also impress your family and friends with your culinary skills!
Storing and Reheating Tips
To keep your Gluten Free Cheez Its fresh and delicious, follow these simple storage and reheating tips:
- Room Temperature: Store in an airtight container at room temperature for up to a week. This keeps them crunchy and flavorful.
- Refrigeration: If you want to extend their shelf life, you can refrigerate them for up to two weeks. Just make sure they are in a sealed container to prevent moisture.
- Freezing: For longer storage, freeze the Cheez Its in a freezer-safe bag or container for up to three months. Layer parchment paper between them to prevent sticking.
- Reheating: To restore their crunch, reheat in a preheated oven at 350°F (175°C) for about 5-7 minutes. Avoid microwaving, as it can make them chewy.
Common Mistakes to Avoid
- Not measuring ingredients accurately: Precision is key in baking. Use a kitchen scale or measuring cups to ensure the right ratios for the best texture.
- Skipping the cold water: Cold water helps bind the dough. Omitting it can lead to a crumbly texture that won’t hold together well.
- Overbaking: Keep a close eye on your Cheez Its as they bake. Overbaking can result in a burnt flavor and a less enjoyable crunch.
- Using pre-shredded cheese: Pre-packaged cheese often contains anti-caking agents that can affect melting. Freshly shredded cheese yields better flavor and texture.
- Not rolling the dough thin enough: Thinner dough results in crunchier Cheez Its. Aim for about 1/8 inch thickness for the perfect bite.
FAQs About Gluten Free Cheez Its
- Can I use different types of cheese for varied flavors? Yes, you can use different types of cheese to create unique flavors. Experiment with varieties like pepper jack, gouda, or even a blend of cheeses for a delicious twist!
- Are these snacks suitable for those with dairy allergies? No, these snacks are not suitable for those with dairy allergies, as they contain cheese and butter. Consider dairy-free cheese alternatives if you need a dairy-free option.
- How do I know when they are done baking? It depends on your oven; keep an eye on them to avoid burning. Look for golden edges and a crisp texture to determine when they are ready.
- Can I freeze these Cheez Its for longer storage? Yes, they can be frozen for longer storage. Just make sure to store them in a freezer-safe bag or container, and layer parchment paper between them to prevent sticking.
- Is it necessary to add cold water to the dough? No, you shouldn’t skip the cold water; it helps bind the dough. This step is crucial for achieving the right texture and ensuring your Cheez Its hold together well.

Conclusion: Final Thoughts on Gluten Free Cheez Its
In conclusion, making your own Gluten Free Cheez Its is a delightful way to enjoy a classic snack while accommodating dietary needs. With their crunchy texture and cheesy flavor, these homemade treats are sure to become a favorite in your household. I encourage you to try this recipe and share your experiences in the comments below. If you loved it, don’t forget to share it with your friends and family so they can enjoy these tasty bites too!
PrintGluten Free Cheez Its: Deliciously Crunchy Snack Recipe to Enjoy Anytime

Deliciously crunchy snack recipe to enjoy anytime.
- Prep Time: 15 minutes
- Cook Time: 20 minutes
- Total Time: 35 minutes
- Yield: 2 cups 1x
- Category: Snack
- Method: Baking
- Cuisine: American
- Diet: Gluten Free
Ingredients
- 1 cup gluten-free all-purpose flour
- 1 cup shredded cheddar cheese
- 1/4 cup unsalted butter, softened
- 1/2 teaspoon salt
- 1/4 teaspoon paprika
- 1/4 teaspoon garlic powder
- 3–4 tablespoons cold water
Instructions
- Preheat your oven to 350°F (175°C).
- In a mixing bowl, combine the gluten-free flour, shredded cheddar cheese, softened butter, salt, paprika, and garlic powder.
- Mix until the ingredients are well combined and crumbly.
- Add cold water, one tablespoon at a time, until the dough comes together.
- Roll out the dough on a floured surface to about 1/8 inch thick.
- Cut the dough into small squares and place them on a baking sheet lined with parchment paper.
- Bake for 15-20 minutes or until the edges are golden brown.
- Let them cool before serving.
Notes
- Store in an airtight container for up to a week.
- Feel free to experiment with different cheese flavors.
Nutrition
- Serving Size: 1 oz
- Calories: 150
- Sugar: 0g
- Sodium: 200mg
- Fat: 10g
- Saturated Fat: 6g
- Unsaturated Fat: 4g
- Trans Fat: 0g
- Carbohydrates: 12g
- Fiber: 1g
- Protein: 5g
- Cholesterol: 20mg