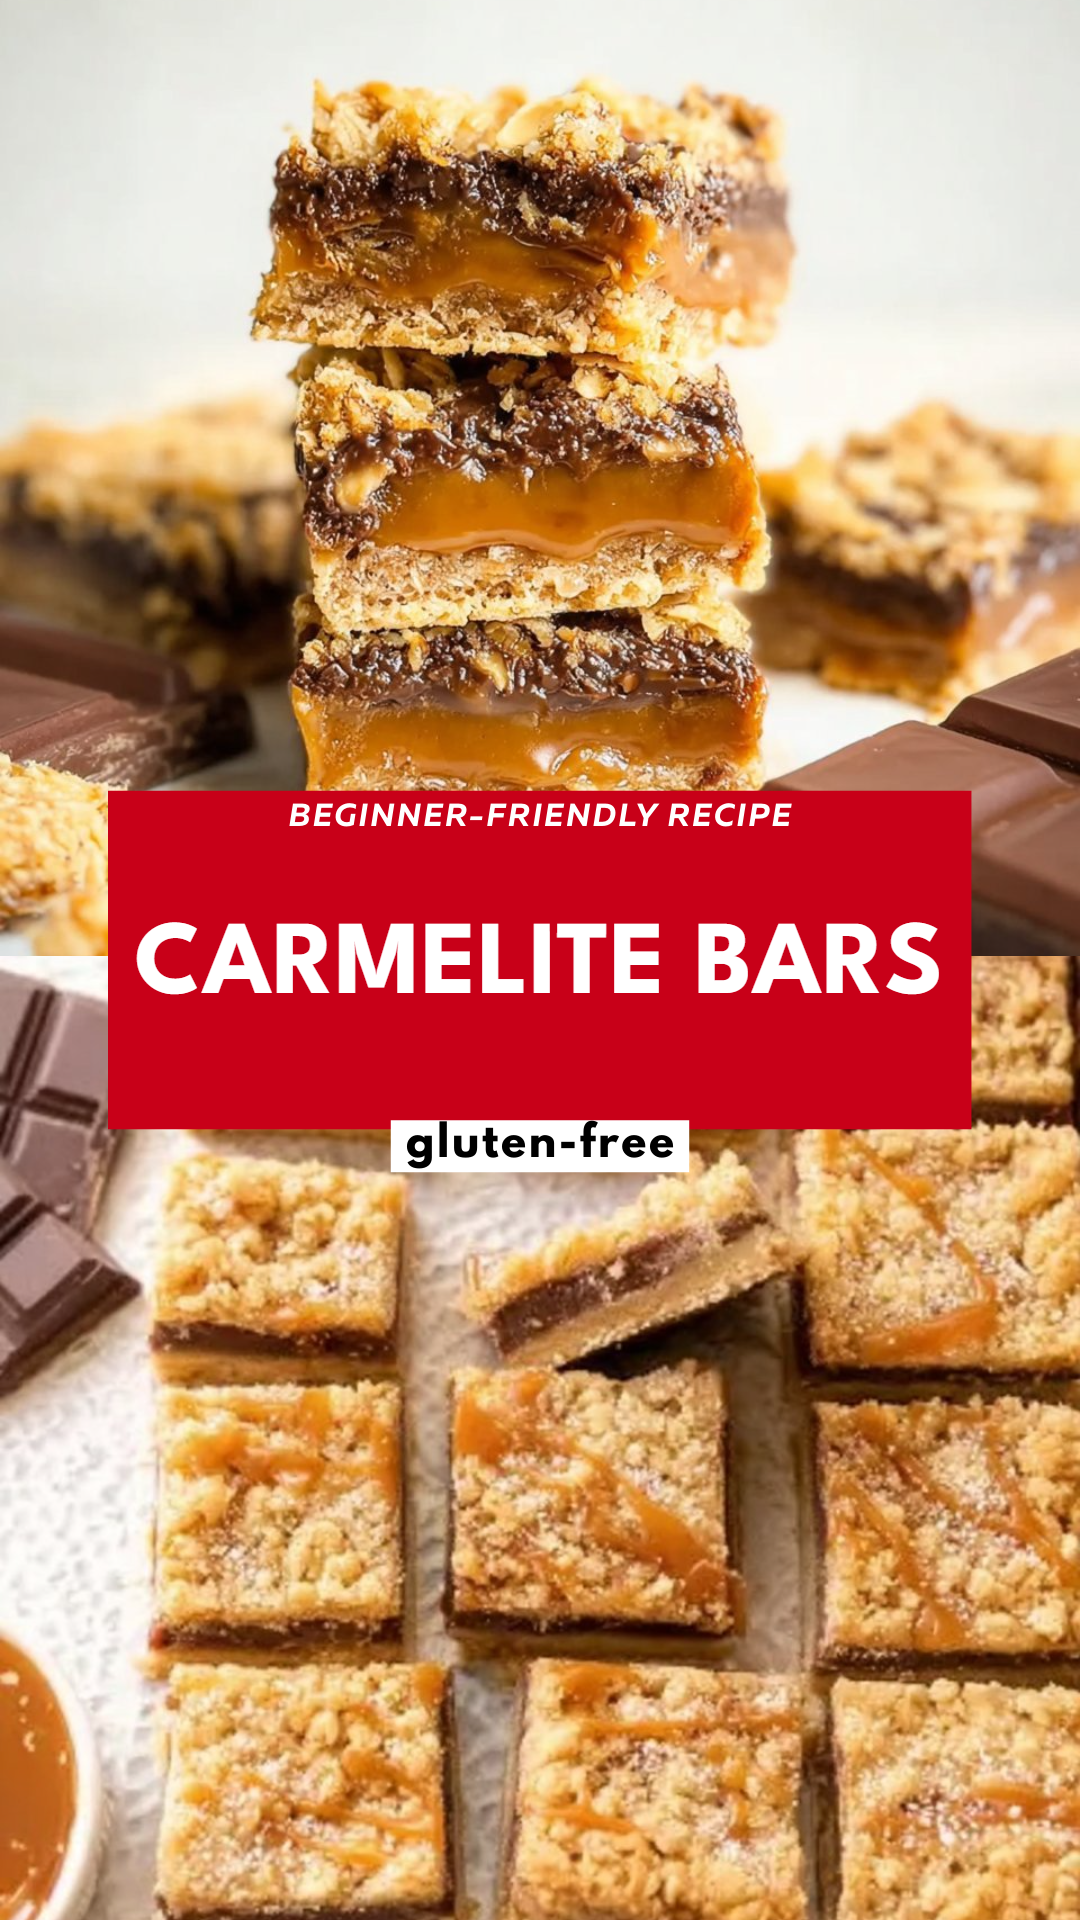
Carmelite Bars
This post may contain affiliate links
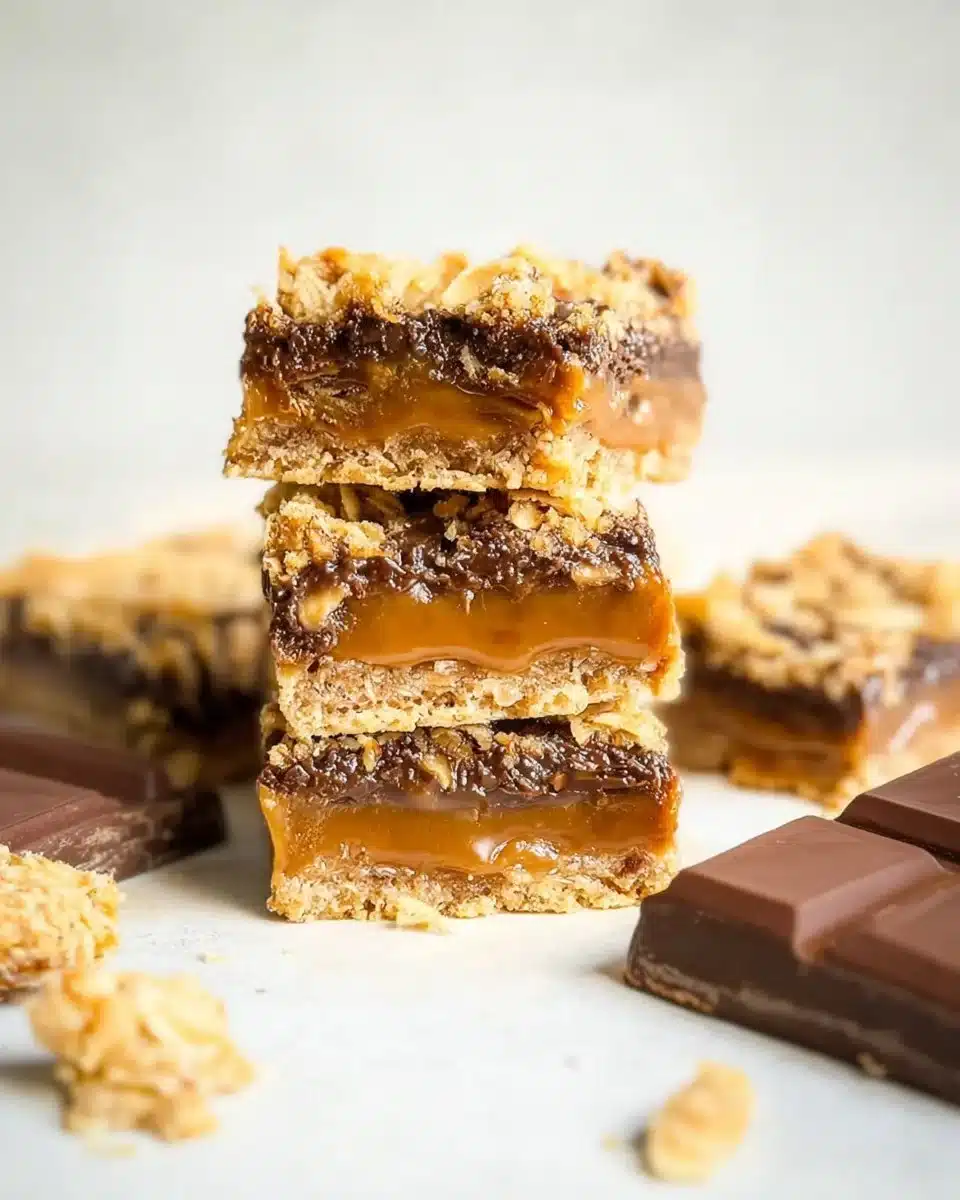
There’s something truly magical about creating and sharing treats that evoke the warmth of home and the nostalgia of cherished moments. As I stir together the rich, gooey goodness of caramel and the decadently sweet chocolate, I can’t help but smile at the thought of family gatherings. Enter Carmelite Bars, a sumptuous treat that marries buttery crust with luscious caramel and chocolate. These bars are not just desserts; they’re a heartfelt reminder of love shared through food, a staple in my kitchen—especially for those who follow a gluten-free lifestyle.
Biting into a Carmelite Bar transports me to my childhood, where flavors were accompanied by fond memories. Each layer is crafted with care, ensuring that even those avoiding gluten can indulge without worry. With every bite, you’ll find a harmony of textures—crunchy oats, melty chocolate, and silky caramel—each playing its part in creating a moment of bliss. Let’s dive into this delightful recipe together!
Understanding the Magic of Carmelite Bars
Carmelite Bars are a delightful combination of textures and flavors that come together beautifully. This gluten-free treat originates from the classic combination of caramel and chocolate—an iconic pairing that’s loved across generations and cultures. The beauty of Carmelite Bars lies in their versatility; whether you serve them at a festive gathering or enjoy them as an everyday snack, they never fail to impress. It’s easy to whip up a batch of these bars using gluten-free ingredients, making them suitable for everyone, including those with celiac disease or gluten sensitivity.
To enjoy this delicacy, I recommend using certified gluten-free flour blends to ensure safety for everyone indulging. These bars are often made with wholesome ingredients, and gluten-free baking has come a long way, with numerous alternatives available that deliver the same deliciousness as traditional recipes.
Why You’ll Love This Carmelite Bars
-
Irresistible Flavor: A sweet symphony of caramel, chocolate, and wholesome oats creates a treat that’s simply hard to resist.
-
Family-Friendly: These bars are a hit with kids and adults alike, making them perfect for family gatherings or school parties.
-
Easy to Make: With a simple assembly process, these bars come together quickly, making them a go-to recipe for busy cooks.
-
Gluten-Free Comfort: Safe for individuals with gluten sensitivities, allowing everyone to enjoy a decadent dessert.
Perfect for These Home Cooks
-
Families looking for delicious gluten-free alternatives.
-
Friends gathering for a potluck or celebration.
-
Home bakers wanting to impress without the fuss of traditional baking.
-
Those embarking on a gluten-free journey, wishing to indulge responsibly.
When This Carmelite Bars Shines Most
-
Weeknight Treats: A sweet end to a long day that everyone can look forward to.
-
Holiday Gatherings: The perfect dessert for holiday parties or festive meals, bringing people together over sweetness.
-
Picnics and Get-Togethers: An easy and portable dessert that can be sliced and shared with friends.
-
After-School Snacks: A delightful addition to a child’s snack time, ensuring energy and satisfaction.
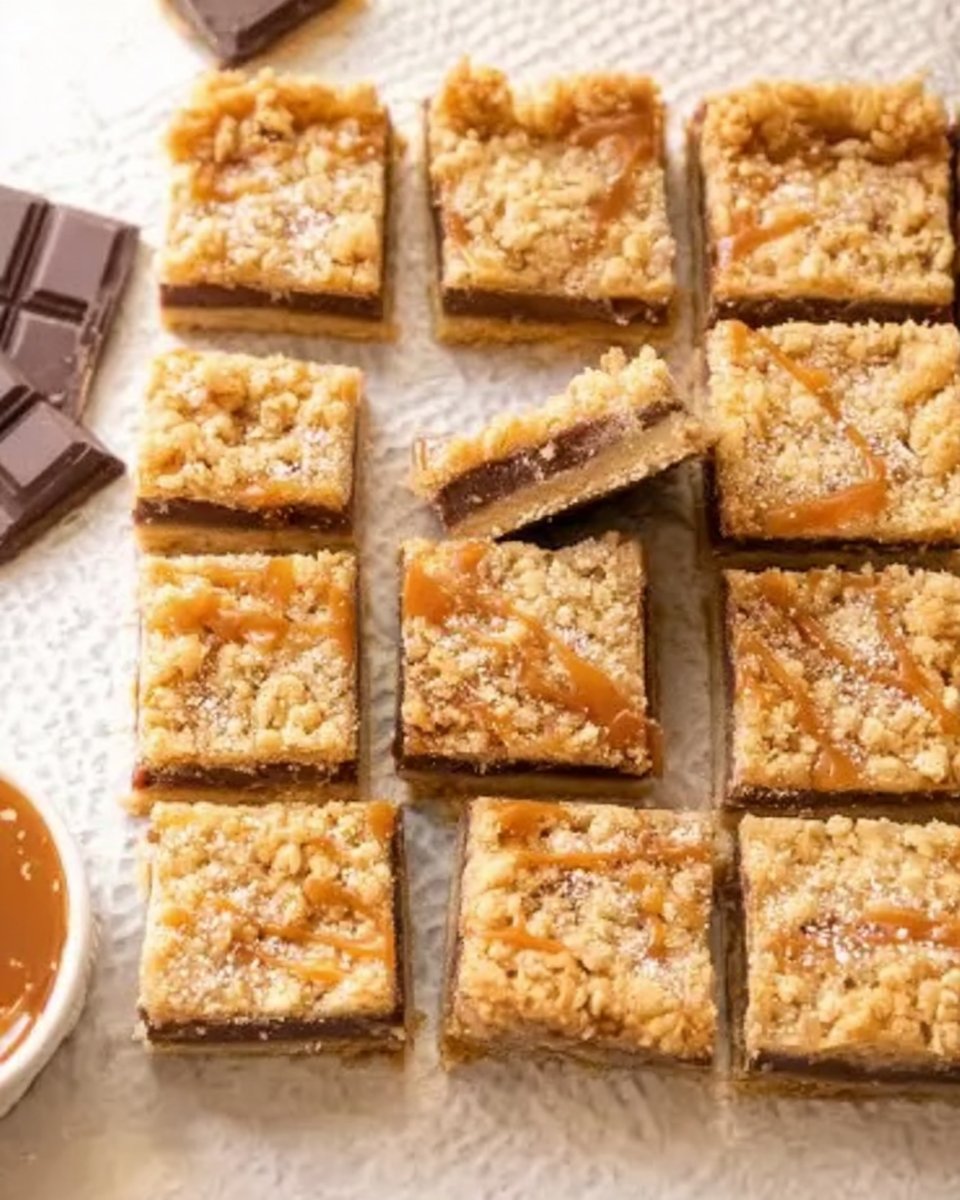
How to Make the Perfect Carmelite Bars
Creating the perfect gluten-free Carmelite Bars is an inviting and straightforward process. With each step, the anticipation builds, especially as the sweet aroma fills your kitchen. Let’s create a treat that the whole family can enjoy!
Ingredients
- 1 cup all-purpose flour
- 1 cup old-fashioned rolled oats
- ¾ cup packed light brown sugar
- ½ teaspoon baking soda
- ½ teaspoon salt
- 12 tablespoons unsalted butter (melted)
- 1 teaspoon vanilla extract
- 1 cup semi-sweet chocolate chips
- 36 caramels (unwrapped)
- ½ cup heavy cream
Ensure all ingredients are certified gluten-free, especially the oats and any packaged items, to prevent hidden sources of gluten.
Step-by-Step Instructions
-
Preheat your oven to 350°F and line an 8×8 inch baking pan with parchment paper or aluminum foil.
-
Mix flour, oats, brown sugar, baking soda, and salt in a medium bowl.
-
Add melted butter and vanilla; combine well.
-
Press more than half of the mixture into the prepared pan.
-
Bake for about 10 minutes until lightly golden.
-
Melt unwrapped caramels with heavy cream in a microwave-safe bowl in intervals until smooth.
-
Remove the base layer from the oven and sprinkle chocolate chips evenly over it.
-
Pour the caramel sauce on top of the chocolate chips.
-
Sprinkle the remaining oat mixture over the caramel layer.
-
Bake for another 15-20 minutes until golden brown.
-
Allow to cool completely before cutting into squares.
For People with Celiac Disease or Gluten Sensitivity
When preparing Carmelite Bars, it’s crucial to maintain strict gluten-free practices. Always use dedicated gluten-free tools, such as mixing bowls, spatulas, and baking trays. Carefully check labels on all ingredients, ensuring they’re produced in a gluten-free facility to avoid cross-contamination. This attention to detail enables everyone to enjoy these delicious bars safely.
Essential Gear for Carmelite Bars
- Mixing bowls
- Measuring cups and spoons
- Baking pan (8×8 inch)
- Parchment paper or aluminum foil
- Microwave-safe bowl for melting caramels
Using dedicated gluten-free utensils or ensuring your kitchen is free of gluten cross-contact is fundamental for making these delectable bars.
Chef-Approved Tips for Success
-
Rest the Batter: Allow the mixture to rest for about 10 minutes before baking for enhanced texture.
-
Balance Moisture: If your mixture seems too dry, add a little additional melted butter for more richness and moisture.
-
Binding: If you want a firmer bar, slightly reduce the butter or increase the oats for better structure.
How to Store & Reheat Carmelite Bars
-
Fridge: Store in an airtight container for up to one week.
-
Freezer: Wrap bars in plastic wrap or foil and place in a freezer-safe bag for up to 2 months.
-
Reheating: Bring to room temperature for best texture, or warm briefly in the microwave for a gooey experience.
Common Mistakes to Avoid
-
Using Regular Flour: Ensure to use certified gluten-free flour; traditional flour will compromise the recipe for gluten-sensitive individuals.
-
Skipping Cooling Time: Cutting into the bars too early can lead to messy squares; patience is key!
-
Not Checking Ingredients: Hidden gluten in packaged products can ruin your efforts; always read labels carefully.
Frequently Asked Questions: Carmelite Bars
-
Is this recipe suitable for celiac disease?
Yes, as long as you use certified gluten-free ingredients. -
Can I substitute the chocolate chips?
Yes, you can use dairy-free chocolate chips or chopped nuts instead if preferred. -
How do I make these dairy-free?
It depends. Substitute butter with a dairy-free alternative and use coconut cream in place of heavy cream. -
Can I prepare the caramel sauce in advance?
No, it’s best made fresh to ensure the right texture when layering. -
What can I serve with Carmelite Bars?
Yes, these are delightful with a scoop of vanilla ice cream or a dollop of whipped cream.
Wrapping Up: The Joy of Carmelite Bars
In conclusion, Carmelite Bars are not just a treat; they encapsulate the joy of baking and sharing with loved ones. This gluten-free recipe is accessible and easy to make, allowing everyone to partake in the deliciousness. Embrace your inner baker and create these sweet delights in your kitchen today!
Don’t forget to share your experience and feedback when you whip up a batch of these beloved bars. Every layer tells a story—let this recipe join yours.
Carmelite Bars

Delightful gluten-free bars combining caramel, chocolate, and oats for a sweet treat.
- Prep Time: 15 minutes
- Cook Time: 30 minutes
- Total Time: 45 minutes
- Yield: 16 servings 1x
- Category: Dessert
- Method: Baking
- Cuisine: American
- Diet: Gluten-Free
Ingredients
- 1 cup all-purpose gluten-free flour
- 1 cup old-fashioned rolled oats
- ¾ cup packed light brown sugar
- ½ teaspoon baking soda
- ½ teaspoon salt
- 12 tablespoons unsalted butter (melted)
- 1 teaspoon vanilla extract
- 1 cup semi-sweet chocolate chips
- 36 caramels (unwrapped)
- ½ cup heavy cream
Instructions
- Preheat your oven to 350°F and line an 8×8 inch baking pan with parchment paper or aluminum foil.
- Mix flour, oats, brown sugar, baking soda, and salt in a medium bowl.
- Add melted butter and vanilla; combine well.
- Press more than half of the mixture into the prepared pan.
- Bake for about 10 minutes until lightly golden.
- Melt unwrapped caramels with heavy cream in a microwave-safe bowl in intervals until smooth.
- Remove the base layer from the oven and sprinkle chocolate chips evenly over it.
- Pour the caramel sauce on top of the chocolate chips.
- Sprinkle the remaining oat mixture over the caramel layer.
- Bake for another 15-20 minutes until golden brown.
- Allow to cool completely before cutting into squares.
Notes
Ensure to use dedicated gluten-free utensils and check ingredient labels for gluten contamination.
Nutrition
- Serving Size: 1 bar
- Calories: 200
- Sugar: 15g
- Sodium: 150mg
- Fat: 10g
- Saturated Fat: 6g
- Unsaturated Fat: 4g
- Trans Fat: 0g
- Carbohydrates: 25g
- Fiber: 2g
- Protein: 2g
- Cholesterol: 30mg